Printing Tips

Check out my printing tips if you're having problems printing to the right size
If you'd like to support this site and all the free things I post- please check out my Don't Eat the Paste Mandala collection coloring book for 9.99 at Amazon.
Showing posts with label cute. Show all posts

Thursday, June 27, 2019

Brontosaurus Coloring Page

Brontosaurus coloring page- blank available


I've never even tried drawing a dinosaur before, but Spoonflower has a contest going on and the them inspired me to try. I'd really appreciate a vote on my design, but there are a lot of great designs in the contest and you can vote for more than one. I'll put that information at the end of this post.

When I was a child studying dinosaurs in school, my teacher told the class when we were coloring them "Dinosaurs lived long before people, and all we have now is fossils. Nobody knows what colors they were, if they were patterned or not. They might  have had fur or feathers. There is no wrong way to color a dinosaur!"

I loved that. All my dinosaurs were polka dotted or striped and in the brightest colors possible.

Here are the blank pages. Click on the image for a larger version, print and color!

Small jpg dinosaur coloring page:

Cute brontosaurus printable coloring page. Available in jpg and transparent png.

Large transparent png dinosaur coloring page:
Cute brontosaurus printable coloring page. Available in jpg and transparent png.


If you'd like to vote on the Spoonflower contest before July 9, 2019- this is my design in that contest-

Click here---> Spoonflower Boy Wonder fabric design contest

Tuesday, March 31, 2015

Bunny coloring page

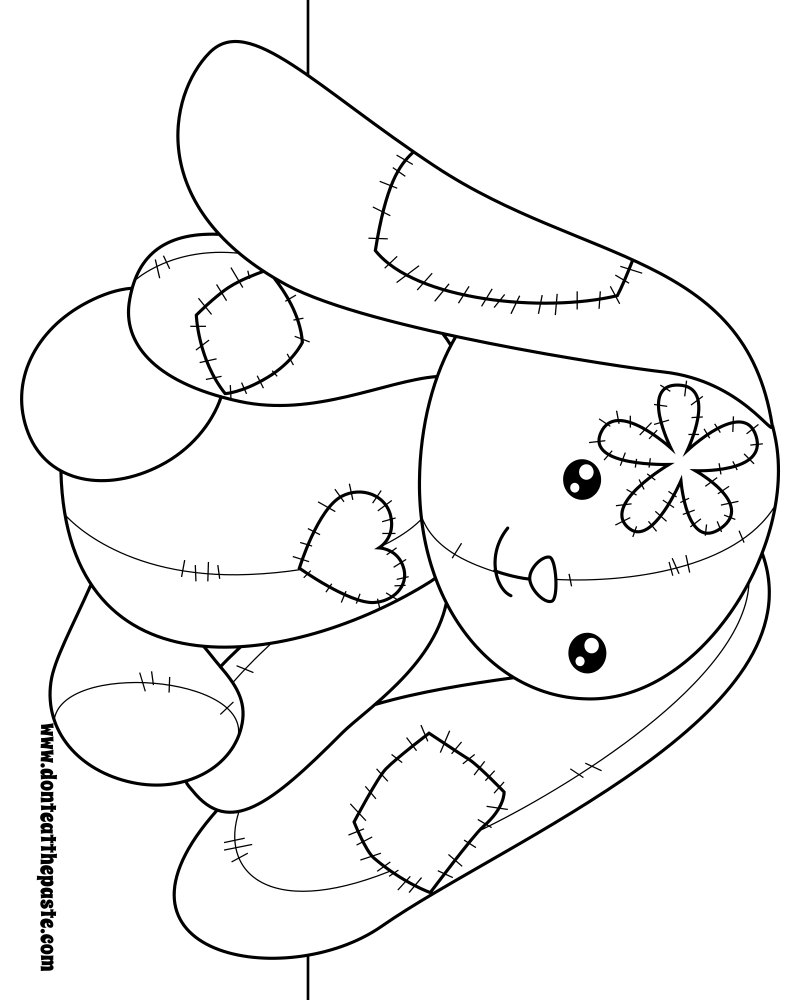
Patchwork bunny- blank available for coloring!

You know how sometimes you start with one plan and end up with something else? My original plan was to use a bunny that I drew a couple years ago in a mandala. But then I couldn't find the file. So I started drawing a different bunny. The first one was more stylized. This one just wanted to be cute. I decided to do it as a coloring page instead of a mandala because there are lots of spaces for doodlers and zentanglers to make it their own. So you can color it in with straight colors, create patterns for the patches, or just completely doodle it. Anyway you do it, I'd love to see the results on my FB page.

To print and color this patchwork bunny coloring page- just click on one of the images below for a larger version and print!

Small jpg version:
Patchwork bunny to color. Also available in transparent png #coloring #zentangle

Large transparent PNG version:
Patchwork bunny to color. Also available in jpg #coloring #zentangle


Thursday, November 6, 2014

Home mandala to color AND Groovy Mandalas is available!!

First, the big news!! You can order and get copies of Groovy Mandalas NOW! I got some copies in the mail yesterday and will do a giveaway soon. But yay!! Groovy Mandalas is ready to order. The very last mandala in the book is my favorite one that I've ever drawn. It's complex, intricate, inspired by hippies like my mom and incredibly groovy.


Still hard at work at the color-by-numbers mandala book, but took a break to draw this mandala for you all.
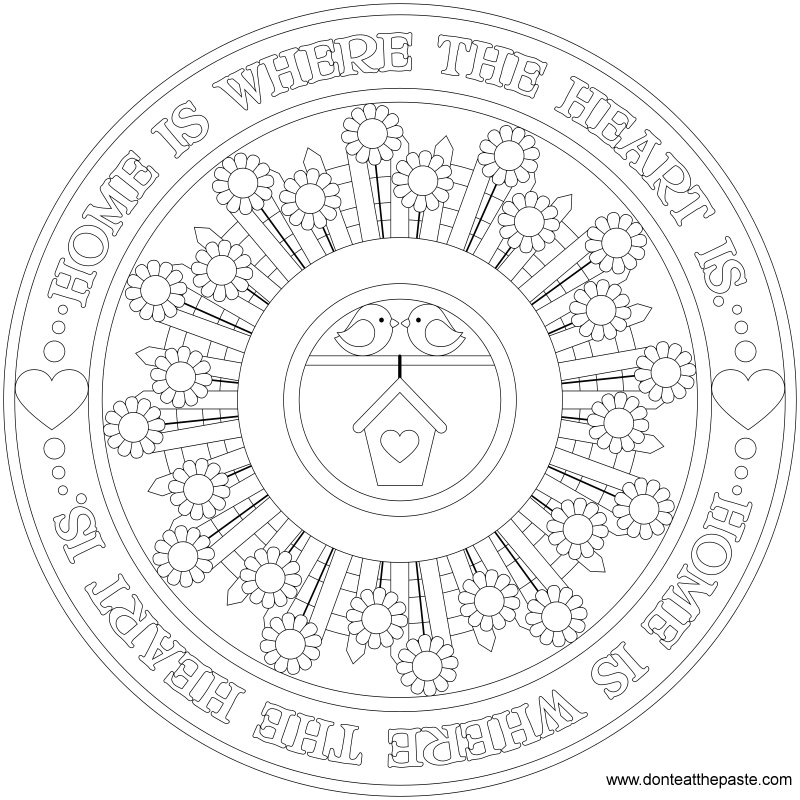
Home is where the heart is mandala

Click the images below for larger versions to print and color. 
Small jpg version-
Home is where the heart is mandala to color in jpg and transparent PNG versions.

Large transparent PNG version-
Home is where the heart is mandala to color in jpg and transparent PNG versions.


Thursday, September 18, 2014

Printable cheeseburger gift boxes

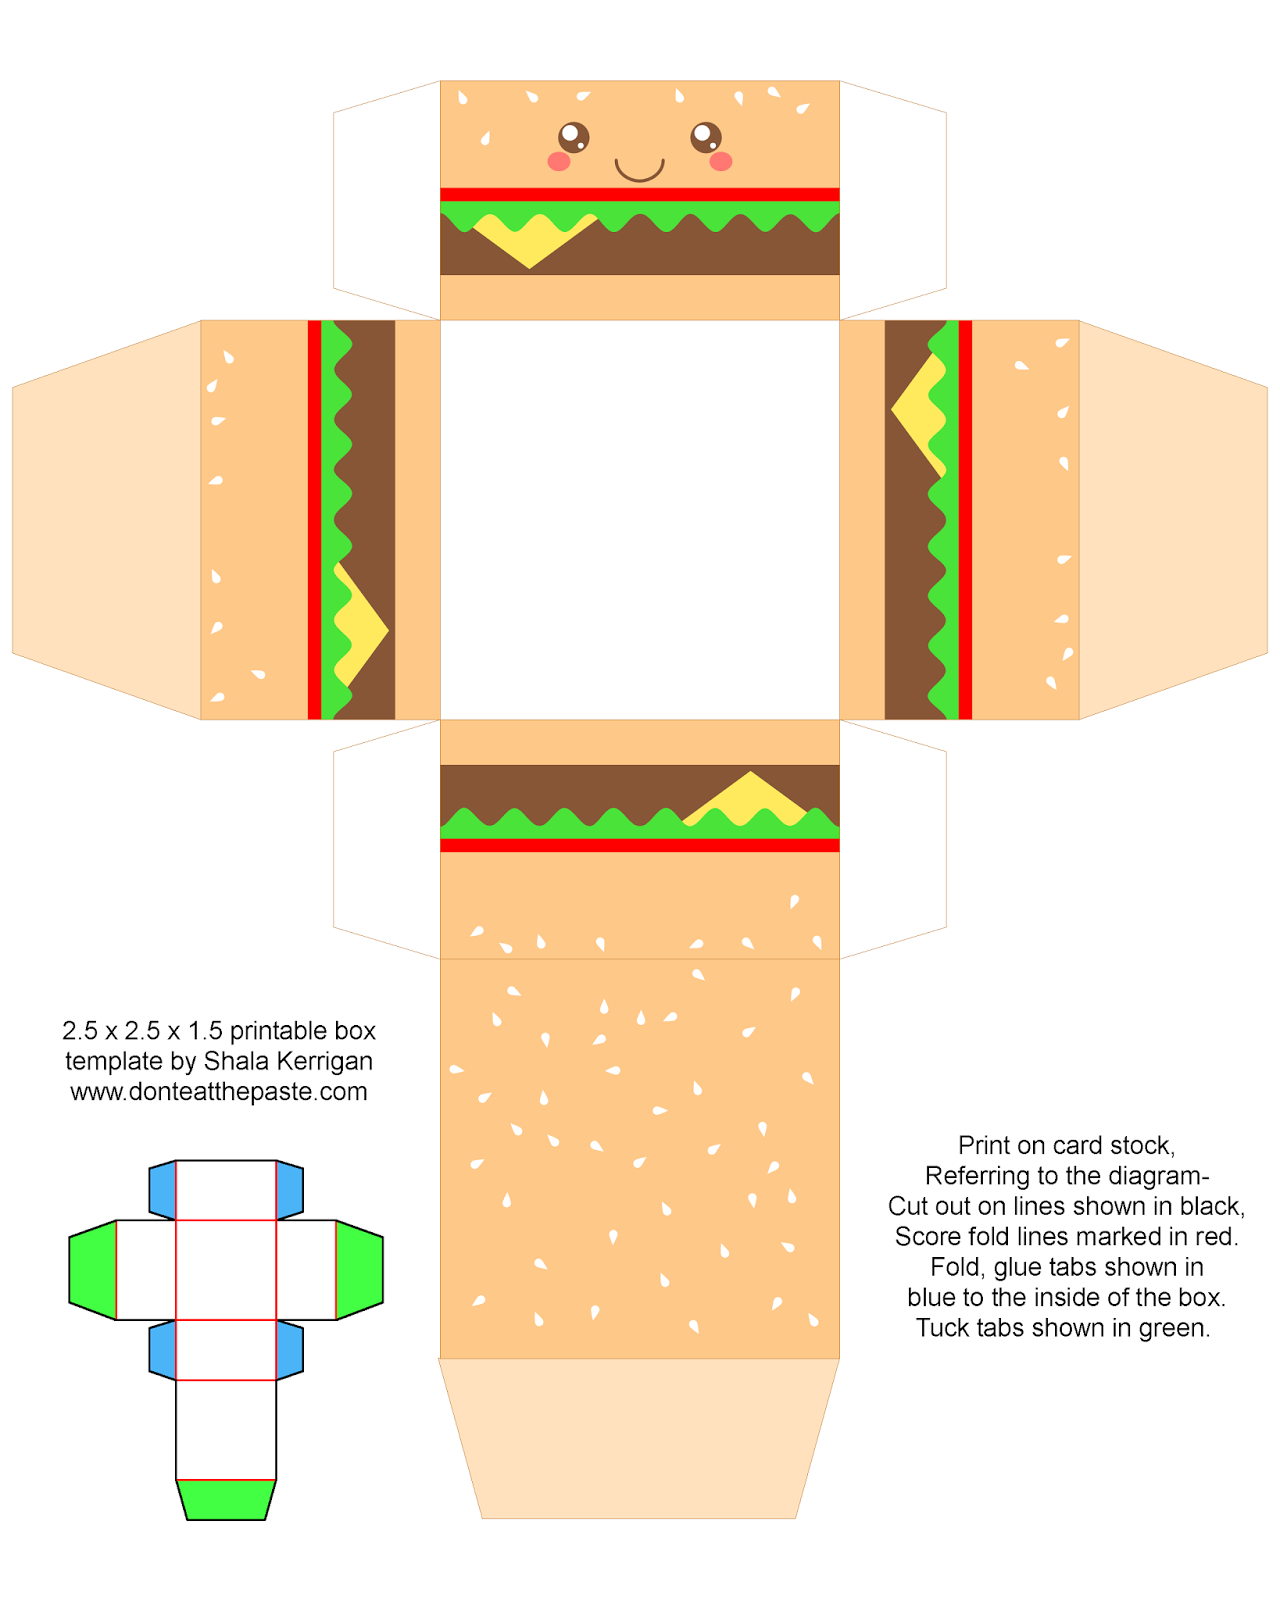
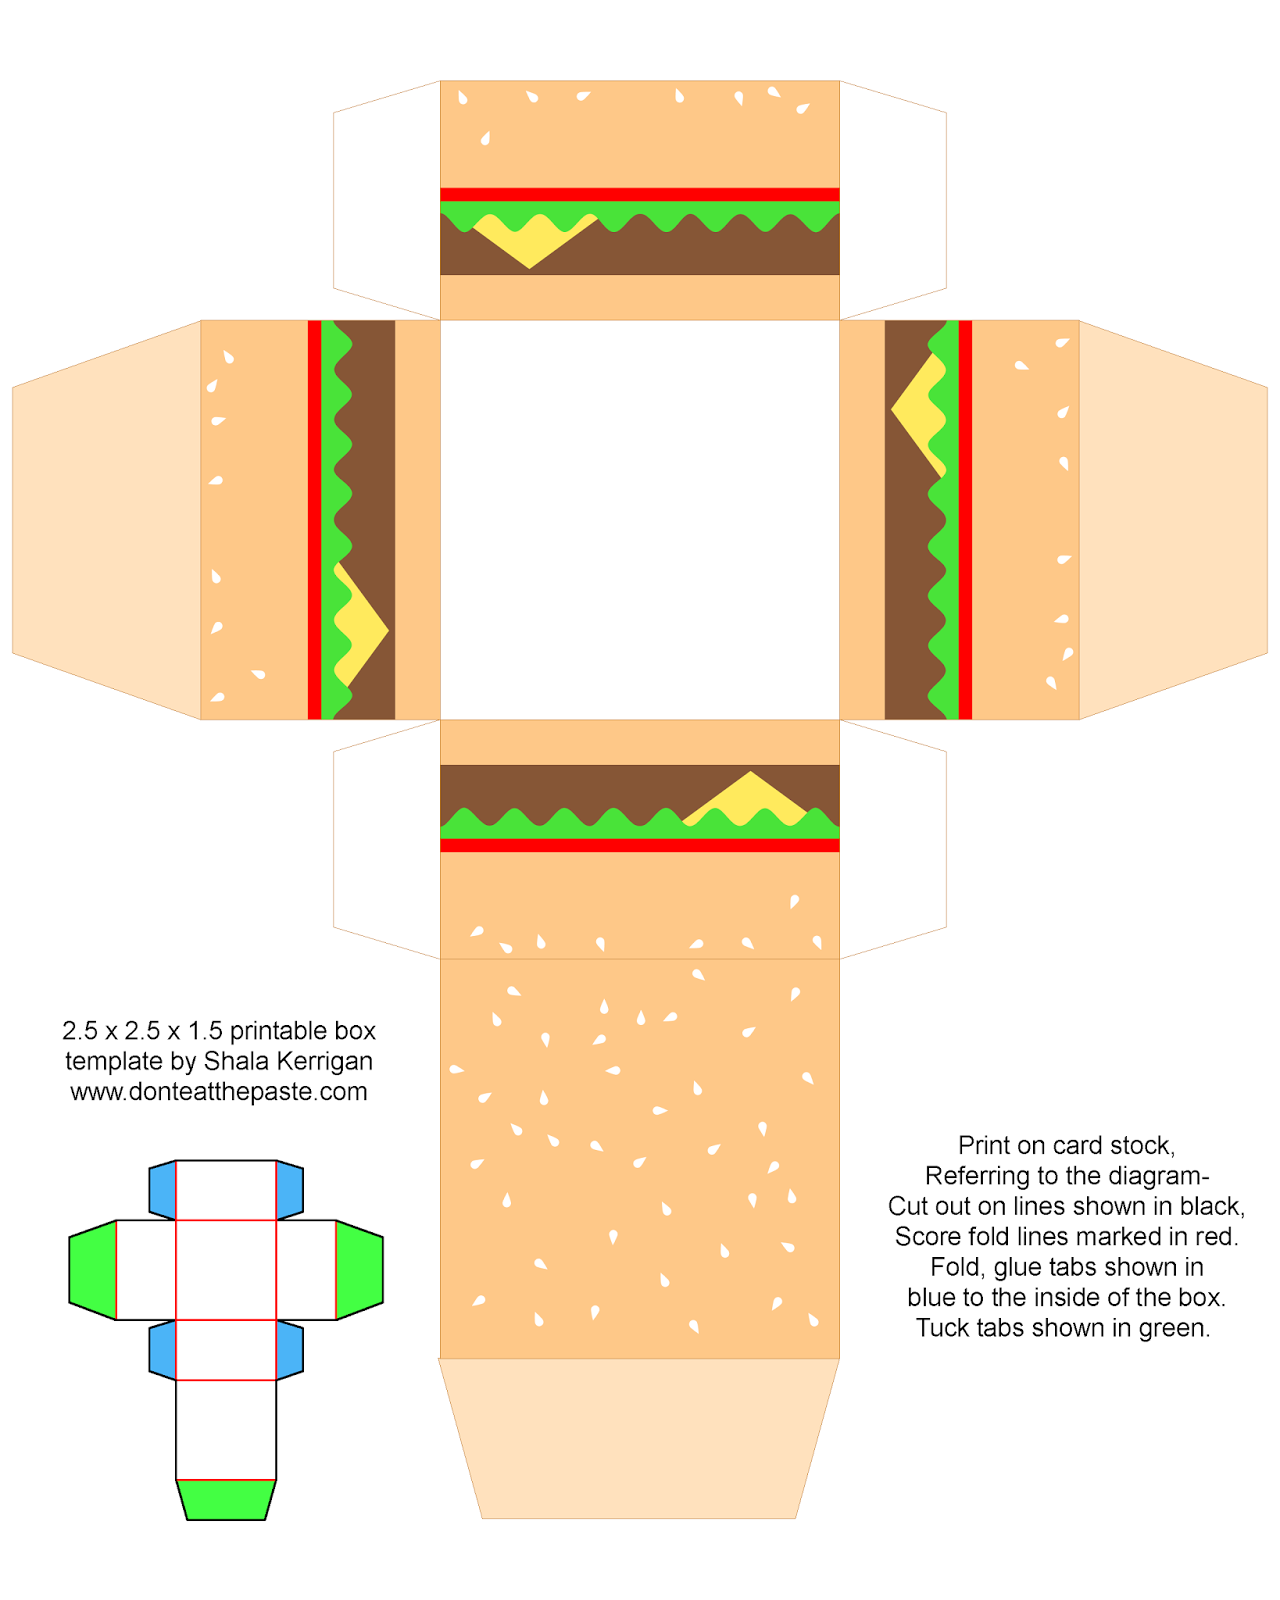
Print and make this cute cheeseburger gift box! #printables #papercrafts

Cheeseburgers! Can you believe there is a National Cheeseburger Day?

This printable cheeseburger box comes with or without a cute face. The sesame seeds are because TG has a strong preference for sesame seed buns.

Click the images for larger versions, print on card stock, cut out, score folds, fold and glue!
Printable cheeseburger box- also available without the cute face.

Printable cheeseburger box- also available with a cute face.

Tuesday, October 1, 2013

Pom Poms! Book review, party and my big whoops

So I threw a little party to celebrate the brand new Poms Poms book by Sarah Goldschadt and Lex Walters Wright. There was much fun had. After discussing it with a few people, we decided to make the pom pom hedgehog paper weights on the cover. Hedgehogs are awesome and they are so cute it was irresistible.

Everything was in place. My daughter cut several pom pom makers using the pattern at the end of the book out of scrap packaging cardboard. Quirk Publishing was kind enough to provide supplies and give books to each of the party goers so we could have a fun time crafting. I got yarns, and felt in nice natural colors for people who wanted that and blue of course for my daughter.

We had donuts and coffee and laughed, went through the book discussing the various projects. I'm absolutely charmed by the big tulle pom pom head band. I told everyone about making the coffee filter pom pom then not being able to resist throwing it at my husband.

I took TONS of pictures. Of the felt, the yarn, cutting the pom poms, the really adorable hedgehogs. We made small ones, but my friend Teri made a big one with crystal eyes and a shiny crystal tear drop nose that was just made of cute.

Then I got home, and when I got ready to write this post, I found out that I didn't have a memory card in my camera.

That's the big whoops. This amazingly fun time that was just a great break from all the work that all of us have been doing on various things and at our jobs? Yeah, not one photo. Because I didn't make sure my memory card was back in my camera from when I took the photos of the moose on my way to Michaels to buy supplies to make the hedgehogs.

The hedgehogs are adorable.
The book includes projects to make all sorts of accessories and decorations. If you've seen tissue paper pom poms and liked them for wedding decor, you'll love the coffee filter ones with a hand dyed effect done with food coloring. The pom pom hedgehog paperweights are adorable. A scarf made of pom poms is fun and I think a great way to celebrate all sorts of things. You could make them for holidays or to show school spirit.

Making them with friends is the most fun and the projects would be good for tweens and on up. The simplicity of a pom pom, made using a few different techniques works for all sorts of projects and this book will just get you started. Full color photographs and well written instructions along with a complete pattern section including templates to make the pom pom makers make it easy to create the projects shown. No fancy techniques, just lots of fun.

The first part of the book is the projects. 25 and all of them are simple enough to do in an afternoon and some of them can be done in an hour. I like instant gratification projects! The end of the book covers the various techniques for making pom poms and for stitching things that need stitching. Even better? There is a whole section on wrapping styles. So you can make pom poms that are dotted, striped, speckled or half and half. I want to try the "beach ball" effect to make big rainbow pom poms that I can wear in my hair. (I will get a photo of that when I do it.)

Go like Quirk Books on Facebook, and check out the completely free sampler e-books (Quirk Books D.I.Y. Gift Guide and Quirk Books Entertains Your Kids) they have available on Amazon. 


Here are the photos of the moose that caused the whoops.


Full disclosure- Quirk Books sent complimentary copies of the book for review purposes and for my party guests. They also paid for the supplies. This is my honest opinion of the book. All Amazon links are my affiliate links and the money that I make from them helps pay for this site and my book addiction.

Saturday, March 9, 2013

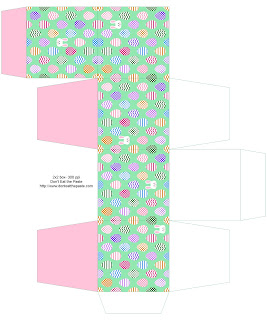
Eggs and Bunny Easter Gift Box


My first Easter printable for 2013, a little egg and bunny themed box. I hope you enjoy this printable box. I may wind up doing more with this fill because I really like how cute it turned out. Would you like to see more printables with this pattern?

Click on the image for a larger version. Print at 8x10 inches on card stock, cut out, score folds, glue. 

Printable eggs and bunny Easter box


Wednesday, January 30, 2013

Butterfly Rainbow Mandala to color

Rainbows, flowers and butterflies mandala
I want it to be spring already! I'm planning my garden, looking forward to seeing how my strawberries and raspberries come back and talking to my son about our plan for a dandelion recipes zine/ebook. (I'll make a limited number of physical booklets and also sell it as an e-book)

But it's still cold, and wintery and not anywhere near spring.
Hopefully this butterflies, rainbows and flower mandala to color helps you feel in a spring mood too.
Click on the images below for a larger version to print and color, or use for embroidery or whatever else you might want to use a happy butterfly and flower mandala for!

Small JPG version:
Butterfly and rainbow mandala to color

Large transparent PNG version:


Saturday, December 1, 2012

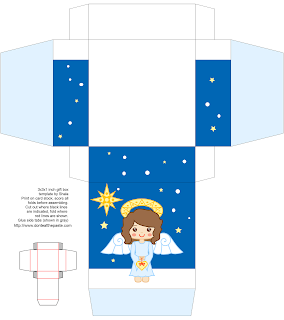
2012 Angel Box

If you've been reading this blog a few years, or for the people who started with me with my first webpage of printables, you know that yearly I do an angel box of some sort. This year's angel uses the same body template as some of the Halloween boxes, but turned into a curly haired angel. I'll probably post the same box with other colors of hair and skin soon. This angel is inspired by my daughter and she gave me lots of tips while I was working on her. She also was the one who decided the gown length. When I said "She'll be standing in snow, won't her feet get cold?" TG replied "She's an ANGEL mom."

Click on the printable box for a larger version, print on card stock, cut out, score, fold, glue.

Cute Chibi Angel Box

I'm going to be posting a few money cards like this one over the next few weeks, and I'd love some suggestions for what kinds of designs you'd like to see on the cards.

Saturday, November 3, 2012

Marimo Gift Box

Little Marimo
Marimo マリモ  or  are little moss balls that live and grow underwater. They keep their shape by the motion of the water rolling them constantly. They've become a symbol of good luck with domesticated varieties being kept in jars and bowls in the home and office and tiny marimo balls being used in jewelry and as charms for keys and phones. They also don't have cute little faces. But I like putting faces on things!

So here's a printable marimo box. I hope you enjoy it! Click on the image for a larger version. Print on card stock, cut out, score, fold, glue.
Marimo Gift Box

Friday, November 2, 2012

Book Review- Tiny Food Party

I'm going to be completely honest before I start gushing about the cute. I love tiny things, adore tiny foods, and love good food well made. It just delights me, well-made tiny foods are a joy to look at it and to eat.

Tiny Food Party! -Bite Sized Recipes for Miniature Meals by Teri Lyn Fish and Jenny Park is full of tiny, appetizer 1 and 2 bite versions of regular food. While the focus is on making things small, there is also a strong focus on making them well so they are as delicious as they are cute to make for truly impressive appetizers. A lot of the recipes could also be used in bento style lunches, tea party foods, or even a full meal for a dinner party which allows guests to try several different things.

The photographs are wonderful, the colors are bright and cheerful and the instructions are clearly written with American style volume measurements. A few of the recipes use common convenience ingredients, but most of them are made from scratch. The recipes have a nice gourmet/foodie flair with details and flavors like mini churros made with candied bacon in the batter and suggestions for 3 different dipping sauces.

Here's where I start squealing and clapping. Because those recipes? Are fantastic, clever and incredibly tasty. Shallots in a light, perfect batter to make tiny onion rings, perfect mashed potatoes piped in rosettes on tiny Shepard's Pies, miniature eclairs! If you look at the cover, you can see the little Caprese skewers with a Balsamic vinegar glaze. Under that are miniature toaster pastries. That recipe comes with a few suggestions for filling so you could make them to suit almost anyone's tastes.


One of my husband's favorite recipes, except for size (he feels like a giant when he eats tiny food) is the Country-style Eggs Benedict, I love that recipe too because instead of a Hollandaise sauce it uses a cheesy/garlic sauce that's a lot easier to make and that tastes fantastic.

There are also cocktail recipes for the adults. Little tiny mixed drinks served in shot glasses with gourmet twists and details to make them special and not just a miniature version of a grown up drink. Like the Bloody Marys use a Korean rice wine instead of vodka, and the glass is rimmed with bacon bits. It's a flavorful, spicy, gorgeously garnished mini drink. Adults with a sweet tooth will enjoy the Orange Creamsicles drinks with the honey and sugar garnish.

The authors worked small in very clever ways, and this is one of my favorite cookbooks this year. There are menu suggestions for various party themes, and lots of dessert recipes to go with all the main course and side dish recipes. The end of the book includes equivalencies for people using metric, and a good index to find things quickly.

Published by Quirk Books, you can find recipes and templates HERE.

I received a complimentary copy of this book to review, I received no other compensation, and my review is my honest opinion of the book. You can read more about my review policy here.

Wednesday, October 24, 2012

Cute Little Vampire Printable Box and Coloring Page


Cute Vampire- Halloween printables
It started with this cute little witch box, then I had to do a little Bride of Frankenstein's Monster box, and now a little vampire. All using the same body and face, with different dresses and coloring. I'm not sure if this is the last box in this series or not.

Click on the image for a larger version, print on card stock, cut out, score, fold, glue.

And here's the matching coloring page. As usual, in both JPG and transparent PNG formats.
Click on the images for larger versions.
Small JPG version.

Large Transparent PNG version:


Saturday, October 20, 2012

The Bride printable box and coloring page


Frankenstein's Bride printables

After drawing the basic body/face for the Cute Witch box recently, I decided that I liked it too much just to have it for the witch. So here's a Bride of the Frankenstein Monster matching box and coloring sheet. Hopefully in the next day or so, there will be a vampire and maybe a zombie as well.

Click on the box for a larger version. Print on card stock, cut out, score, fold, glue!
printable Bride of Frankenstein gift box

Coloring pages
Small JPG version:
printable Bride of Frankenstein coloring page

Large transparent PNG version:
transparent PNG- printable Bride of Frankenstein coloring page


Wednesday, October 17, 2012

Cute Witch Box and Coloring Pages

Almost every year, I draw a new witch just for the season. This is this the with for 2012. What should we name her?

Here's a witch printable box. Click on the image for a larger version, print on card stock, cut, score, fold, glue!
And coloring pages! Which you can also use for other crafty purposes.Click on the images for larger versions.
Small JPG version:

Large Transparent PNG version:

Tuesday, October 2, 2012

Book Review: Craft-A-Day by Sarah Goldschadt

Craft-A-Day by Sarah Goldschadt

Quick note from me: I post my reviews from this site and the bead site to Amazon, as well as reviewing a lot of other things there. The last week I've been at 898 reviews, then today reviewed a set knitting needles to bring it up to 899 so this could be my 900th review. Simply because for that personal milestone, I wanted to review something truly special. This was it.

Craft-A-Day: 365 Simple Handmade Projects by Sarah Goldschadt lives up to it's title. The projects are simple. They don't take a big investment in time or materials. They fit into busy lives well, and are ideal for craft parties or crafting with young people.

It's a lovely book, the projects are very well photographed, not crammed all together on the pages, at 426 full color pages, each project gets it's own page with well written instructions. They are charming and put me in mind of zakka type crafts from Japan, which makes sense. A lot of the zakka craft movement is inspired by Scandinavian crafts and the author of this volume draws a lot of her inspiration from the same background. Simple shapes, bright folk colors and easy techniques done well make simple projects. The style is a clean, bright appealing look. Or if I can stop being a grown up for a minute-It's so cute! I lovelovelovelove the projects in this book.

She breaks down the year into weeks, and each week has a theme. Some of the themes are shapes, and she does clever things with just circles or squares. But a lot more of them are things. Animals, flowers, rainbows, mustaches, ghosts and trees for example. 52 weeks to the year, so 52 different themes. The projects come with complete instructions and templates you can trace or copy for patterns. For the sake of simplicity, the projects use similar construction methods which make it easy, you could work through this whole book in an hour or less a day every day for a year.

The projects are very simple, and great for all level of crafters. Like I said above, it would be a great book to pick a project for a craft themed party with friends, or an evening with a young person. It's also got great quick projects that make fast gifts. Hand stitched felt stuffies, lots of cupcake toppers, card making projects, wall decor projects and jewelry projects. I didn't see a single project in the book that would cost more than 5 dollars to make, and since most of the projects use small amounts of materials, that 5 dollars would cover making a few of each. The projects are really cute, handmade looking, and charming. It's very current and DIY trendy.

I have a friend who was telling me recently that she can't craft. I'm personally going to recommend this book to her. I'm also recommending this to a friend with a crafty daughter, I think they would enjoy this a lot together.

Published by Quirk Books.

I received a complimentary copy of this book to review, my reviews are always my personal and honest opinion. You can read more about my review policy here.


Friday, June 8, 2012

Rain Cloud Felt Pin

This isn't a step by step how to, more an overview.

I made this pin last night. The bead/pendant hanging from the bottom is from Cousin Corporations Jewelry Basics Acrylic series. It's a bit over an inch long.

You will need:

  • White craft felt
  • Embroidery floss
  • colored sequins 
  • 2 small seed beads for the center of the eyes
  • tear drop shaped bead or pendant
  • large seed beads- those are from an E bead mix
  • a scrap of plastic (milk jugs are great for that!)
  • pin back
  • small amount of stuffing
  • scissors
  • thread
Take a piece of white craft felt about 6x2 inches, fold it in half so the 2 inch sides meet and cut out a rain cloud shape. I just freehanded a rounded shape. 

I'm not a fan of big bulky knots for small projects like this to keep the thread from pulling through the felt, so what I do is tie the end of my thread in a knot big enough to keep it from pulling through a light colored sequn, and use light sequins on the back where the knots will be. 

Embroider the face and finish off the embroidery with another sequin on the back. I also used two blue sequins that matched my thread for the eyes, held in place by seed beads.

On the back, stitch the little drop with the beads and tear drop, then make a running stitch to where you want the pin back to be. Cut a small rectangle of felt that will fit over the center bar of the pin back, and stitch it in place over the pin back.


Cut a small piece of plastic to sandwich between the two layers of felt. Stitch the felt pieces together with a blanket stitch around the plastic stopping about 3/4s of the way around to very lightly stuff it on the front side. Finish stitching.

Super easy! And you have a cute little rain cloud pin.

Wednesday, May 16, 2012

Flowered headband link love

A lot of my crafting is binge crafting, I'll see an inspiring project and think of variations that would fit my personality or that of my daughter.

Headbands and hair clips are a regular favorite for near instant gratification. For headbands, rather than plastic ones that get uncomfortable after a while, I prefer elastic. The satiny kind that is used in a lot of baby headbands but in more adult colors. It's nice, smooth and doesn't damage my hair or give me headaches like plastic or metal bands can.

So checking out The Ribbon Retreat's blog, I saw this project for how to make a flower headband, as shown, it's meant for a little girl. But they have lots of colors available for the flowers, ribbon and elastic. All the supplies are inexpensive enough that they make a nice quick gift. They have enough colors you could do them for some sports teams. If you like the idea but not the flowers used, check out some of the other tutorials. There are instructions for other types of flowers made from ribbons.

I've been sort of obsessed with birdcage veils and putting it on an elastic headband seems a good option for bridal showers. Since they have the favorite colors of a friend of mine who is getting married soon, I think a mini-veil would a nice gift. Especially if I use the little rhinestone crown on it. 

They have lots of other tutorials for bows, sewing projects for babies, and other great gift ideas and they carry all the supplies so you don't have to search for the exact right thing to finish the project. Really cute projects that will work for teens and adults as well as babies. 

Take a look around, as well as learning how to make flower headbands, there are also great projects like this burned petal flower clip.

Really cute stuff that's easy to make more elegant.


Corrected link- How to make a flower headband


Little Monster Necklace- easy sewing


A little monster necklace is silly, but it made me smile.

You will need:

  • 5x5 inch approximate scrap of plush fabric
  • Stuffing
  • Cord or ribbon
  • safety eyes
  • needle
  • thread
  • scissors
The shape of the necklace actually starts with an equilateral triangle. Here are a pair of templates, one is 3 inches tall, the other is 4. Click on the images for full sized 100 dpi jpgs. Cut the triangle out of the plush fur, and cut a piece of ribbon or cord that's 6 inches long and a second piece as long as you want the chain to be, I made mine long enough to go over my head with slipknots to adjust the length. Fold the 6 inch piece in half and tie an overhand knot about a half inch away from the fold for the bail.
3 inch-
4 inch-

Thread your needle with a doubled length of thread. This is hand stitched together using an overcast stitch. Since all the stitches are on the back and the fabric is plush, it's worked from the outside instead of inside out and turned. Flip the triangle so it's pointing down, and fold the bottom point up to the center middle. Flip it so you're looking at the back of large side of the triangle and make two small marks for eye placement. Cut two small holes and set the safety eyes so they are on the outside of the plush fabric.

Now you'll fold the corners in to make the squashed pentagon shape. 

Put the bail piece into the top middle, and stitch it into place with the knot on the inside. Stitch down seam, then the open seam on the side. Knot off securely, and stuff it now. Then stitch the other side.


You can add other features with felt. If you think the stems on your safety eyes are too long, you can cut or file off part of them before stitching. Mine were fine without having to shorten them. I like the origami like folds of the piece. 

My husband thought it was a very strange necklace. My teenage daughter was delighted and wants one of her own, and my son just thought it was cute and different.