Printing Tips

Check out my printing tips if you're having problems printing to the right size
If you'd like to support this site and all the free things I post- please check out my Don't Eat the Paste Mandala collection coloring book for 9.99 at Amazon.

Wednesday, September 24, 2014

Pumpkin Mandala- Happy Autumn!

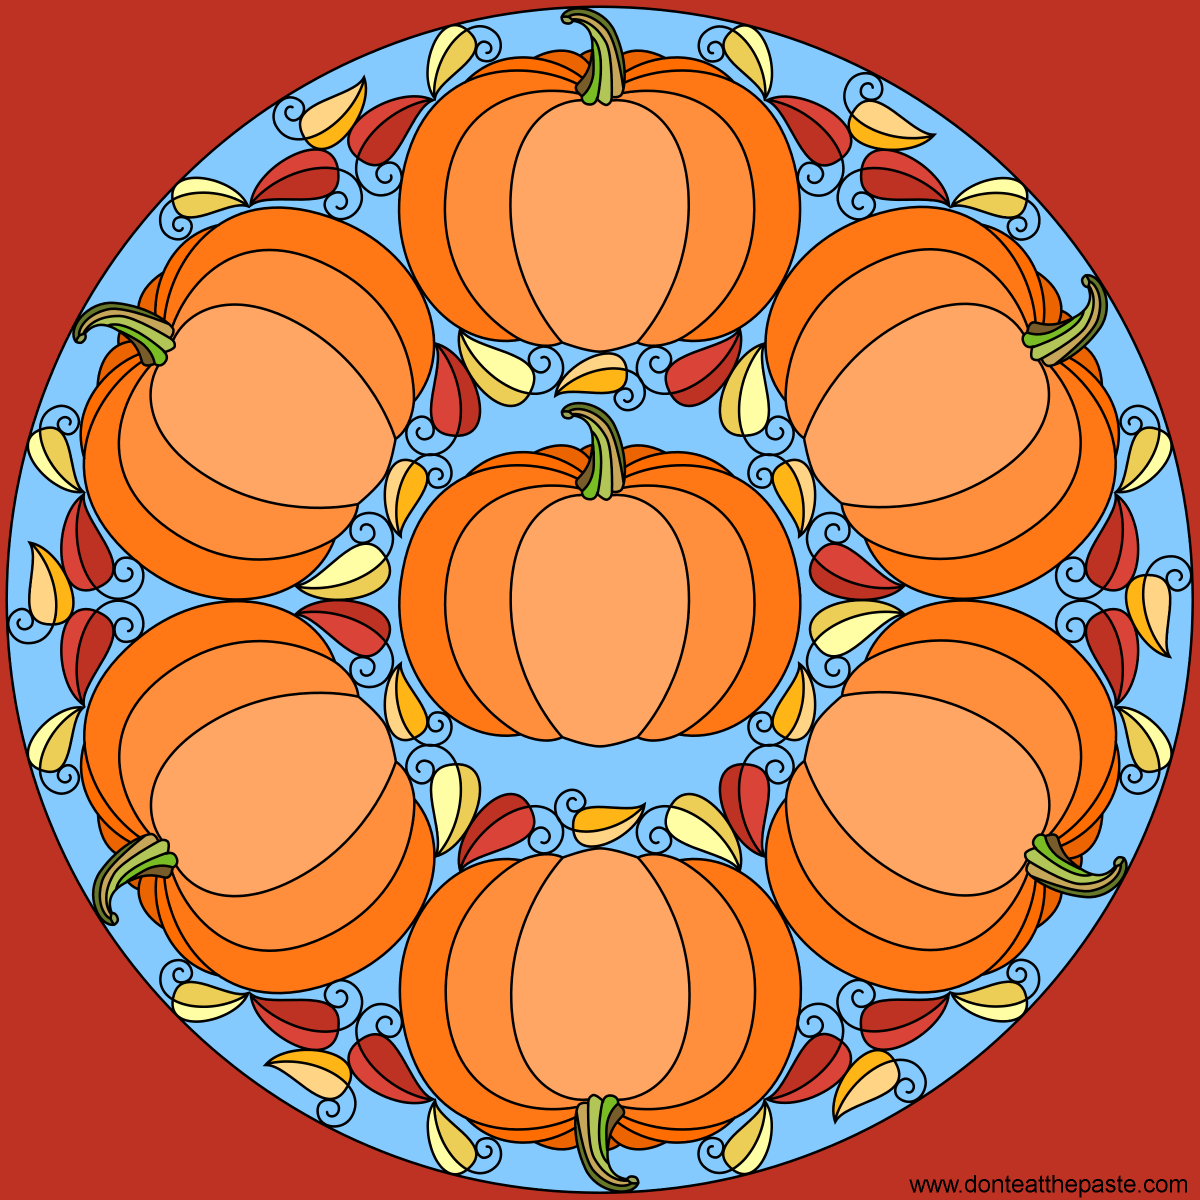
Pumpkin mandala for autumn- blank version available to color


Well, it's autumn now! I hope you enjoy this pumpkin mandala to color for the season.
Recipes, crochet pattern, printables and coloring pages - Pumpkins on Don't Eat the Paste

Click the images for larger versions to color.

Small jpg:
Free printable pumpkin mandala to color or embroider- available in jpg or transparent PNG

Large transparent PNG version:
Free printable pumpkin mandala to color or embroider- available in jpg or transparent PNG


Sunday, September 21, 2014

Banned Books cross stitch bookmark pattern


It's Banned Books week! You can find out more about banned and challenged books at the American Library Association site here or by checking out Banned Books Week.

I excerpted part of a quote from President Kennedy on this pattern.
If this nation is to be wise as well as strong, if we are to achieve our destiny, then we need more new ideas for more wise men reading more good books in more public libraries. These libraries should be open to all — except the censor. We must know all the facts and hear all the alternatives and listen to all the criticisms. Let us welcome controversial books and controversial authors. For the Bill of Rights is the guardian of our security as well as our liberty.
-John F. Kennedy, Saturday Review (29 October 1960)

This is designed to be stitched on 18 count fabric, and will fit a bookmark at least 1 3/4s inch wide and 7 inches long that's 18 count. Use a single strand for the back stitch. Click on the image for a larger version to print!
Cross stitch pattern- I read banned books! bookmark

Thursday, September 18, 2014

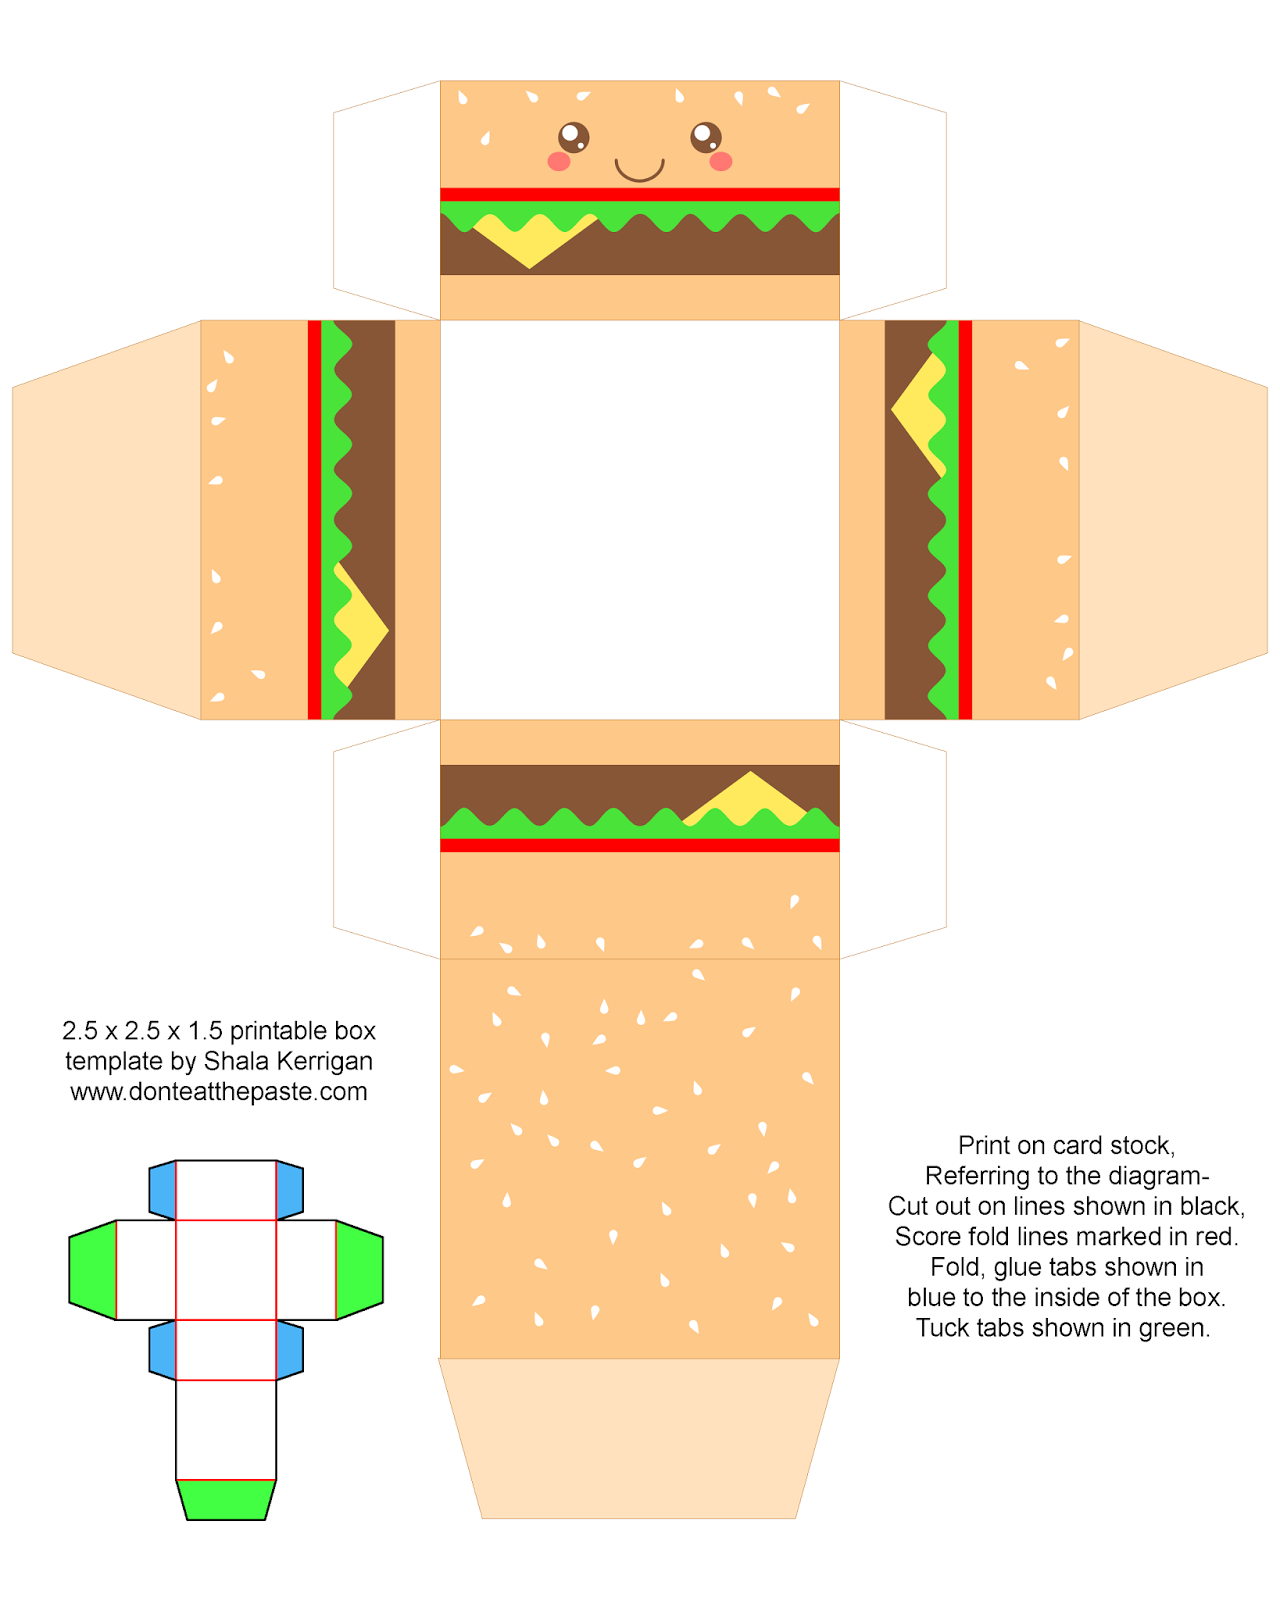
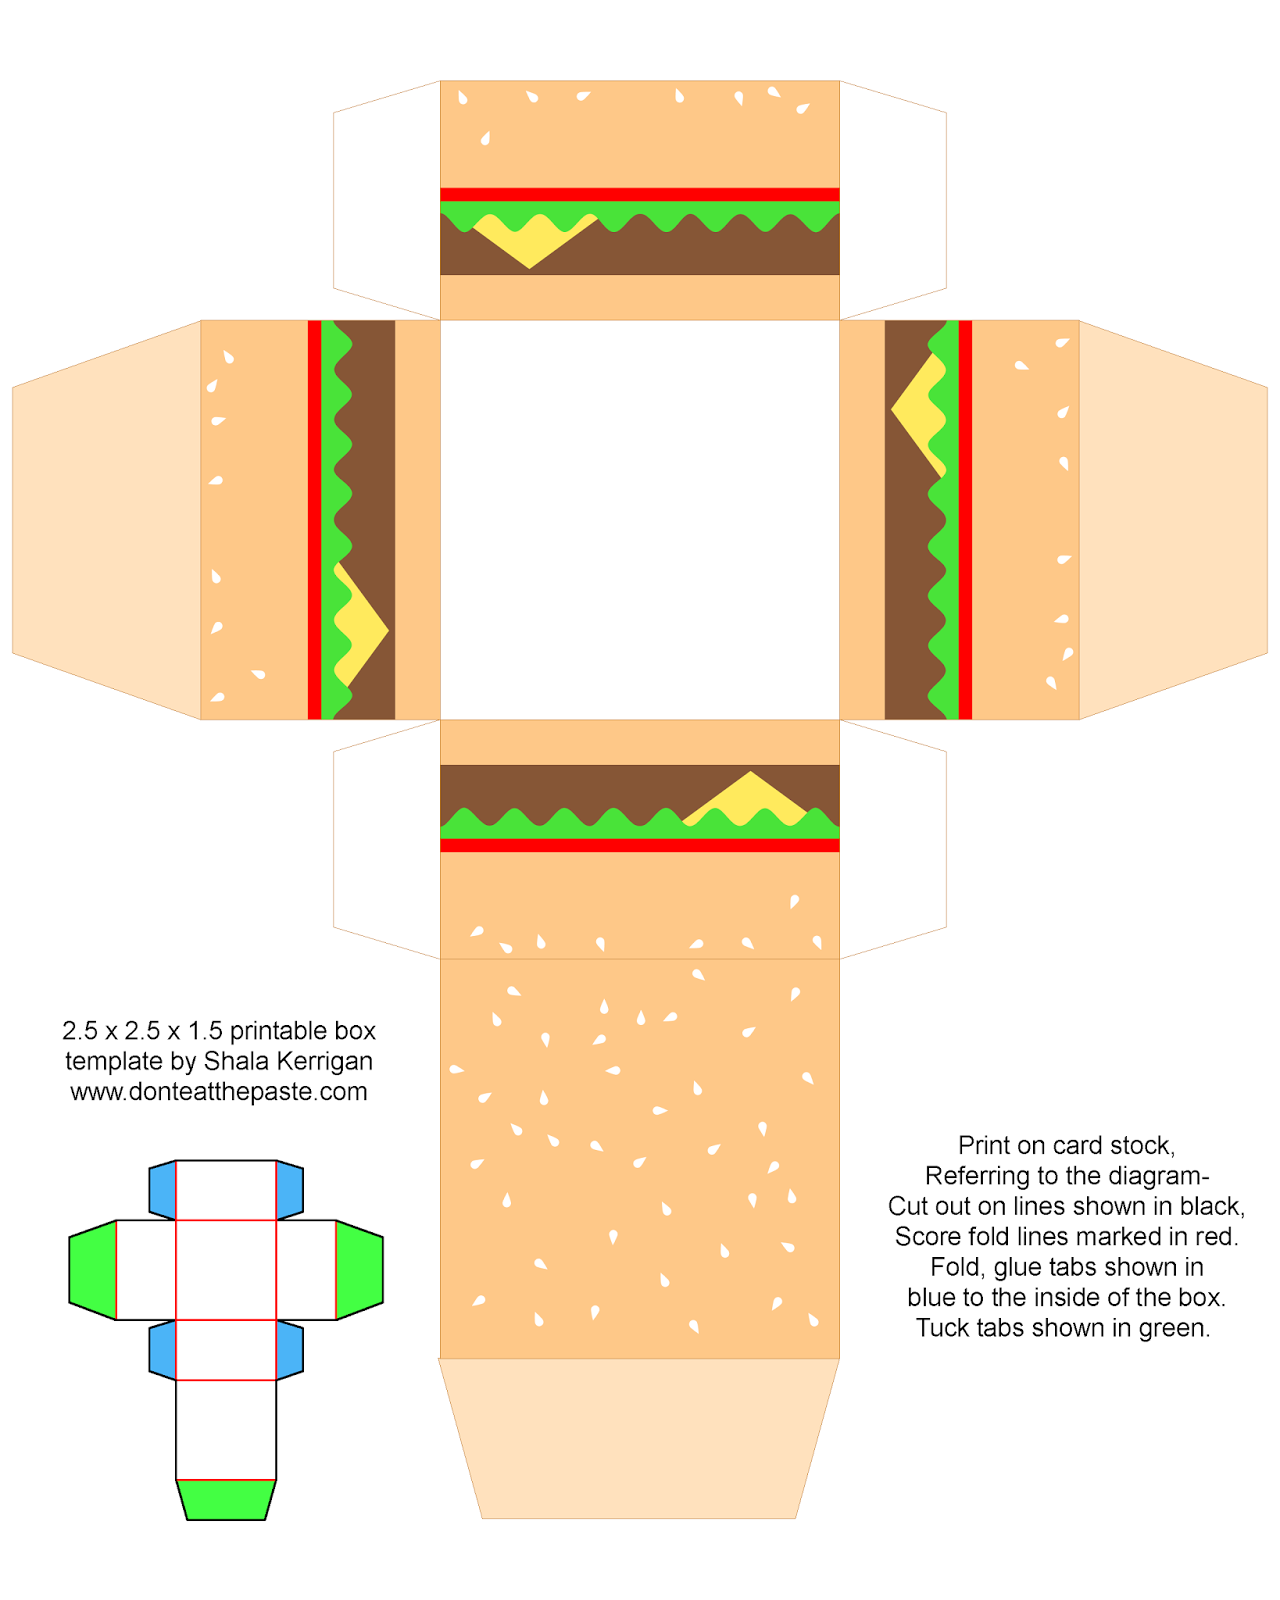
Printable cheeseburger gift boxes

Print and make this cute cheeseburger gift box! #printables #papercrafts

Cheeseburgers! Can you believe there is a National Cheeseburger Day?

This printable cheeseburger box comes with or without a cute face. The sesame seeds are because TG has a strong preference for sesame seed buns.

Click the images for larger versions, print on card stock, cut out, score folds, fold and glue!
Printable cheeseburger box- also available without the cute face.

Printable cheeseburger box- also available with a cute face.

Monday, September 15, 2014

Upcycled Briefcase into a Stenciled Art Case with FolkArt paints and stencils

How to stencil a stylish case for art supplies using FolkArt Multi-Surface paints #plaidcraft

This is a sponsored post, which means I got free products and paid for writing it. All opinions are my own and based on my experience. 

Getting the chance to use FolkArt Stencils and Paints for a project was a lot of fun. So first I'd like to talk about the supplies because they are incredibly nifty. Find FolkArt® stencils, paint and more at Michaels.


FolkArt Multisurface Paint- If you're a craft painter, you want this paint. It comes in a bunch of colors and some really gorgeous finishes. I got to use a pearl finish and some metallic finishes in my project. In 3 weeks it air cures on smooth surfaces like glass and ceramics, it works on plastic, on paper, on every surface that gets painted in my home. We are using it this weekend on some white cups, and possibly on some white blankets. As much as everyone in my family likes to upcycle, this is our new favorite paint.


FolkArt Stencils- laser cut precise stencils, these have perfect sharp edges that are smooth, lots of detail and are reusable. They also come in lots of trendy designs, like the jaguar stencil that I used.

FolkArt Stencil Adhesive- I love this stuff. You apply it to the back of your stencil- it daubs on. Then your stencil is lightly adhesive and won't move around. If you make sure to get the fine details that might come up when you pounce your paint on, they don't move either. Then you can peel up the stencil easily and it doesn't leave a sticky residue. Best part? Even if you're re-using the stencil in your project, you only have to apply it once. It stays sticky for a few uses.

So I had a lot of ideas, but decided on making the art case for my daughter because she can keep a lot of her supplies nice and neat in it. So many people have switched to using laptops and bags that briefcases are all over thrift stores and garage sales. They are perfectly designed for paper and art supplies with a hinged lid and rigid build to keep everything very flat. So you'll need to find a briefcase in good condition in a thrift store.


You'll also need your favorite paint applicators, foam plates and painter's tape. I used a larger sponge for stenciling and a foam roller. My photos show a sheet of vinyl for the first part instead of painters tape because the vinyl was damaged and convenient.

The colors I used are
Metallic 14K Gold
Metallic Bright Gold
Metallic Chocolate Brown
Mandarin Satin Pearl

So the first thing you'll do is block off the middle top of your briefcase.
Put some paint on the foam plate. I put on a few colors, starting with the golds, and adding a few small spots of the other two colors. Paint the edges of the case. Pull up the tape and let it dry.

While it's drying, daub the back of the stencil with the FolkArt stencil adhesive. After the FolkArt paint is dry, put the stencil in place in the center of the case.
You can tell that I tried out the stencil first! Make sure the small areas that might come up while your pounce are well adhered. Because of the texture of the case, using a nearly dry brush and going over it twice worked better than using a lot of paint and helped prevent bleeding into the texture. Pounce the brush, and shade your colors from lightest down to the bottom with darkest. As you can see, the stencil needed to be moved to finish. I let the paint dry, then put the stencil on the bottom to put in the last little bit.

The final step is the stripe edging. Make sure all your paint is dry before taping.
As you can see- I used just the gold for the inner stripe, and gold and brown for the outer stripe. The difference between the stripe and the edging is subtle and looks really good.

My daughter is thrilled with the case, and even my son said it looks neat. I think he plans to pinstripe a case for himself using the same colors. The finishes are so nice looking.

Want a LOT of great project ideas? Check out these links.
Check out The Plaid Palette blog
Sign up for their  newsletter
Follow on Pinterest
Like Plaid on Facebook
Follow on Instagram
Follow on Twitter
Watch Plaid on YouTube
Follow Plaid on Google+


Must be fall- geese and magpies

As the weather starts to change, so do the leaves on the trees. It's time to get in the last of the harvest. I have quarts of rhubarb, raspberries and peas in the freezer until next week when TG and I have more time to can and dehydrate. I also have a lot of pea shoots and leaves that will be turned into soup tomorrow night for dinner. There will be a recipe for people wanting to get everything they can from their gardens.

Magpies are getting more visible. I have no idea why that is, but in the fall and winter- I see a lot more magpies locally, and geese start doing practice flights and leaving their summer nesting grounds, you see gaggles in random places in the city. Click on the images to see larger versions.
Follow me!!


Sunday, September 14, 2014

Embroidered Wood Jewelry using the new Dremel Micro 8050 (and why I LOVE this Dremel)


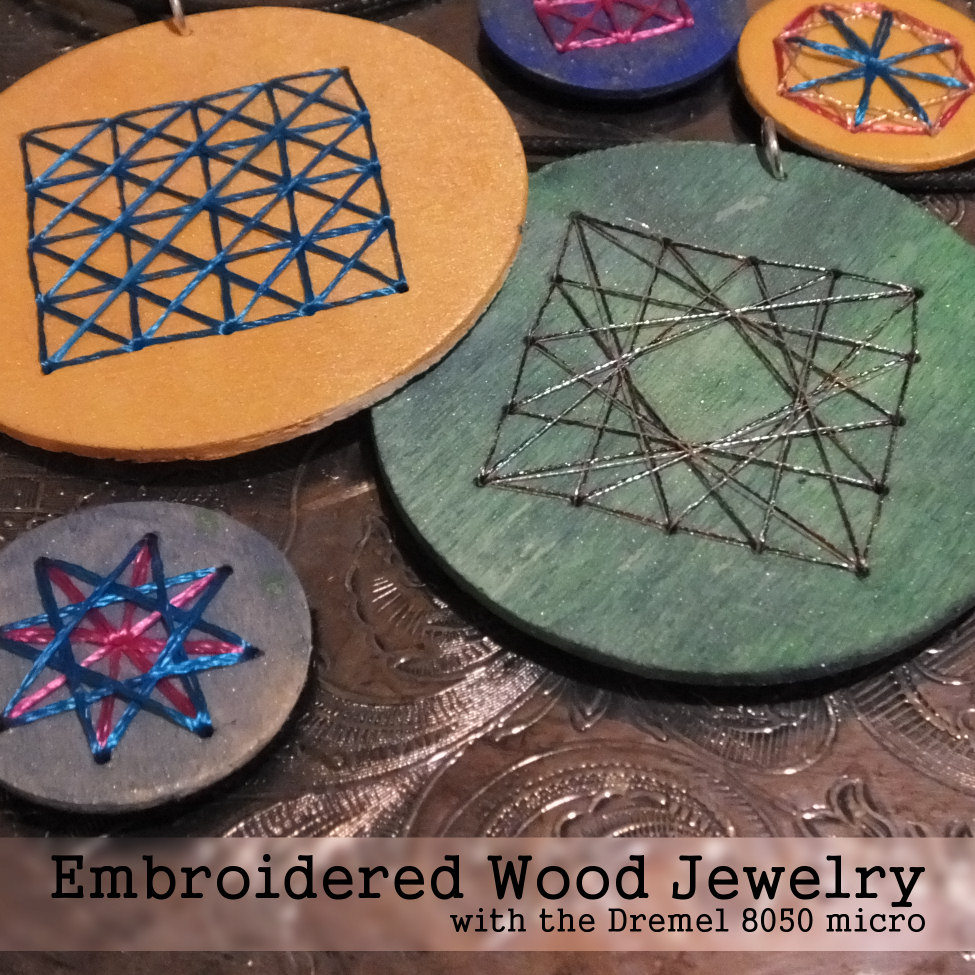
Embroidered Wood Jewelry tutorial using the Dremel 8050 Micro #MyBrilliantIdea #CleverGirls #sponsored
Dremel is awesome, you all know the. The first name in small power tools has the perfect new tool for crafters and hobbyists. The Dremel® Micro™ 8050 tool.

It looks like this, and it's available in all the usual places. Home Depot, Amazon, and it's 89 dollars USD.
So what makes it the perfect tool for hobbyists?

  • It works with standard Dremel bits, grinders, burrs and collets
  • Lots of power in a cordless that can be left on the charger until needed- it automatically stops charging when the battery is full. 
  • Light weight and ergonomic design is easy to hold and control
  • TASK LIGHT! When it's in use, it has a little directed LED that shines right on the project to really see what you're doing. 
  • It does everything you expect from your Dremel Rotary tool, it drills, grinds, sands, sharpens, engraves and carves
In fact, the only thing that's not perfect about it in my family is that we have only one. We plan to remedy that soon. My daughter loves it for making hard wood knitting needles. She whittles down to the basic shape for the point, then uses a sanding drum to finish shaping for a nice taper. My husband thinks it's the best thing in the world with a small collet and drill bit to put nice neat holes in leather without having to line up punches. Using the 8050 Micro, he can mark where the holes need to be then zip zip zip and they are done. My son likes engraving glass.
It's designed to fit well into small areas, and to work on small projects.

Check out Dremel on TwitterFacebook and Pinterest for lots of ideas and projects.

To make the jewelry shown, you'll need a Dremel 8050 Micro, a collet and 1/8th inch drill bit- both are available from Dremel, and if you want to bevel the edges, a sanding drum.
You will also need:
Wood disks, embroidery floss- this is a great use for specialty floss, paint, glue, needle to fit the floss, and jewelry findings. 

This is a good project for craft nights and if you pre-drill, a fantastic project to do with children because there are so many ways to embroider designs and paint the disks.


Plan your holes. I went with a couple layouts for the small disks, and one layout for the large pendant disks- I made marks on one of the wood disks.
Then instead of marking each disk, I taped a few together- these are fairly thin disks of wood. 
Then drilled the holes. So fast, so easy.
Now, you paint them. Remember to contrast the paint with the floss so the floss shows up well, and start stitching. The fun part is that the same hole layout can be used in different ways. 
Spread a layer of glue on the back to seal all the knots and thread. You can back the disks with paper, felt or even another disk. Then attach all your findings. I'm going to glue the small ones to barrettes and ring blanks. The large ones are fun pendants. 

Dremel wants to celebrate its fans’ brilliant projects, work and ideas! Now through October 12, share, tweet or post photos on Facebook, Twitter and Instagram that depict your brilliant ideas using the hashtag#MyBrilliantIdeaSweeps for the chance to win weekly prizes, including free tools and handmade gifts, or the grand prize: a custom-engraved Honda scooter and a Micro 8050. Visit www.facebook.com/dremel for rules and to learn more.

I was selected for this opportunity as a member of Clever Girls Collective and the content and opinions expressed here are all my own.

Thursday, September 11, 2014

Geometric mandala to color- I call it joy!

Joy mandala
I call this a joy mandala because I was thinking a lot of happy thoughts while drawing it. I hope you enjoy coloring it in!

Click the images for larger versions to print:
Small JPG version:
A mandala to color- available in both JPG and transparent PNG format

Large transparent PNG:
A mandala to color- available in both JPG and transparent PNG format


Flower Origami Book Reviews

I'm reviewing 2 books today because I'm backlogged and they are both pretty great books with a couple things in common.
They each have step by step diagrams for folding flowers. One is a kit with instructions for more traditional, stylized flowers including some modular designs. The other is a book with lots of instructions for making fairly realistic flowers and stems to create paper/origami ikebana. Both books come with dvd instruction!
Books provided by Tuttle Publishing- check them out on Facebook!!


So let's get started-
Review of LaFosse and Alexander's Origami Flowers
This kit has paper, a dvd and a book full of traditional style flowers. The paper is a standard kami paper, brightly colored on one side, smooth, thin, and easy to fold. The book diagrams are in standard origami notation, but have instructions in English under each step to clarify the steps. The dvd is very well done, with the focus on the folding and brightly lit.

The models are a mix of fairly simple one page models like the lily, more complex models like a rose, and modular models. There are also a few leaf models and instructions for adding calyxes and stems to the flowers for displays or gifts.

I'm rose impaired, and A Rose for Irene is a lovely, complex model with a lot of layers. Trying it just from the book, I messed up a couple steps. So I tried the dvd. Just delightful. Each step was explained, and using it in conjunction with the book, it all made sense. It was like having a private class in how to fold that rose. I tried a few other models using the book and dvd together and it helped out considerably for fitting in the last piece of a modular flower. The lily model, as shown on the DVD actually showed me a faster way to fold it than I've been doing for the last several years.

If you're more than a casual folder- this kit may be too basic for you but I'd strongly recommend it to beginning folders. The video instructions are well explained, and in conjunction with the book will teach you how to do origami. The models are well chosen too. The flowers can be use as ornaments or gifts.
Review- Origami Ikebana by Benjamin John Coleman


Ikebana is the art of flower arranging. Japanese flower arrangements are based on form, Instead of a bouquet of bright flowers all together, it's an elegant, minimalist arrangement based on a triangle of elements that draw the eye to the shape, form and feeling. It's a lot like sculpture with flowers.

This book and video teach you how to create more realistic flower form to use in your long lasting paper arrangements. Everything in the arrangements is made with paper. This method doesn't use floral wire or tape. You'll need different kinds of paper, glue and paint. It's a very comprehensive book. He covers materials, how to choose and cut paper, how to find the grain of the paper and how to paint it. The models themselves are based around some common shapes and forms with enough difference to make different kinds of flowers and leaves. The flowers have enough layers to handle a fair amount of sculpting.

The branches and stems are done using makigami, which is a rolled paper form that's really pretty simple once you've gotten the hang of it. That uses newspaper instead of more expensive paper, and a solution that's inexpensive to make so you can practice until you have the technique down.

There are even instructions for making a rock base from newspaper for your arrangements!

The video is very well done. The author is clearly enthused, and some parts he explains while looking into the camera and there are displays of ikebana hanging on the wall behind him so you can see the forms. For the folds, it's focused in on his hands and the paper. Some of the folding is more complex, but easy to understand when you see it done.

So here's the part that made me really happy with this video- my family watched it with me. Not just "in the room while I watched" but actually watched it. We are all at different levels of folding ability, so parts that I grasped quickly needed to be paused and played again for some of them, but that could be done. These are projects that my whole family can enjoy.

Because of the complexity of some of the flowers, I'd recommend this to people who have some experience with origami and are comfortable with the traditional, simple models. Advanced beginners will find it inspiring and probably get hooked on it.


Amazon.com affiliate links don't affect your cost, and provide extra income to me personally, which helps support this site.

I received a complimentary copy of this book to review, I received no other compensation, and my review is my honest opinion of the book. You can read more about my review policy here.

Saturday, September 6, 2014

Cross stitch a book quote

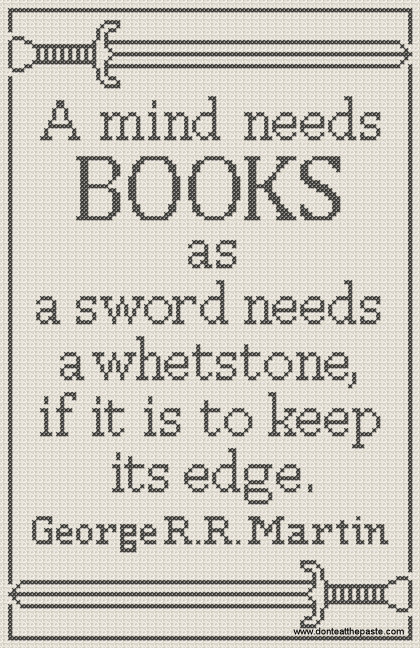
A mind needs books- free cross stitch pattern

This is a cross stitch pattern that I drew up for my son. The quote is from the ever popular Song of Ice and Fire series and was said by Tyrion Lannister. It's a simple pattern all in full stitches and one color. So pick your favorite color to stitch it up in! The finished size on 14 count is about 9x12 inches.

Print chart to fit page.
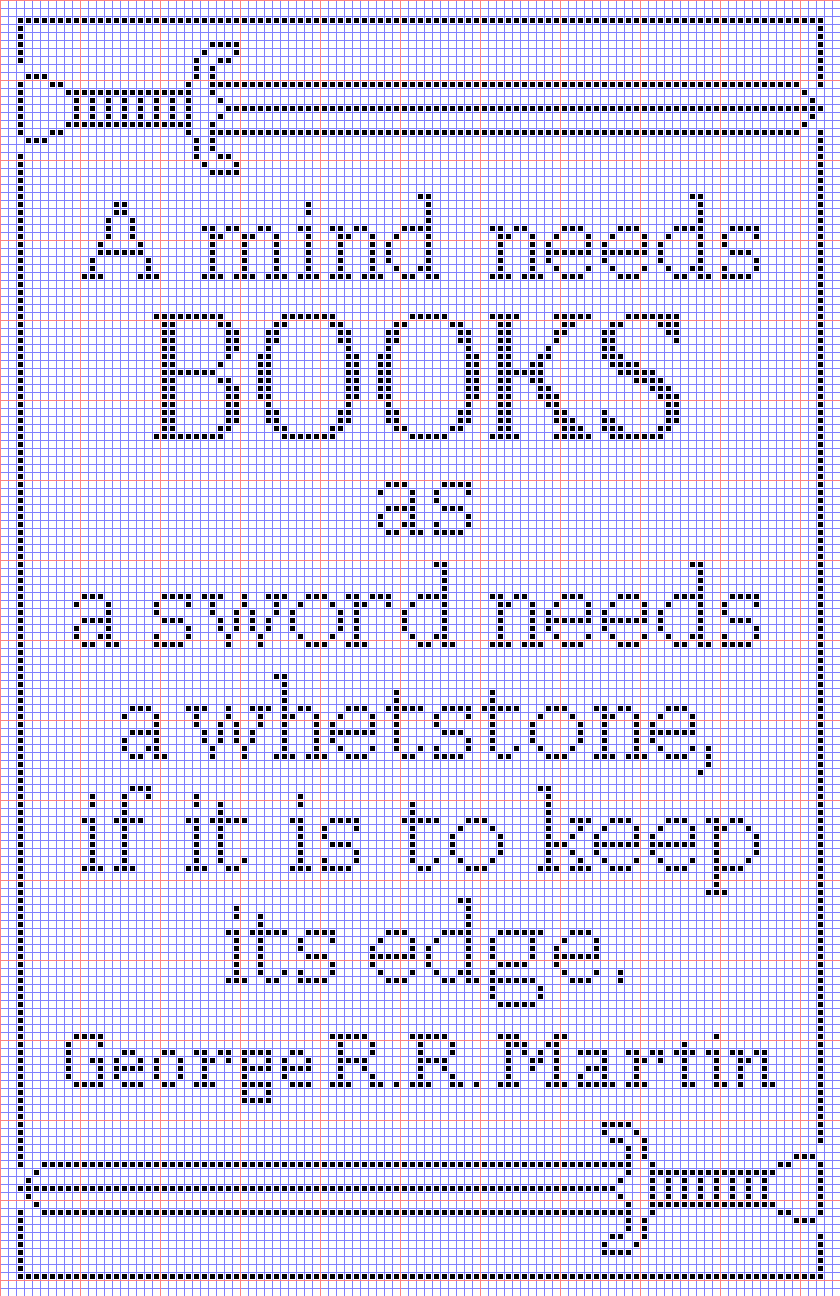
A mind needs books- Game of Thrones quote about reading to cross stitch

If you like this, you can buy this e-book that's formatted for e-ink and will work just fine on your mobile devices or borrow it with Kindle Unlimited or Prime. It's 5 quick to stitch skeleton keys that make a nice decoration. 


Wednesday, September 3, 2014

Printable tulip gift box


It's been a while since doing one of the slightly offset graphics. I hope you enjoy this one. It was inspired by 2 things. First- the nights are getting cooler, so it's time to consider what kinds of bulbs to plant for spring next year. The other- I've been re-watching Fringe with my husband and a white tulip sounded like a good idea.

Click the image below for a larger version of the tulip printable box- print on card stock, cut out, score folds, fold, glue!