Printing Tips

Check out my printing tips if you're having problems printing to the right size
If you'd like to support this site and all the free things I post- please check out my Don't Eat the Paste Mandala collection coloring book for 9.99 at Amazon.
Showing posts with label Cricut Explore. Show all posts

Thursday, March 26, 2015

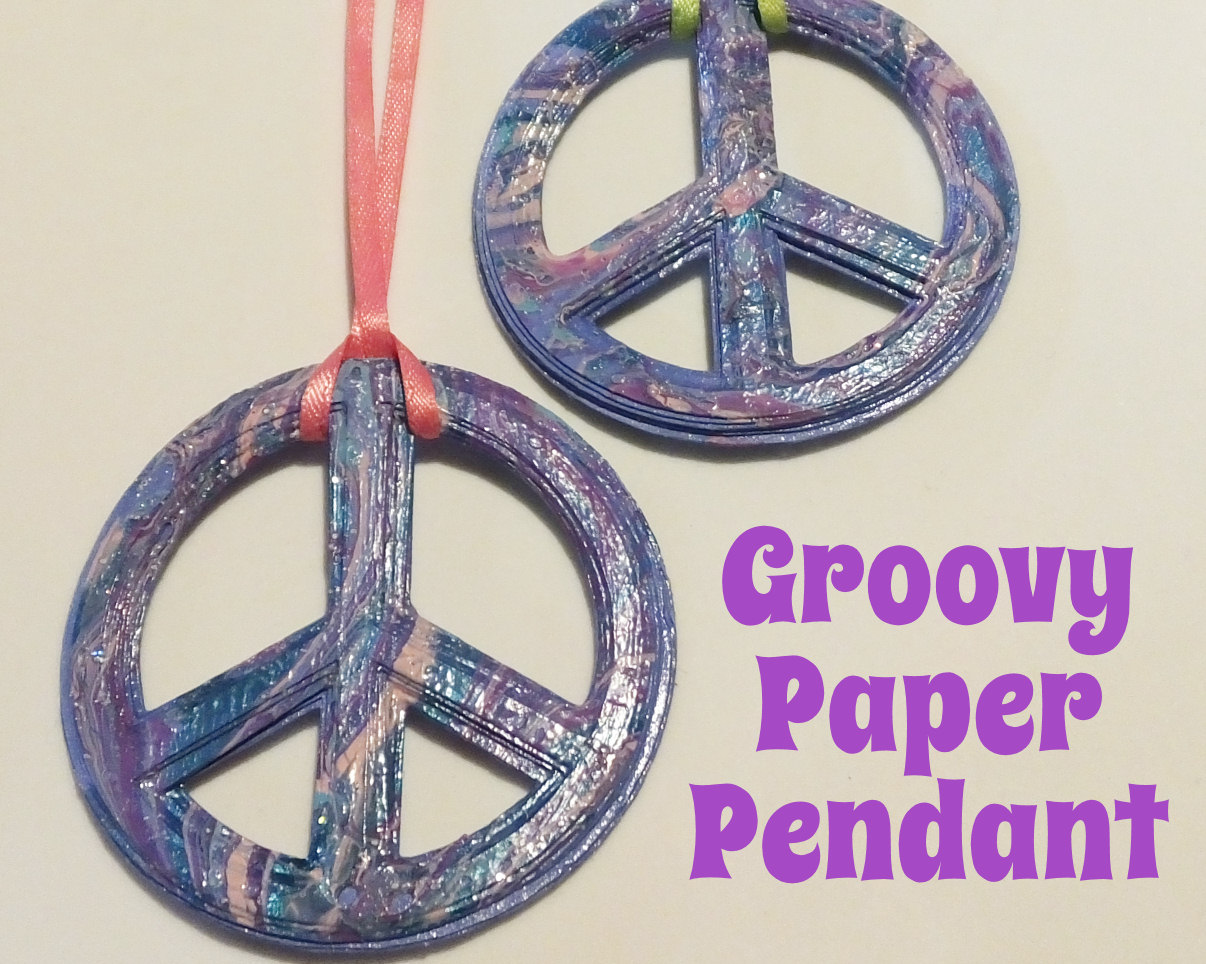
Groovy Paper Pendant

Instructions for a tie dye effect done with nail polish and templates for hand cutting or Cricut

Groovy right? Like I said before, I love peace symbols jewelry, but prefer handmade ones. The neat thing about this project is that you probably have all the supplies on hand.

There are 2 methods- I used the Cricut Explore Air to cut my pieces of peace (tried to resist the word play, failed.) The Cricut Explore Air is really nifty. It does all the wonderful things that the Cricut Explore does, it cuts, it draws, it embosses and scores, it uses the same online Design Space which makes it easy to upload your own images and cut, draw, emboss them. It has the same print and cut feature which let's you use your home printer from the interface to print a design then cuts it. But it's not chained to your computer- it works with Design Space application for iPad. I tried it! Sign in and all the stuff you have is still there. Cartridges you've loaded to your account, your own images, library items and things you've purchased, all there on the app. One of the really nice things about Cricut Explore is that you don't need to use vectors to create your own shapes. Upload images and shapes from your computer. Erase stuff, put new stuff in it, add text, it's all super easy.

So okay, done being all fangirl about the Cricut Explore Air (except that I really, really do love it)

The other method is obviously cutting out the pieces by hand. It's pretty easy too.

So how to make this groovy tie dye effect paper peace symbol necklace?

You will need:

  • Card stock
  • Scissors 
  • Mod Podge!
  • Nail polish in several colors
  • Bowl of cool water
  • skewer, chopstick or fork
  • Ribbon
  • optionally- Cricut Explore or Explore Air
  • template
So you can print the template on cardstock. Size it to make the thickest peace symbol the size you want the finished pendant to be. You can fit 2 to a page for smaller peace symbols.

Or upload this image to your Design Space account, don't preserve the image, you just want the cutting lines. Upload it as a simple image. It's a transparent PNG so there won't be anything to clean up. 

Cut your peace symbols. Glue them together from thickest to thinnest using Mod Podge. Getting them exactly centered isn't really necessary. I didn't, as you can see, I used blue card stock. 

Let the Mod Podge dry overnight, then do the back of the peace symbols and let that dry. 

Mod Podge IS water soluble, but getting it wet quickly and not letting it soak won't ruin a project. This is a good thing because the next part, the tie dye effect part, uses water. 

Water and nail polish!

Inexpensive nail polish is just fine for this project. If you want to make this a party project with friends, you can cut and glue a bunch of the peace symbols, 1 per friend, then have them each bring a bottle of nail polish. Using a few colors with good contrast works best.

Now grab a bowl and fill it with cool water, then open your nail polishes and drizzle them into the bowl. 

Yeah, really. 

Then I used a skewer to cut through the colors and swirl them.

Isn't that neat looking? Then you'll hold the paper peace symbol by the edge and quickly tap the whole front into the floating layer of polish. Lift straight out. 

Place it polish side up on a safe surface to dry, and if necessary use a bit of tissue to pull water off the piece. You don't want to touch the polish, just touch the corner of the paper to the water and let it wick it up. 

Let the nail polish dry. Put your ribbon on, add beads if you'd like! 

I was provided a Cricut Explore Air at no cost for review purposes for my non-biased opinion, I was not given any other compensation, and this is my honest opinion and experience. 

Amazon.com links help pay for my addiction to book and new cast iron pans for The Amazing Turnip Girl, so I appreciate it whenever people can use my links! 

Below is a link for the Cricut Explore Air Wireless Bundle, and my own coloring book full of peace symbols and other groovy things. 

Monday, October 6, 2014

Printable paper gemstone rounds

Printable gemstones for costumes or decorations- with a file for hand cutting and PNG files to use with the Cricut Explore!


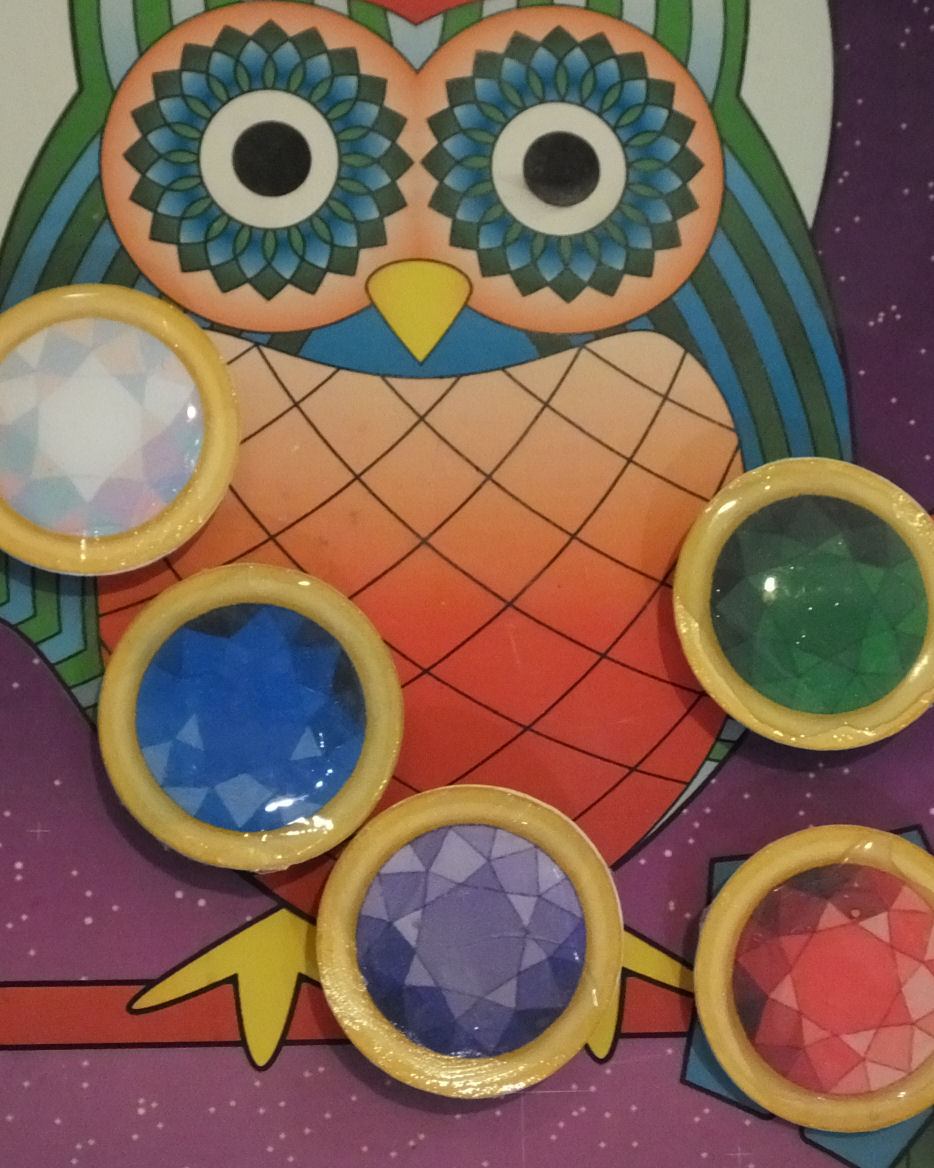
I love magnets, especially the ones that are made by members of my family. These are super easy, but you don't have to use the paper gemstones for magnets. They can also be used as decorations on cards, glued on to bobby pins that have a glue pad, or turned into jewelry for part of a Halloween costume.

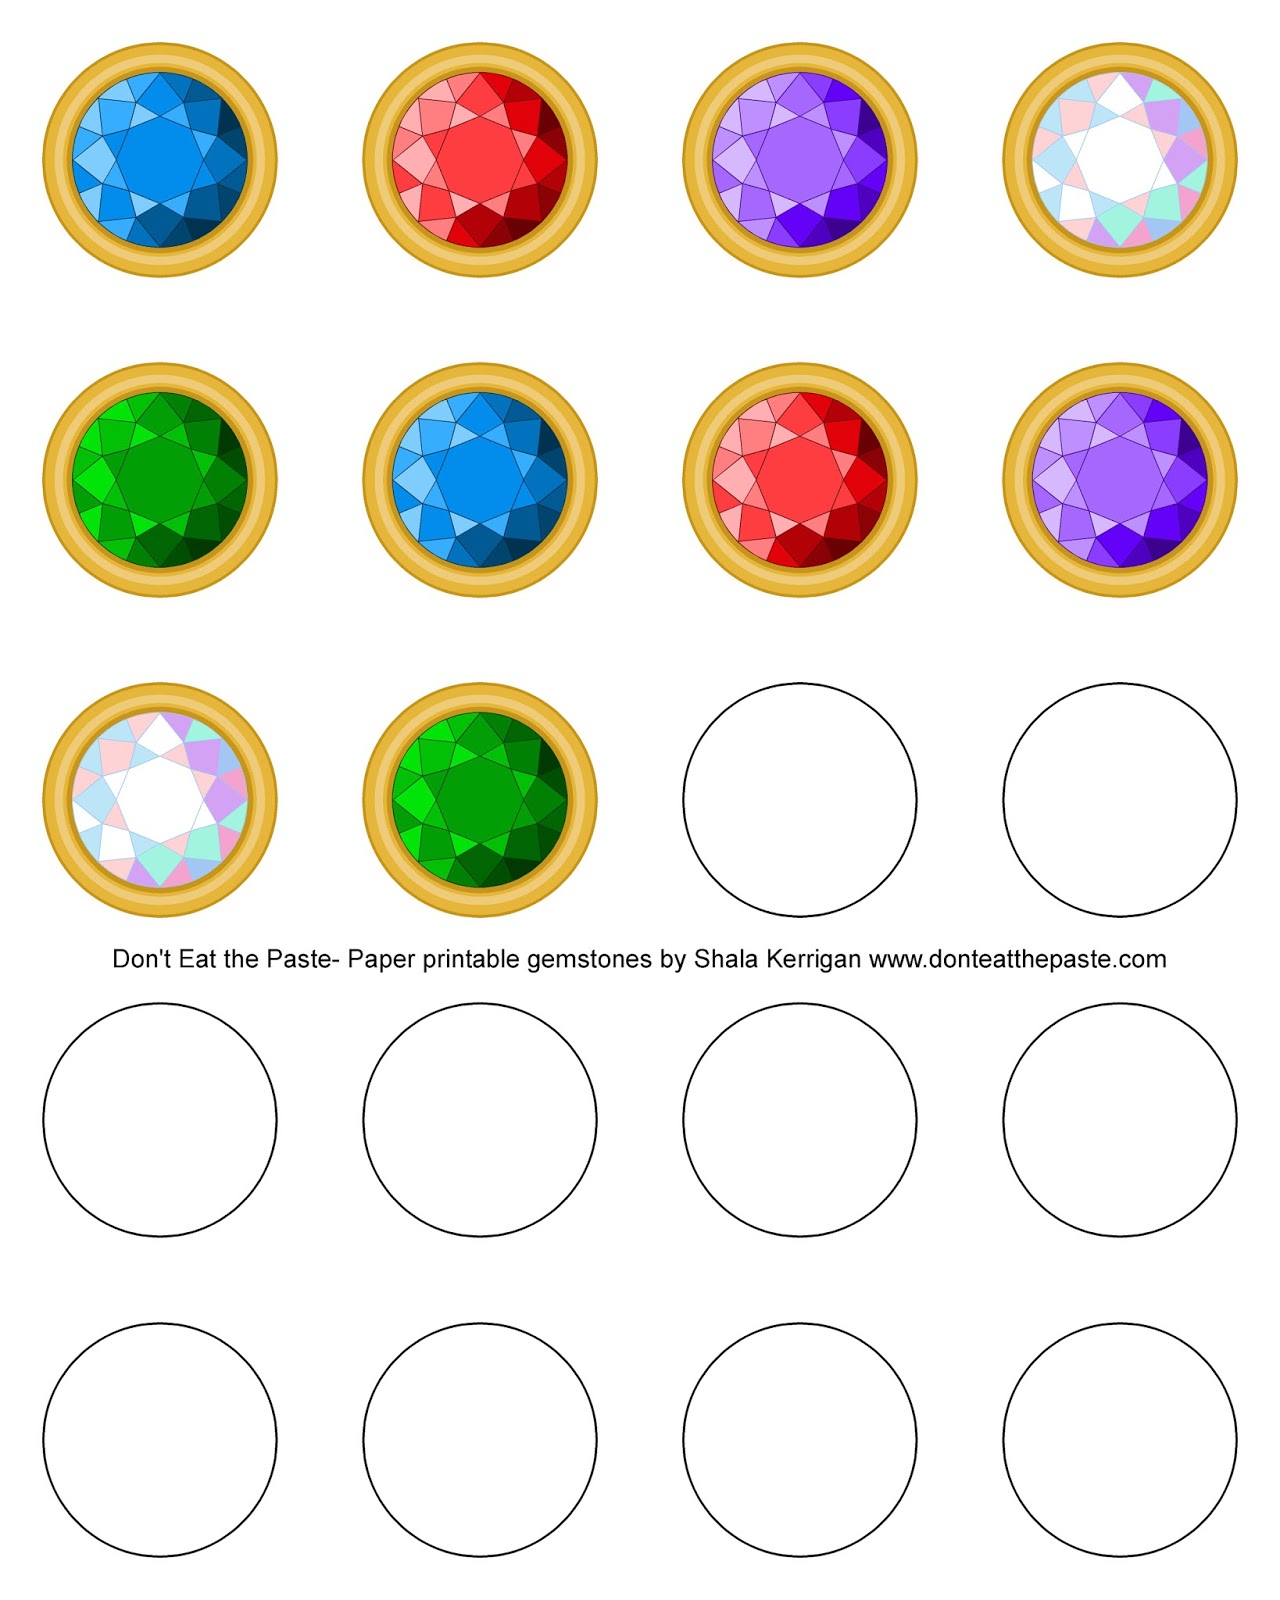
So for people who like to print and cut, you'll click below for the larger image, print out this page on card stock and cut out.
Printable gemstones

Now in a minute, I'm going to tell you how I did them. but the finishing methods for both versions are the same. 2 layers of cardstock are pretty stiff which is why they work as magnets and accessories. If you use any kind of ink that might smudge- spray the color printed disks with a clear sealing spray. After that dries, use Mod Podge to adhere a blank disk to the back of a colored disk. Mod Podge over the top, and let dry. Mod Podge on the bottom and let dry. Now you can choose if you're going to use Dimensional Magic. I did, and I like the look but the finish did crack on a couple. Let that dry for 24 hours, and use a strong glue to attach it to what ever you're using them on! (Small round ceramic disk magnets on mine!)

So what did I do different? Print and cut with the Cricut Explore. Have I mentioned how much I LOVE this thing? The new update allows you to print using your home printer and then cut out your image. So all of my disks were perfectly cut and so were the blank backs. So when you update, and go into Design Space, you'll calibrate and watch videos that show you how to use the new update. 

The new update works with PNG files!! So here are those files for you to use (and you have my permission to use them in other Cricut projects)- click on them to download and save the transparent PNGs
Green gem

Printable diamond

blue gem

red gem

purple gem

So I went to edit, and put them all at 1.5 inches in size- this is what my print preview looked like after getting them laid out. It shows the bleed of my outside color so if the alignment is even a little off, it still looks great. 


Then after I printed and cut that, I flattened all the images, and switched them to cut and cut them from another sheet of card stock. 

Yes, it does work with more detailed cuts. I'll show that later this week! 


Using my Amazon links helps pay for this site and helps fund my book addiction.

Wednesday, August 6, 2014

Designing a quote bracelet with Cricut Explore

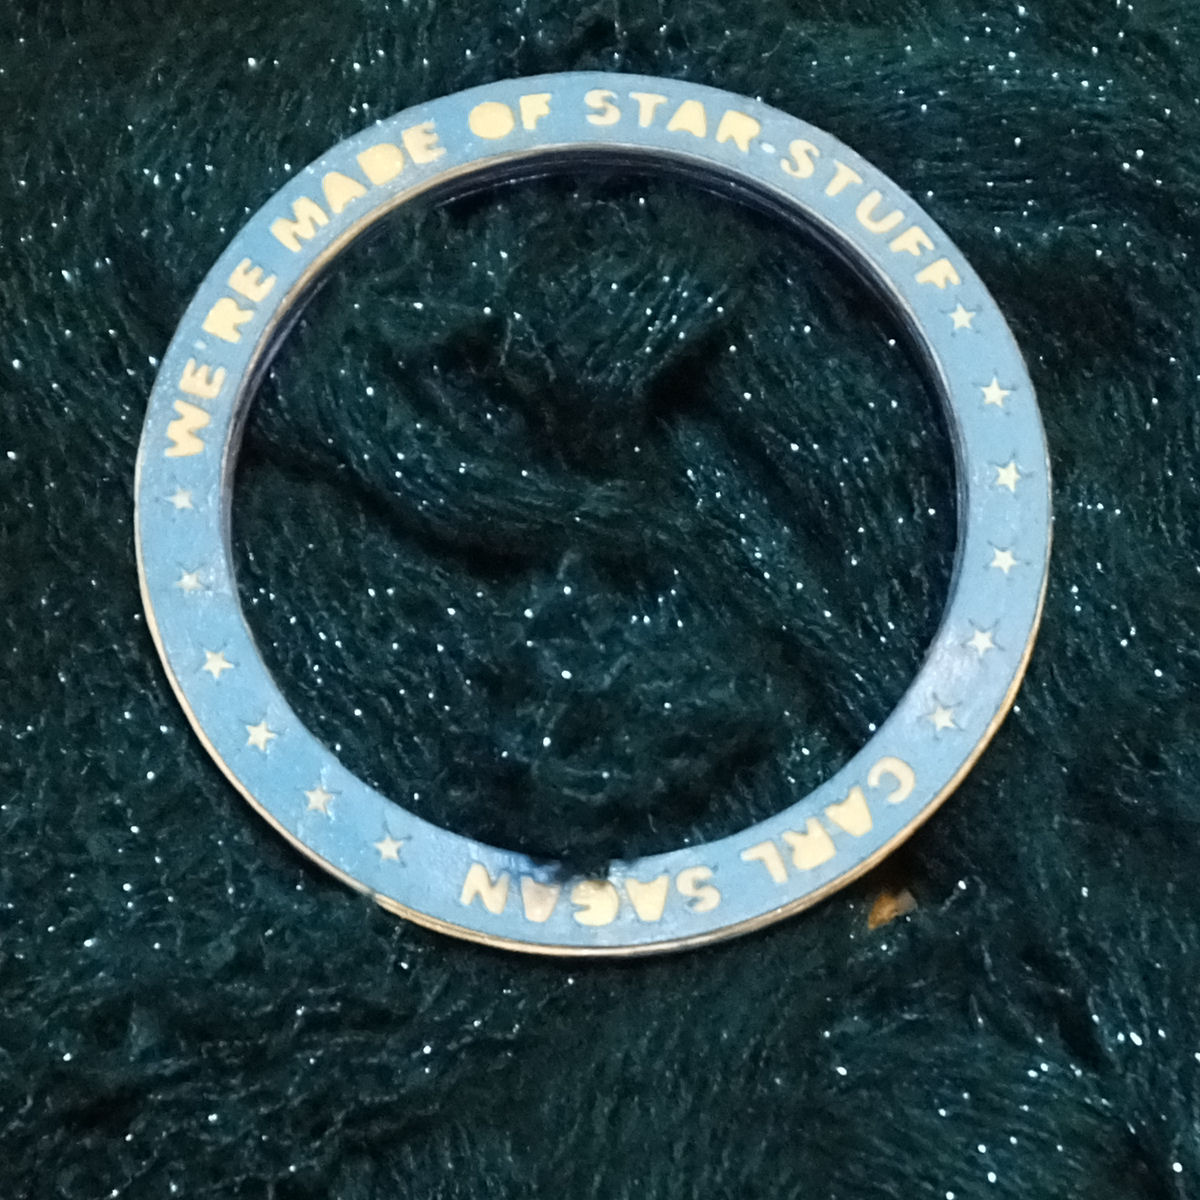
We're made of star-stuff bangle bracelet made using Cricut Explore #Cricut #papercrafts #jewelryproject

Recently I got a Cricut Explore to review and wow- I love this machine. What I like about it is how easy it is to use with my own graphics. I'm not limited by cartridges, and you don't have to use a vector program to design your own projects. Work in whatever program you're most comfortable in then create your project in the cloud based Design Space application.

The Cricut Explore will make very fine cuts easily. There is a huge library of shapes so if you don't want to draw your own, you can create projects using the shapes available. An inexpensive monthly membership gives you access to a lot of it, but I haven't really looked yet because yay! It cuts my own art easily.

So to make a bracelet using the Cricut, you will need a few things-

  • the inner diameter measurement of a bangle bracelet that you like the fit of- in my case, I prefer larger, looser bangles that slide partway down my hand. 
  • graphics program
  • 3 sheets of 12x12 card stock with at least 1 in high contrast
  • cutting mat
  • glue
  • Mod Podge
  • Cricut Explore!
  • Internet connection to use Design Space
So if you have those things, you'll open your graphics program and start putting together your quote bracelet.

Start by drawing a circle that's the same size as you want the inner diameter of your bangle, then decide how thick you want your bracelet to be. Double that number and add it to the inner diameter to figure out the outer diameter. 

Then you're going to start placing your letters for the bracelet. I chose a short quote " We're made of star-stuff" with Carl Sagan's name at the bottom edge. You'll notice my guide lines in blue for centering the letters. 

The little islands are going to be eliminated because it just adds to the cutting time and they won't be in the final project. I also added some stars. 
So now it's time to create the rest of the pieces. The outside pieces are the ones with the quote, the rest are solid. So this is what my final layout looks like. It's a transparent PNG with pixel clean lines. 

So then you upload it to Design Space, get it sized on the canvas, and cut it out of 3 sheets of card stock (and wind up with lots of circles that can be used in other projects)- Cricut has a bunch of YouTube videos that show exactly how to use Design Space. 

After it's all cut out, you start gluing it together. This is what my final edge looks like with all the stacked layers. Use thin layers of glue to prevent warping!

After the glue is dry, cover it in Mod Podge and let the Mod Podge dry completely. 

I'm having entirely too much fun with my Cricut Explore. Remember that wand and wizard hat mandala that I posted the other day? I used the components to make a decal for my husband's laptop.


Review item provided at no cost, this is my honest experience and opinion.