Printing Tips

Check out my printing tips if you're having problems printing to the right size
If you'd like to support this site and all the free things I post- please check out my Don't Eat the Paste Mandala collection coloring book for 9.99 at Amazon.

Tuesday, March 31, 2015

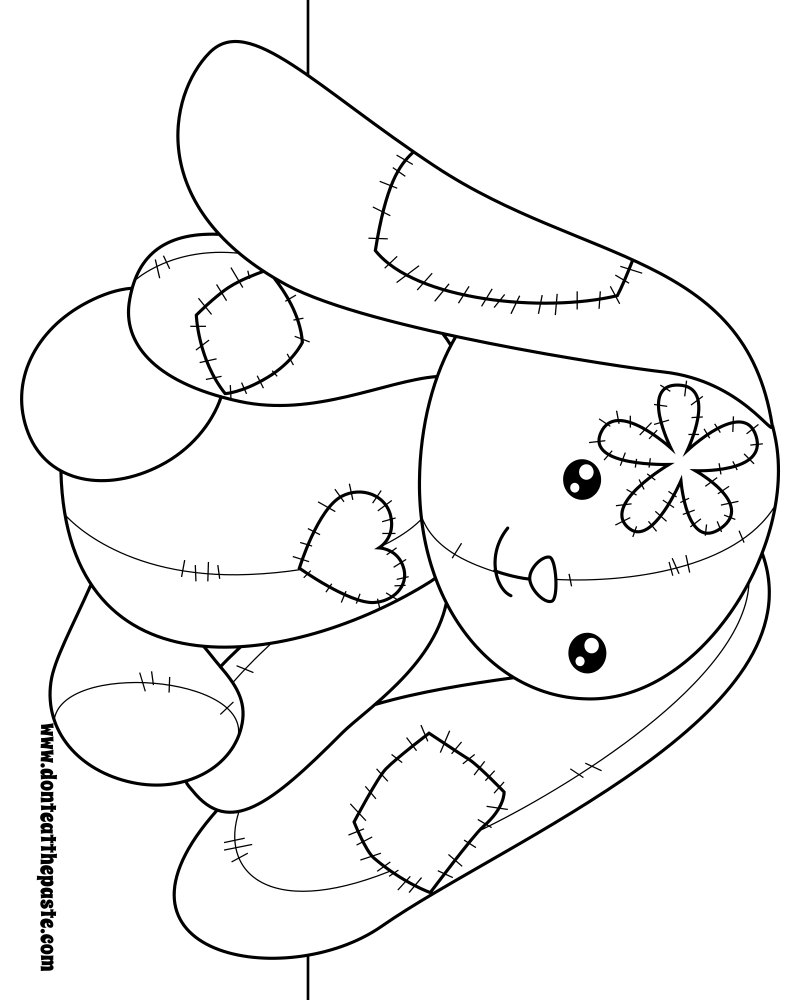
Bunny coloring page

Patchwork bunny- blank available for coloring!

You know how sometimes you start with one plan and end up with something else? My original plan was to use a bunny that I drew a couple years ago in a mandala. But then I couldn't find the file. So I started drawing a different bunny. The first one was more stylized. This one just wanted to be cute. I decided to do it as a coloring page instead of a mandala because there are lots of spaces for doodlers and zentanglers to make it their own. So you can color it in with straight colors, create patterns for the patches, or just completely doodle it. Anyway you do it, I'd love to see the results on my FB page.

To print and color this patchwork bunny coloring page- just click on one of the images below for a larger version and print!

Small jpg version:
Patchwork bunny to color. Also available in transparent png #coloring #zentangle

Large transparent PNG version:
Patchwork bunny to color. Also available in jpg #coloring #zentangle


Thursday, March 26, 2015

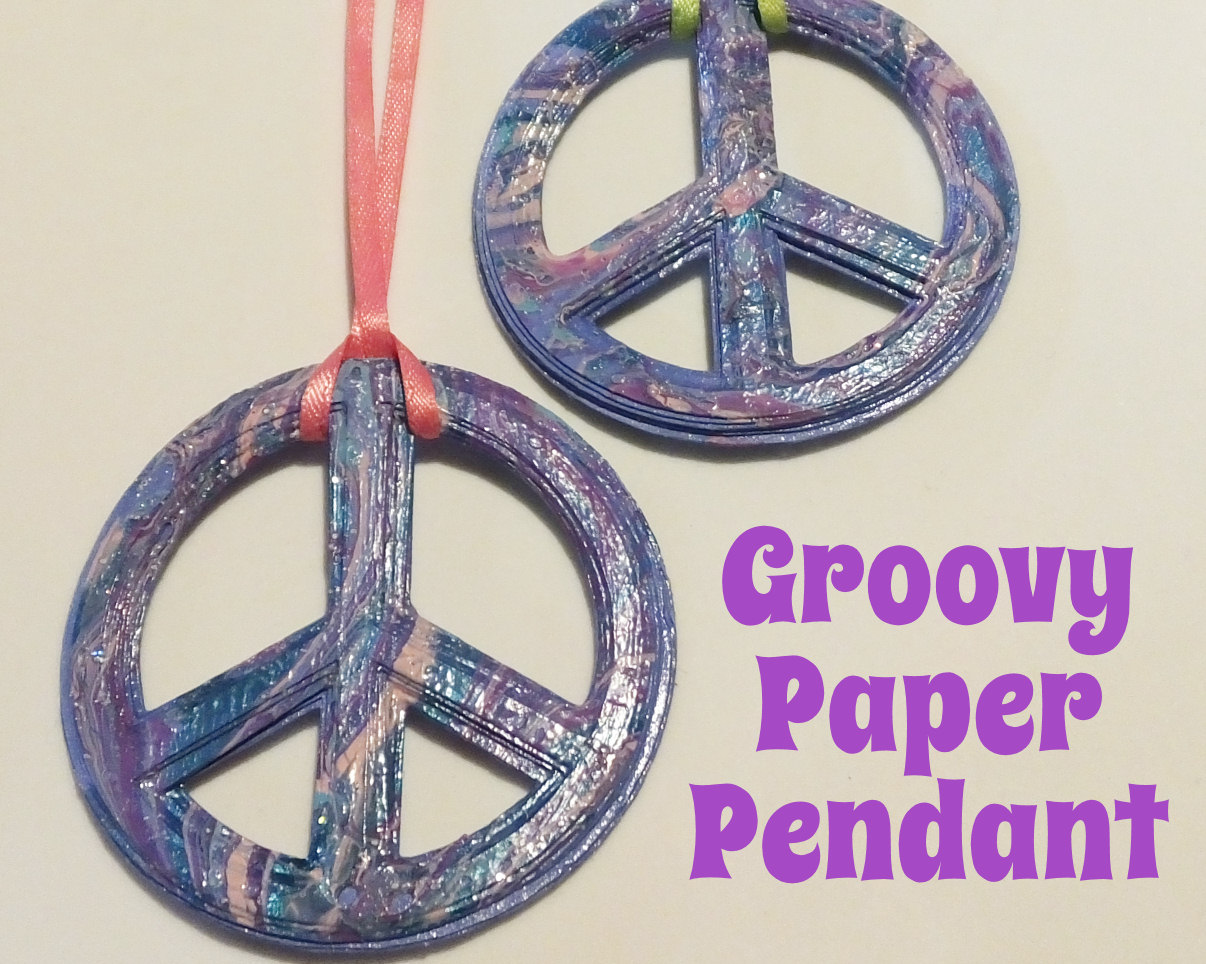
Groovy Paper Pendant

Instructions for a tie dye effect done with nail polish and templates for hand cutting or Cricut

Groovy right? Like I said before, I love peace symbols jewelry, but prefer handmade ones. The neat thing about this project is that you probably have all the supplies on hand.

There are 2 methods- I used the Cricut Explore Air to cut my pieces of peace (tried to resist the word play, failed.) The Cricut Explore Air is really nifty. It does all the wonderful things that the Cricut Explore does, it cuts, it draws, it embosses and scores, it uses the same online Design Space which makes it easy to upload your own images and cut, draw, emboss them. It has the same print and cut feature which let's you use your home printer from the interface to print a design then cuts it. But it's not chained to your computer- it works with Design Space application for iPad. I tried it! Sign in and all the stuff you have is still there. Cartridges you've loaded to your account, your own images, library items and things you've purchased, all there on the app. One of the really nice things about Cricut Explore is that you don't need to use vectors to create your own shapes. Upload images and shapes from your computer. Erase stuff, put new stuff in it, add text, it's all super easy.

So okay, done being all fangirl about the Cricut Explore Air (except that I really, really do love it)

The other method is obviously cutting out the pieces by hand. It's pretty easy too.

So how to make this groovy tie dye effect paper peace symbol necklace?

You will need:

  • Card stock
  • Scissors 
  • Mod Podge!
  • Nail polish in several colors
  • Bowl of cool water
  • skewer, chopstick or fork
  • Ribbon
  • optionally- Cricut Explore or Explore Air
  • template
So you can print the template on cardstock. Size it to make the thickest peace symbol the size you want the finished pendant to be. You can fit 2 to a page for smaller peace symbols.

Or upload this image to your Design Space account, don't preserve the image, you just want the cutting lines. Upload it as a simple image. It's a transparent PNG so there won't be anything to clean up. 

Cut your peace symbols. Glue them together from thickest to thinnest using Mod Podge. Getting them exactly centered isn't really necessary. I didn't, as you can see, I used blue card stock. 

Let the Mod Podge dry overnight, then do the back of the peace symbols and let that dry. 

Mod Podge IS water soluble, but getting it wet quickly and not letting it soak won't ruin a project. This is a good thing because the next part, the tie dye effect part, uses water. 

Water and nail polish!

Inexpensive nail polish is just fine for this project. If you want to make this a party project with friends, you can cut and glue a bunch of the peace symbols, 1 per friend, then have them each bring a bottle of nail polish. Using a few colors with good contrast works best.

Now grab a bowl and fill it with cool water, then open your nail polishes and drizzle them into the bowl. 

Yeah, really. 

Then I used a skewer to cut through the colors and swirl them.

Isn't that neat looking? Then you'll hold the paper peace symbol by the edge and quickly tap the whole front into the floating layer of polish. Lift straight out. 

Place it polish side up on a safe surface to dry, and if necessary use a bit of tissue to pull water off the piece. You don't want to touch the polish, just touch the corner of the paper to the water and let it wick it up. 

Let the nail polish dry. Put your ribbon on, add beads if you'd like! 

I was provided a Cricut Explore Air at no cost for review purposes for my non-biased opinion, I was not given any other compensation, and this is my honest opinion and experience. 

Amazon.com links help pay for my addiction to book and new cast iron pans for The Amazing Turnip Girl, so I appreciate it whenever people can use my links! 

Below is a link for the Cricut Explore Air Wireless Bundle, and my own coloring book full of peace symbols and other groovy things. 

Sunday, March 22, 2015

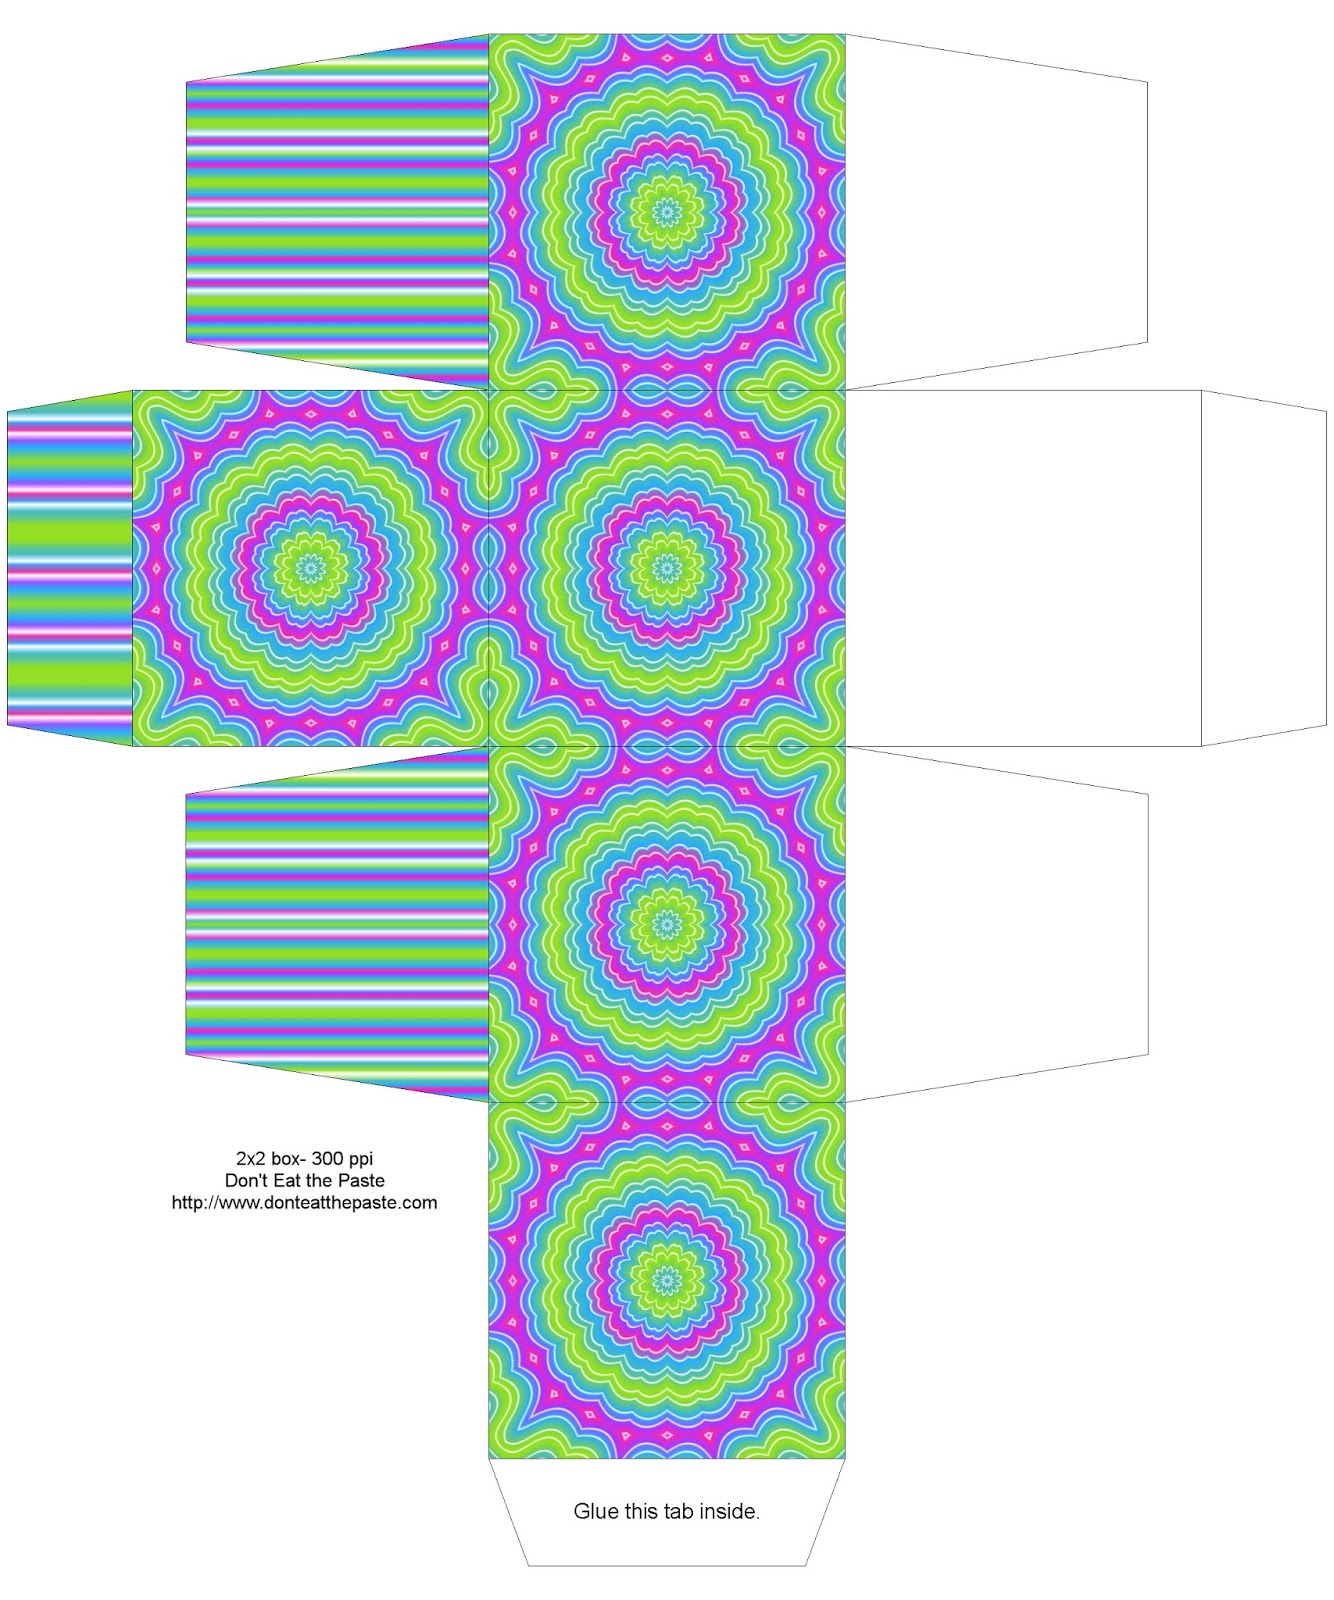
Spring Thing printable 2x2 box

It must be spring, although this winter was so weird that I'm not going to celebrate too quickly. However, given that my allergies are acting up in big huge ways, it certainly seems like spring!

Because of my allergies, today is just a really, quick and easy box but I hope you enjoy it! Print the box on card stock, cut out, score folds, fold, glue.

Spring thing printable box

There are other things planned, a book review or three, a game review, a couple giveaways and some crochet patterns. But those will be when I can brain again. 

I hope your spring is going well!

Sunday, March 15, 2015

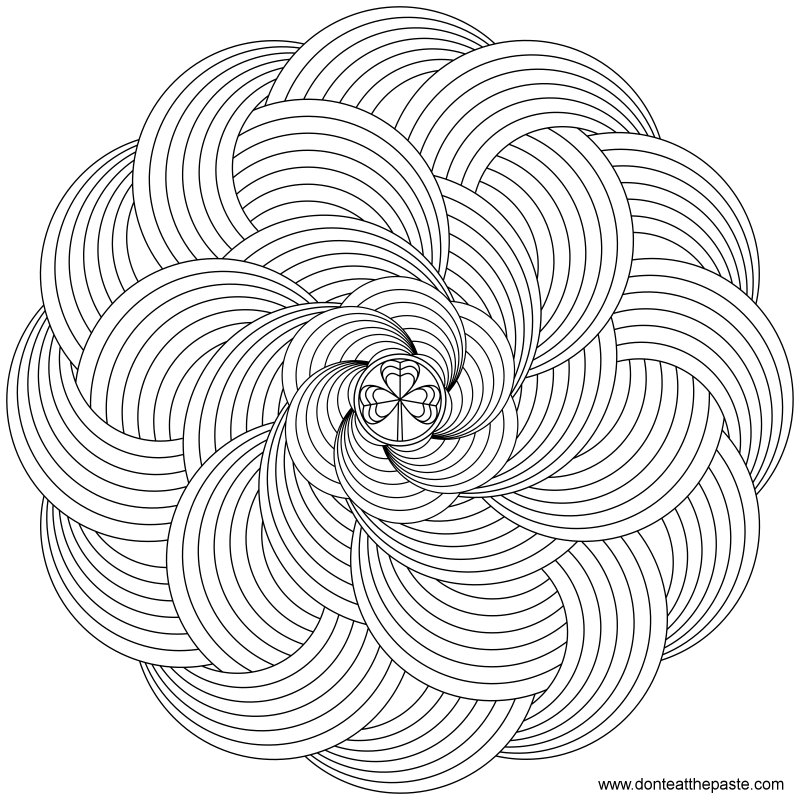
Rainbows for St. Patrick's Day Mandala to color

rainbow with a shamrock mandala- coloring version available

I hope you enjoy coloring this rainbow mandala as much as I enjoyed drawing it!

Click the images for larger versions to print and color.

Small jpg:
rainbow mandala to print and color- also available in transparent PNG  #StPatricksDay #coloring

Transparent png:
rainbow mandala to print and color- also available in jpg  #StPatricksDay #coloring


Tuesday, March 10, 2015

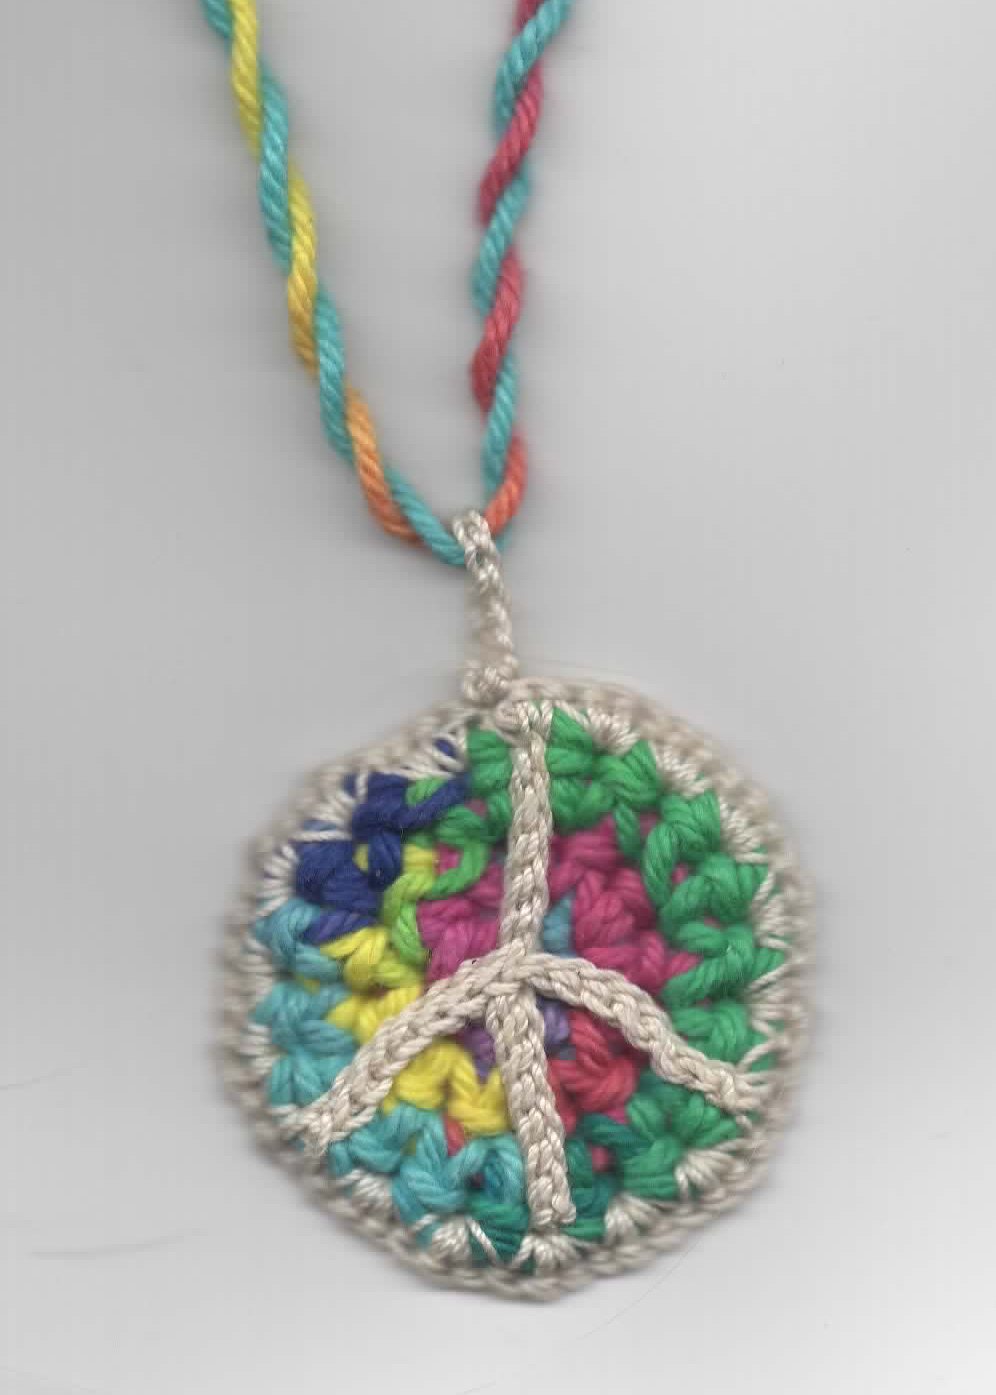
Crochet Peace Symbol Necklace

Crochet peace symbol pendant- with pattern!

I tease my daughter and tell her she's Hippie 3G. First generation was my mother, who was the right age, grew up in California, and was absolutely a hippie, political type. 
Second generation is me of course. After growing up in home full of sprouting jars, needle point, homemade yogurt and hummus way before it was trendy, I was either going to be a hippie or go totally the opposite direction right? (I still hate carob though. ICK!)
The Amazing Turnip Girl is pretty proud of being the 3rd generation of our family to wear tie dye, march for Equality, sprout, garden, make things and hug trees. 

One of my hangups is that I love peace symbol jewelry, but flat out refuse to wear a mass produced one. So I make my own, out of wire, wood and paper sometimes. This one, crocheted from American cotton is the newest one in my collection. 

Crochet Peace Symbol Pendant

It works up fast, and only needs a very small amount of yarn and thread. 

You will need:
  • Size G crochet hook
  • Size 7 steel hook
  • Worsted weight yarn- I used Lily Sugar 'n Cream in Psychedelic
  • Size 10 cotton thread- mine is from my stash and missing the label
  • scissors
  • needles to weave in ends
Stitch abbreviations:
  • ch= chain
  • sc= single crochet
  • sl st= slip stitch
  • st or sts= st or sts
American terminology used.


With yarn and size G hook-
Make a magic ring or ch:
Rnd 1: ch 1 (does not count as first st), sc 6 times in ring or first chain, sl st in first sc to join. (6 sts)
Rnd 2: ch 1 (does not count as first st), 2 sc in each stitch, sl st in first sc to join (12 sts)
Rnd 3: ch 1 (does not count as first st), sc in same st, 2 sc in next st, *sc in next st, 2 sc in next st*, repeat ** around, sl st in first sc to join. (18 sts) 
Break off, weave in ends.

With size 7 hook and thread-

First you'll make an X shape, then it's attached to the yarn circle to make the peace symbol.

Chain 16, in second ch from hook, sl st, sl st the next 7 sts (8 sl sts)
Chain 8, in second ch from hook, sl st back to the middle of initial ch, 
Sl st up remaining 7 stitches. Remove hook leaving a loop open.

Explaining this next part is going to look confusing. Refer to photo for help. 

Insert hook in top of yarn circle, pull thread loop through, ch 1 (does not count as first st) sc in same st of yarn circle AND top of thread X, sc in same stitch of yarn circle. 3 sc each in next 5 sts of yarn circle, 1 sc in next st of yarn circle, sc in same st of yarn circle AND end stitch of one side leg of the thread X, sc in same st of yarn circle, 3 sc in each of next 2 sts, Sc in next st of yarn circle, sc in same st of yarn circle AND the bottom st of the thread X, sc in same st of yarn of yarn circle, 3 sc each in next 2 sts, 1 sc in next st of yarn circle, sc in same st of yarn circle AND end stitch of second side leg of the thread X, sc in same st of yarn circle, 3 sc in each of next 5 sts on yarn circle, sc in next st, sl st to first sc to join. 

Chain 10, sl st to first chain to join. Bail made. Break off and weave in ends.

Make a cord to hang it. I did a simple twisted cord for this one, but a chain would work just as well. 


Do you like hippie, groovy things? Check out my coloring book! It's full of mandalas with things like peace symbols, lava lamps and doves!

Sunday, March 8, 2015

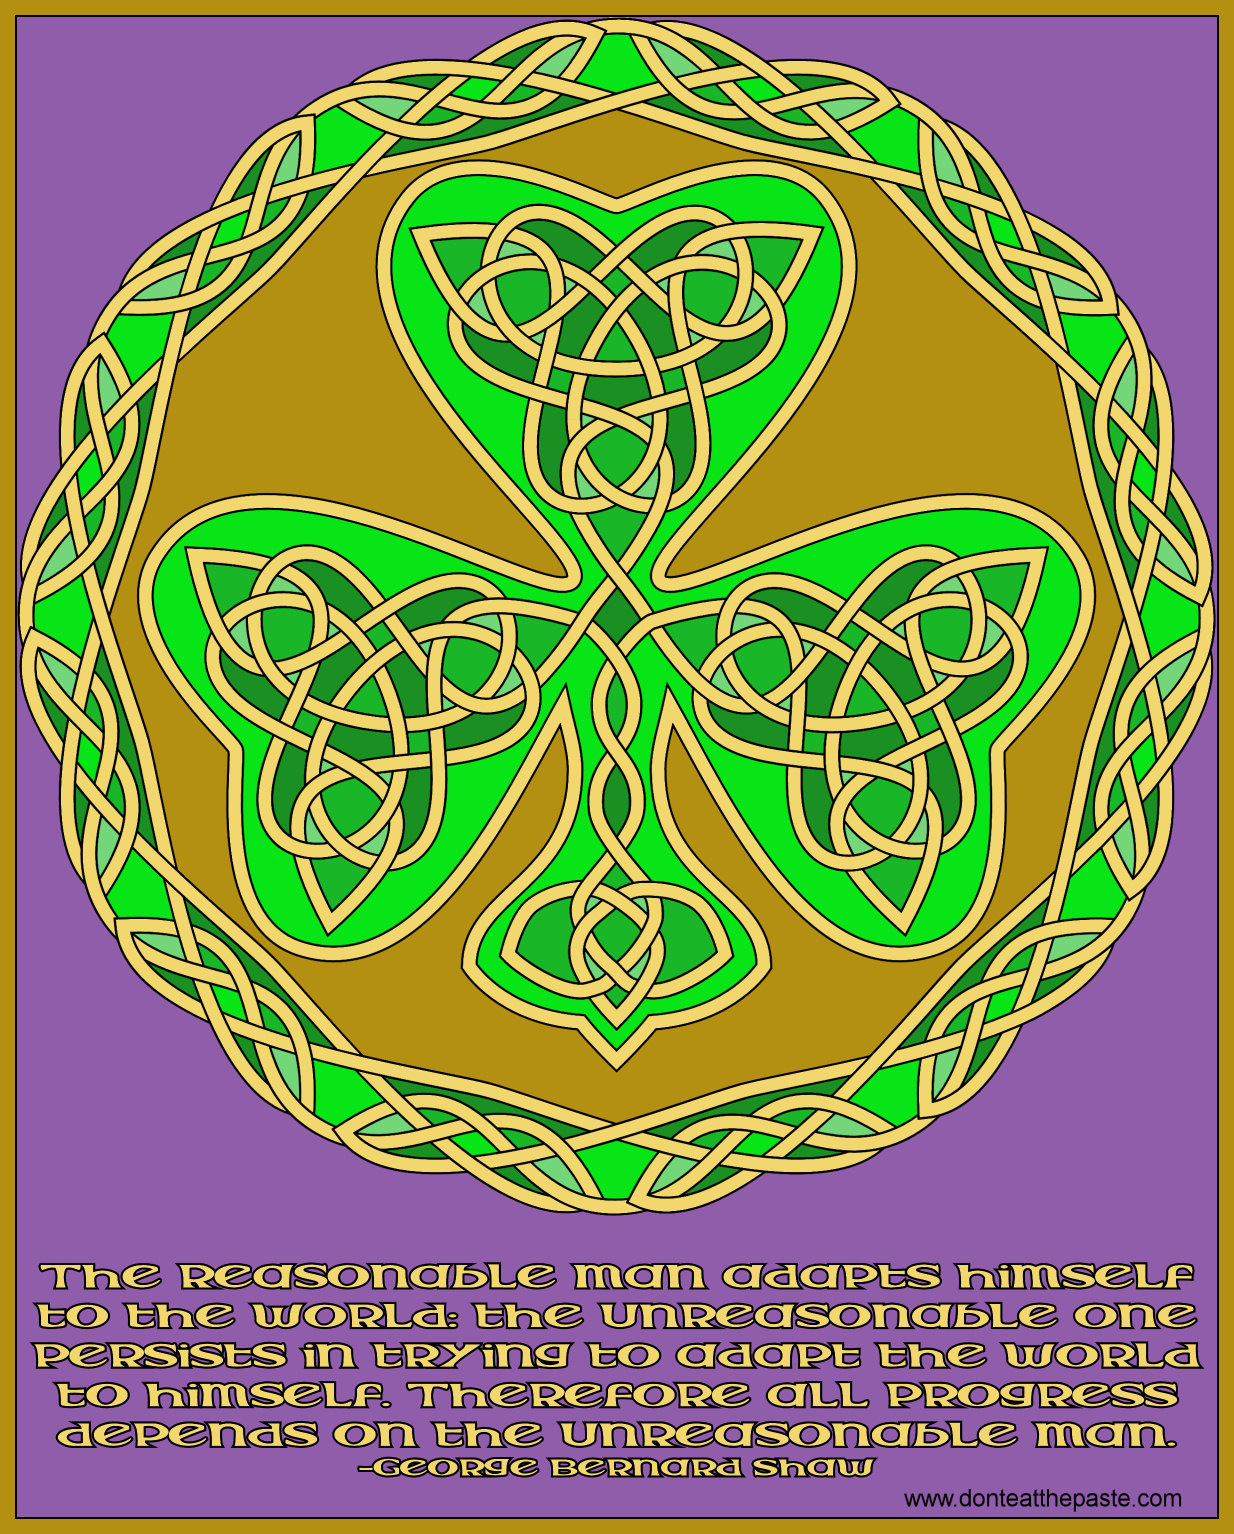
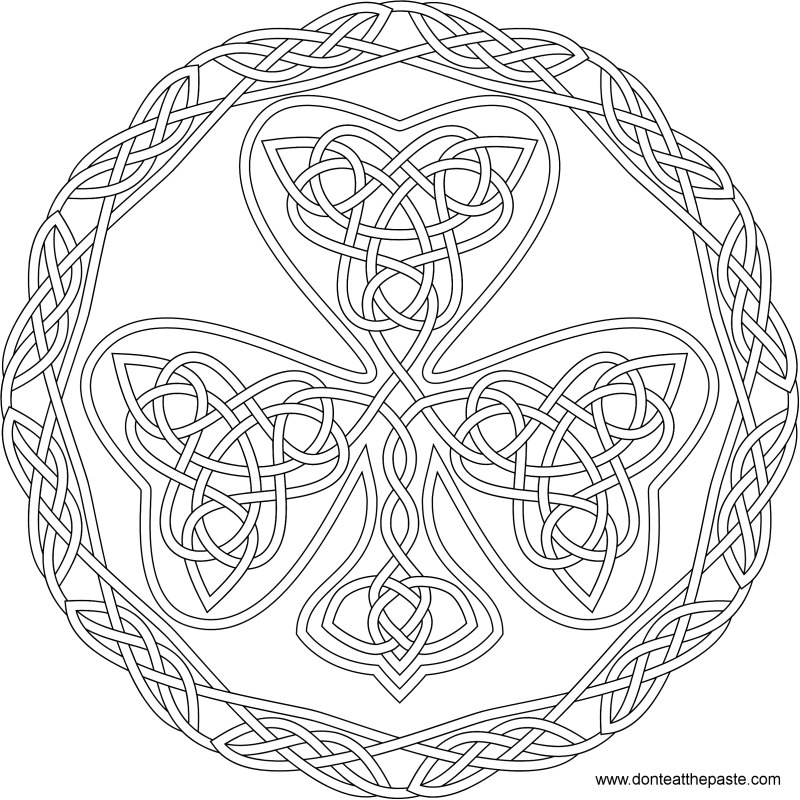
Shamrock coloring page - 2015


All progress depends on the unreasonable man- shamrock Celtic knotwork

I like using quotes from Irish authors on my examples for March. This quote is from George Bernard  Shaw, the man who wrote Pygmalion, which was turned into the musical movie classic- My Fair Lady.
The reasonable man adapts himself to the world: the unreasonable one persists in trying to adapt the world to himself. Therefore all progress depends on the unreasonable man.
-George Bernard Shaw
This coloring page is the same shamrock knot that I used on this box-
Brigitte's Shamrock Box

Click through for a larger version, print and color.

Small jpg version:
Shamrock knotwork to color- in jpg and transparent PNG format

Large transparent PNG version:
Shamrock knotwork to color- in jpg and transparent PNG format


Thursday, March 5, 2015

Crochet Pendant pattern

Crochet pendant pattern

I think I found a new favorite way to doodle with crochet while watching tv with my family, so if you like this crocheted yarn and thread pendant, let me know and I'll post more patterns later. The nice thing is they are quick to make, add a bit of color to an outfit and cost very little- they can be done with scraps of yarn and thread.

You will need:

  • small amount of worsted weight yarn 
  • small amount size 10 thread
  • size G crochet hook
  • steel size 7 crochet hook
  • needles to weave in ends
  • scissors

Stitch abbreviations:

  • Ch= chain
  • sc= single crochet
  • dc= double crochet
  • sl st= slip stitch
  • st or sts= stitch or stitches
  • repeat ** around means to repeat the instructions between the asterisks. 
With yarn and size G hook-
Make a magic ring or ch:
Rnd 1: ch 1 (does not count as first st), sc 6 times in ring or first chain, sl st in first sc to join. (6 sts)
Rnd 2: ch 1 (does not count as first st), 2 sc in each stitch, sl st in first sc to join (12 sts)
Rnd 3: ch 1 (does not count as first st), sc in same st, 2 sc in next st, *sc in next st, 2 sc in next st*, repeat ** around, sl st in first sc to join. (18 sts)

Break of yarn, weave in ends.

With thread and size 7 hook-

Magic ring or chain 6, join with slip stitch.
Rnd 1: ch 1 (does not count as first st), sc 12 times in ring, sl st in first sc to join. (12 sts)
Rnd 2: ch 3 (does count as first dc), dc in next st, ch 5, dc in next 2 sts, ch 5, dc in next 2 sts,ch 5, dc in next 2 sts, ch 5, dc in next 2 sts, ch 5, dc in next 2 sts, ch 3, dc in top of first ch 3 to join. (6 loops)
Rnd 3: ch 1 (does not count as first st), 3 sc in loop, skip next 2 sts, 3 sc in next loop, ch 3, 3 sc in same loop, *skip next 2 sts, 3 sc in loop, ch 3, 3 sc in same loop*, repeat ** 4 times, skip next 2 sts, 3 sc in loop, ch 1, dc in first sc of round to join. (6 ch 3 picots)

Rnd 4: Get the yarn circle, and hold it to the back of the of the thread flower. Remove hook from loop on flower, put it through one stitch on the outer rim of the yarn round, pull thread loop through the stitch. Chain 1, sc in st and the ch 3 picot on the flower together, sc in same stitch on the yarn round, 3 sc in next st on the yarn round, 3 in next st on the yarn round, sc in next stitch on the yarn round, sc in same st and the ch 3 picot on the flower together, sc in same st on the yarn round, *sc 3 times in next st on the yarn round, 3 sc in next stitch on the yarn round, sc in same st and the ch 3 picot on the flower together, sc in same st of the yarn round,*, repeat ** 2 times, 3 sc in next st of the yarn round, 3 sc in next st of the yarn round, sc in next st of the yarn round, join with sl st to first sc in round. 

Rnd 5: Ch 1 (does not count as first st), sc in same st, ch 3, skip next st, *sc in next st, ch 3, skip next st*, repeat ** around. Join final ch 3 with sl st to first sc to join. 

Chain 10, sl st in same sc to join. Break off thread, weave in ends.

Now you just need to make a cord for the necklace. I slip stitched a length for the cord shown, but you can also use monk's cord, a braided length, or even put it on a different kind of cord entirely. 

I hope you enjoyed the project!