Frequently people ask me questions about gardening. The truth is that a lot of the time I have no idea- just a very extensive library of books to consult. Most of those books are centered on growing edibles, not decorative plants.
My favorite kind of plant is perennials, and this book focuses exclusively on those. Perennials are the plants that come back year after year. This is a great book for people who want to plant decoratively but have no idea where to start. Perennials are easy to care for, and you don't have to buy new plants every year. Most perennials will get fuller and spread as time goes on, so a sparse initial planting will fill out nicely in the following years make them even more practical. The perennials used aren't new plants, they are tried and true classic garden flowers that have been time tested.
The author has picked plants that handle a wide range of zones pretty well. She also includes a map with a legend of zones so you can figure out which zone you live in. She also has plans and plants for other variables. So if you have an area that's not getting full sunlight, but you still want to plant something there- you can. If you have a really wet corner of your yard, like where a drain spout pours off- there are plants that like the damp conditions and will thrive.
There are tips, zone information on the plants and a lot of information about how to get started with growing a garden. It's clear, simple, and very easy to understand. There is information about the different kind of plants, and Latin names are included. The "Digging Deeper" tips offer ways to expand on the original plan, and do a bit more. If you're a beginning gardener, or someone who wants some nice looking plants growing in your yard but don't know where to start, this is a great place. The photographs of the plants are very well done and will help you pick the perfect theme for your garden. The illustrations of the gardens are also beautiful. The shopping lists show the number of plants to follow the plan.
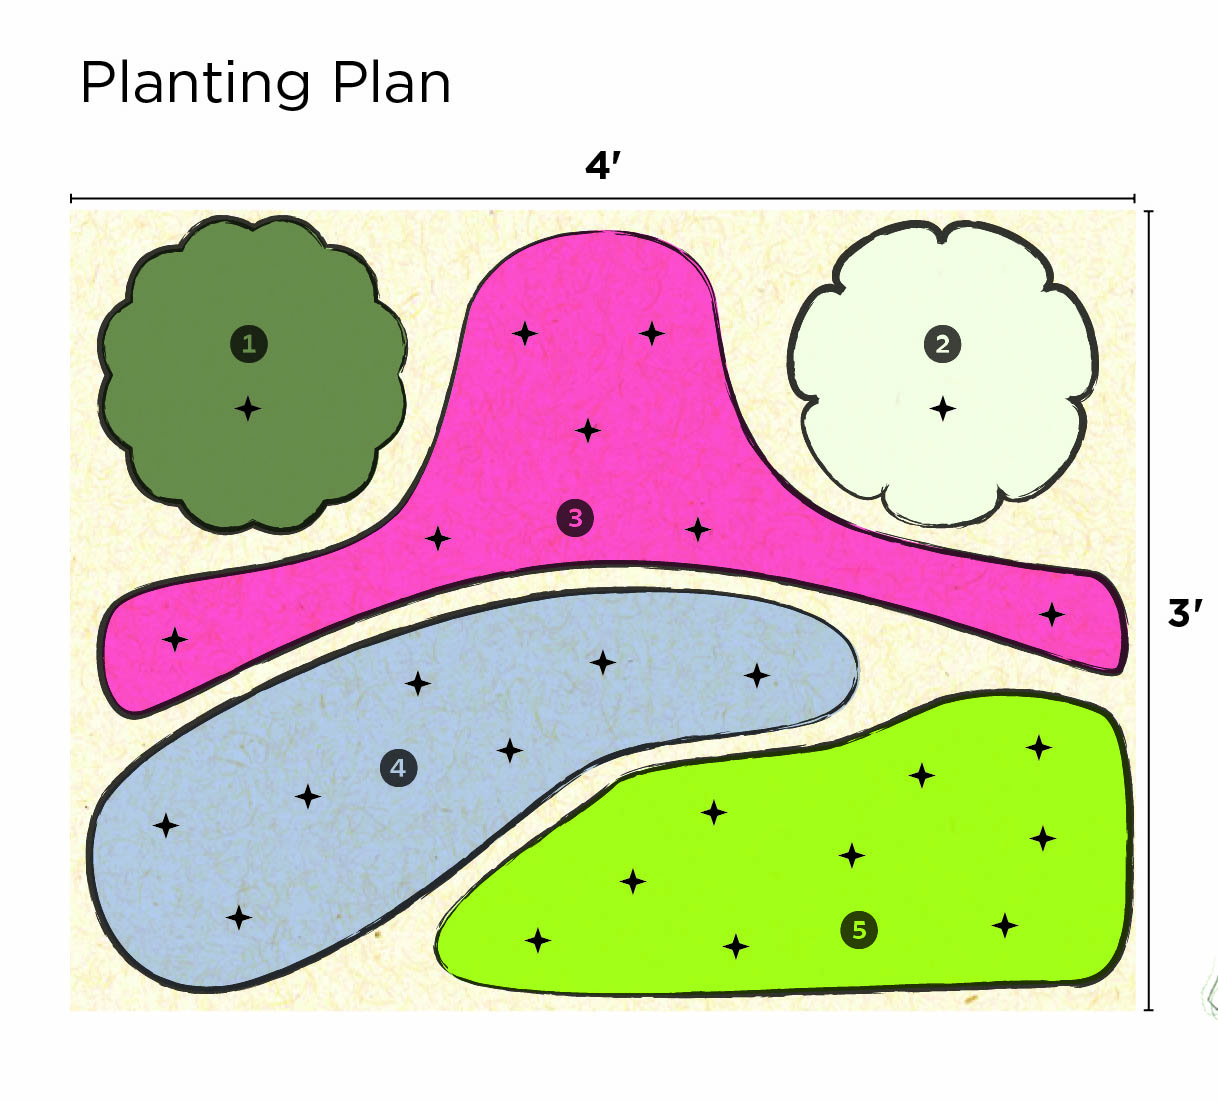
The plans are simple, it's 5 plants each that are picked by color, appearance and height or to fit a theme, then arranged for a pleasing symmetry. Because of the simple shapes of the beds, they can be expanded, multiplied and joined to create new shapes and larger gardens. Several diagrams are given as examples.
Now, most of the best areas of my yard have perennials in them, like my berries and rhubarb, or they are beds for planting annual vegetables and herbs. But there is a shady corner that doesn't get quite enough sun but still gets a fair amount- and it would benefit from some order and prettiness, and I'd benefit from not having long grass grow right up against the house right there. So a mulched bed of flowers is perfect. Because I love floral scents, the plan I decided on is one that has a lot of very scented flowers that will work in my zone 4 area. The other thing is that my family likes to leave a lot of decisions up to me, but they can follow the plan for this area while I work on the other beds. The other reason that I picked this plan is the fragrant flowers in it are mostly good even down to zone 3, so a colder than average winter won't kill them.
We all be rewarded with floral scents, flowers we can cut, and the spot of pretty in the yard on sunny evenings while my husband barbecues.
Follow
Storey Publishing on Facebook for recipes, gardening tips, giveaways and all sorts of DIY goodness.
The following plan is the one I'm using.
Perfumed
Perennials
A
garden that smells as good as it looks is a
scent-sational addition to a shady yard. Put it near a deck or patio
where you like to relax or entertain guests, or next to a window so
you can enjoy the fragrance indoors. The secret to a successful
scented garden is to include scented flowers that bloom at different
times; that way, their perfumes won’t clash or be overwhelming, and
you’ll have something pleasing to sniff over the longest possible
season.
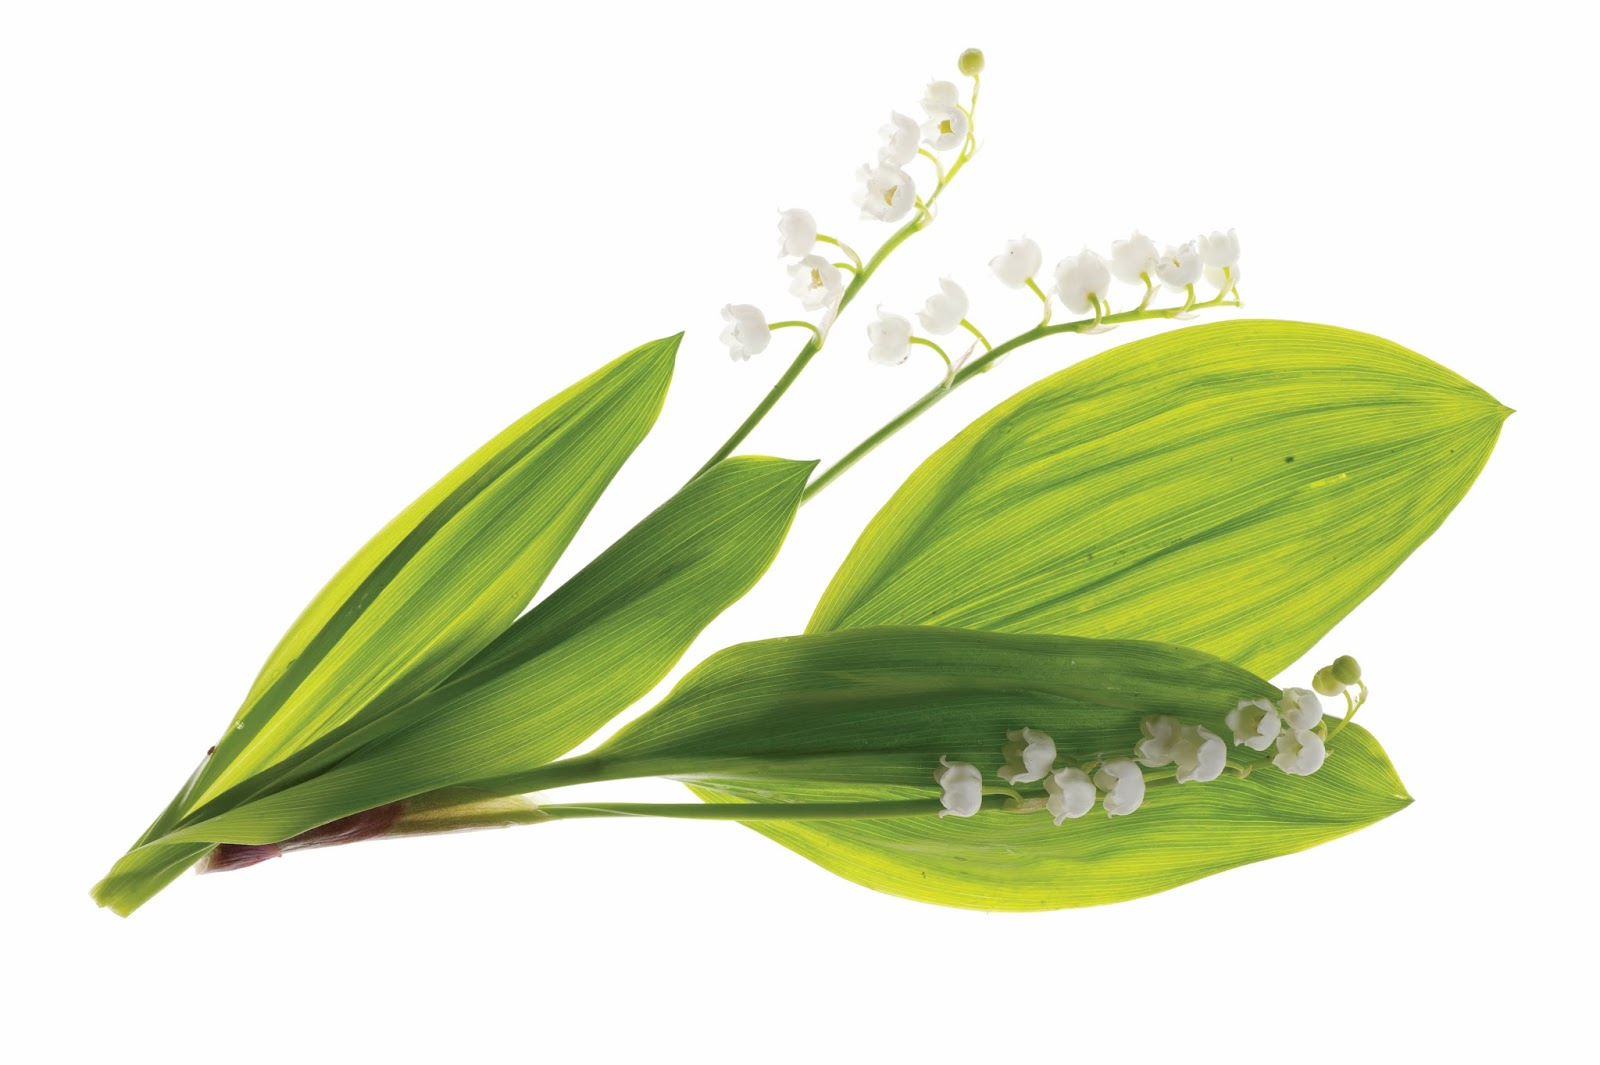 |
Lily of the Valley
|
 |
| 'Clouds of Perfume' woodland phlox |
 |
Stargazer lily
|
 |
| August lily |
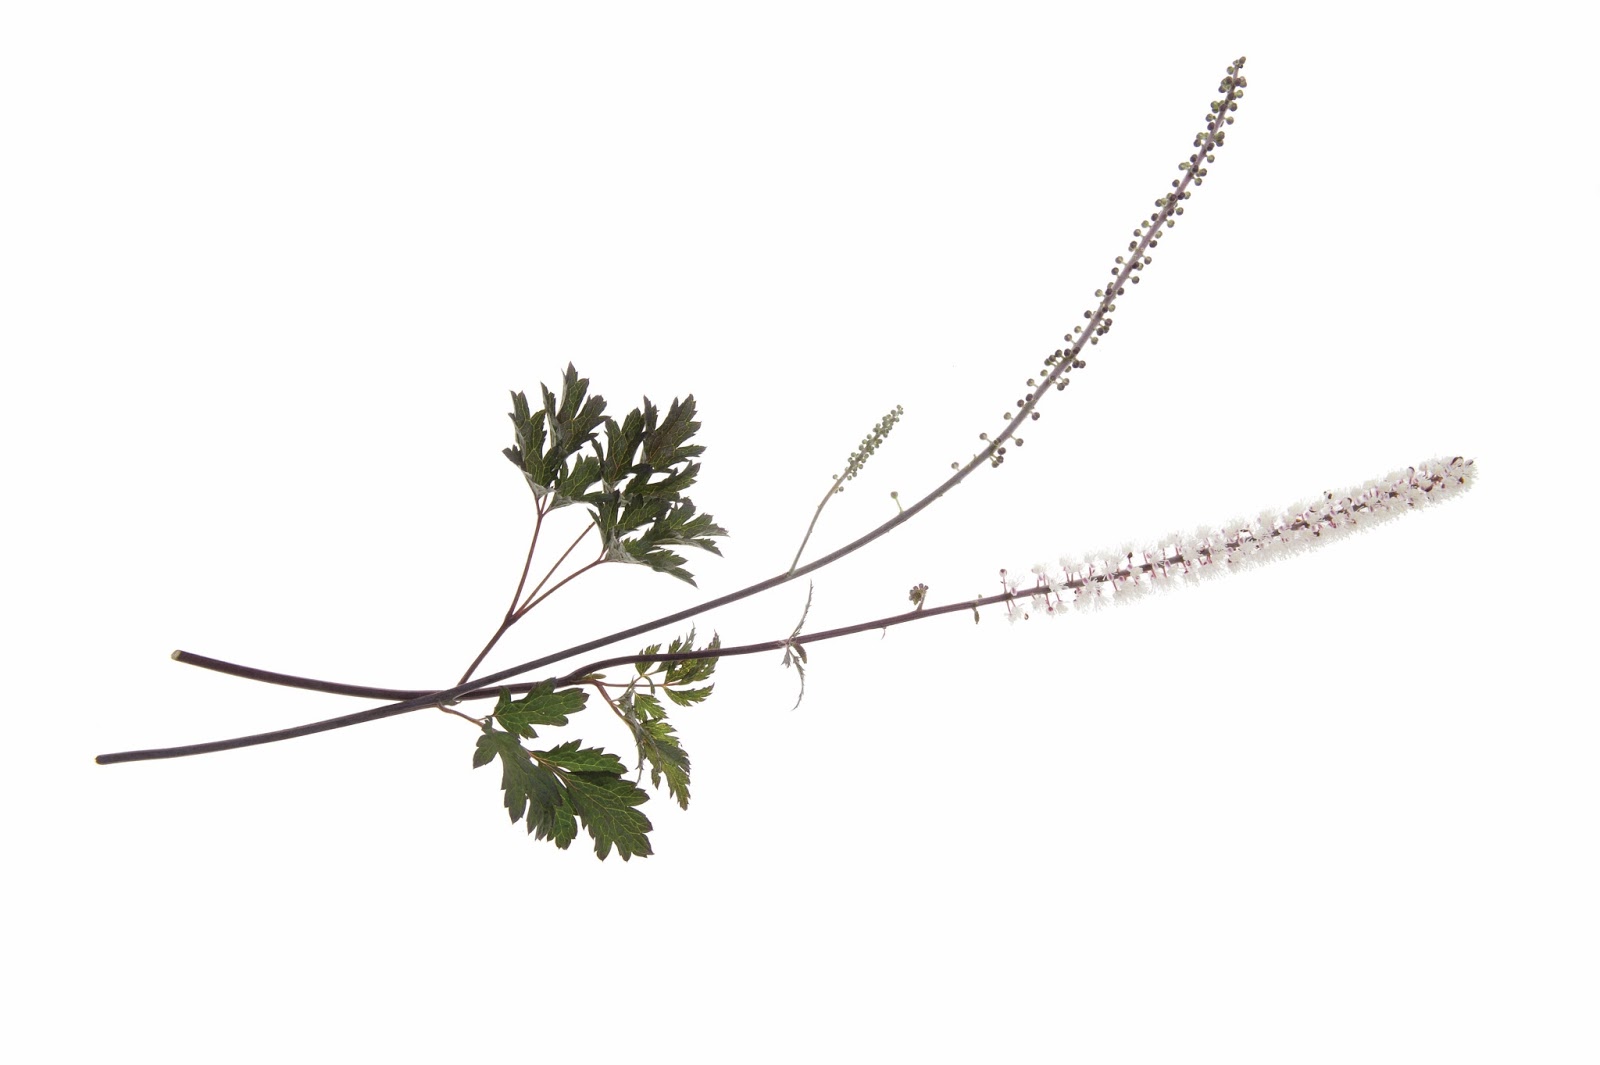 |
| 'Hillside Black Beauty' bugbane |
Click the image below for a description of the flowers and zone information. The numbers on the descriptions match the numbers on the plan.
Isn't that a pretty arrangement?
Excerpted from Five-Plant Gardens (c) Nancy J. Ondra. Photography by (c) Rob Cardillo. Illustrations by Beverly Duncan. Used with permission of Storey Publishing.
U.S.A.
U.K.
Amazon.com affiliate links don't affect your cost, and provide extra income to me personally, which helps support this site.
I received a complimentary copy of this book to review, I received no other compensation, and my review is my honest opinion of the book. You can read more about my review policy here.