

I used light spring colors, but this would work in other shades, and the basic technique will work with other weights of yarn. Just size the beads up or down to match and the number of stitches.
You will need:
- size 10 thread (bedspread weight)
- size 6 steel crochet hook (1.6 mm)
- tapestry needle
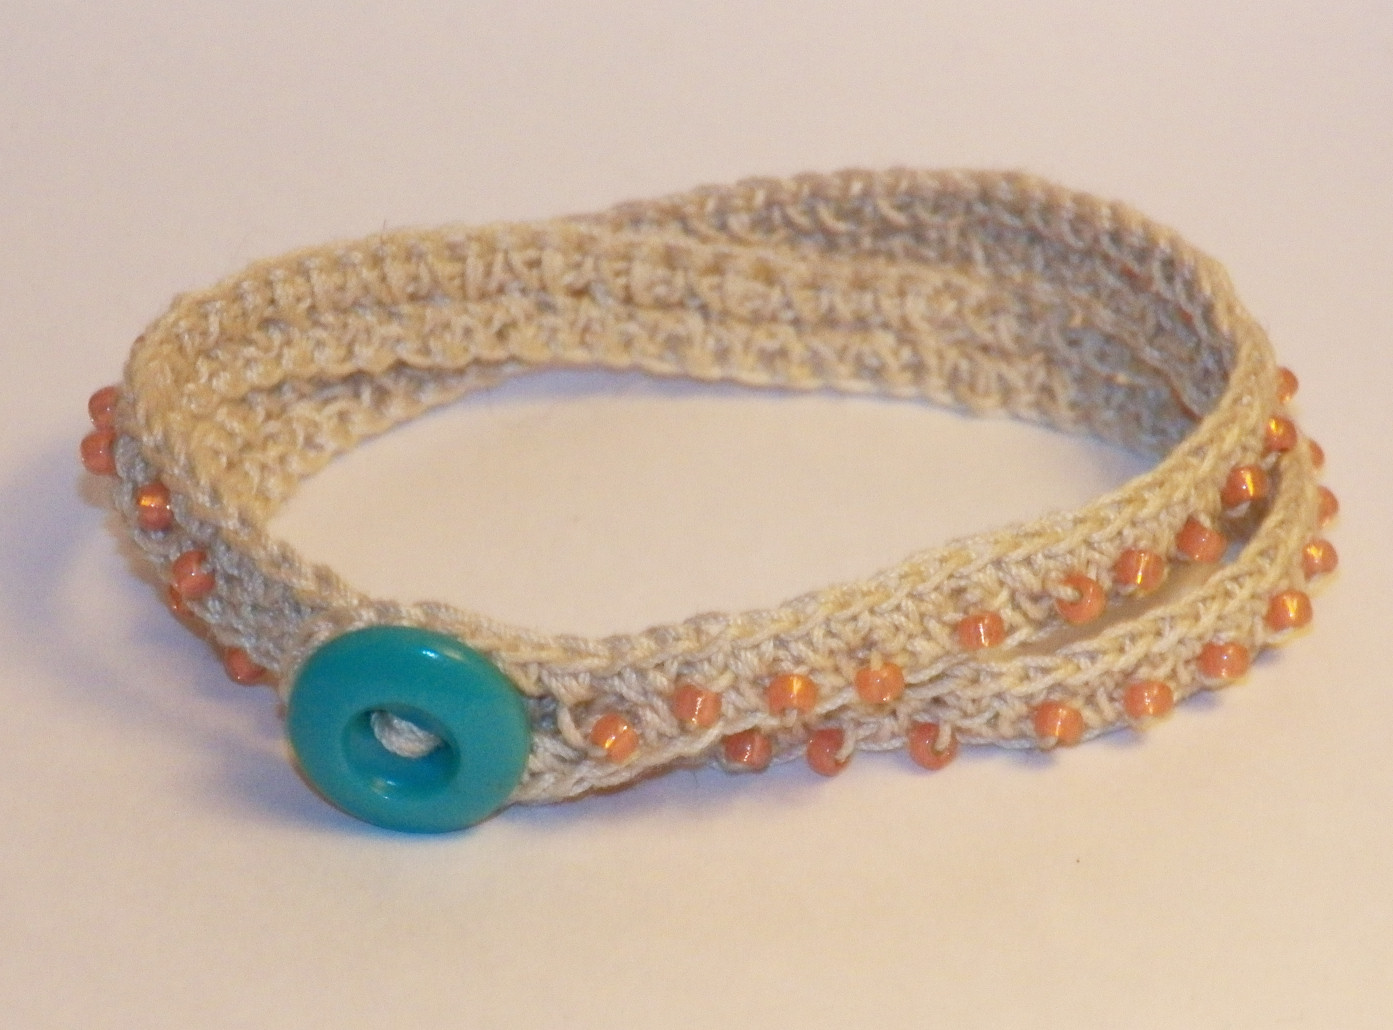
- 5/8th inch button
- size 8 seed beads - a size 8 seed bead is about 3mm
- needle and thread for loading beads
All of the supplies for mine came from my stash, the thread is from a thrift store, the button is from my button box, and the beads are one of my favorite colors, Orange Opal Gold-Lined.
American terminology
- ch=chain
- sc=single crochet
- repeat ** means repeat the step between the asterisks.
To work a beaded single crochet: Insert hook into stitch, yarn over, pull loop through stitch, push up bead, yarn over, finish stitch.
Loading beads on size 10 thread is easy, if you're using hanked beads, you'll pull a string loose, take off a couple of beads, then tie the thread and string together and slide the beads off the hank onto the thread. For beads that aren't on a hank, thread the small needle with sewing thread, double it and tie in a knot, then put the crochet thread through the loop, and load the beads on the needle and slide them down on to the crochet thread.
String 61 beads on thread (66 for a large wrist, 56 for a smaller wrist, 51 for a child)
Loosely chain 147 (157, 137, 127)
Row 1: Beaded single crochet in 17th chain from hook (button loop formed),* ch 1, skip stitch, beaded single crochet* repeat **, sc in last 10 chains.
Row 2: Ch 1 to turn (does not count as first stitch), sc in last sc of previous row, sc in next 9 stitches, sc in beaded sc,* sc in ch space, sc in beaded sc*, repeat ** to the end of the beaded section, 16 sc in ch 16 space, sc in each stitch down the other side. On the last stitch, cut the thread, leaving a tail to weave in, and pull through last stitch. I secured the last stitch with a half hitch knot, then wove in the ends.
Sew button to center of the 10 stitch single crochet end.
You can also make this a choker style necklace.


