Printing Tips

Check out my printing tips if you're having problems printing to the right size
If you'd like to support this site and all the free things I post- please check out my Don't Eat the Paste Mandala collection coloring book for 9.99 at Amazon.

Wednesday, June 25, 2014

Managing a micro-business professionally with GoDaddy

This post brought to you by GoDaddy. All opinions are 100% mine.
There's going to be a giveaway!! Keep reading to find out how to enter and what you can win!
As some of you know, I have a micro-business selling templates, patterns and e-books. I also do some commissioned beadwork on occasion. The truth is that I don't want the business to get huge and take too much time because there are so many things I'd rather be doing.

But it would be nice if it were a little bigger. Also my daughter wants to start her own business. This is where GoDaddy comes in. They are very well known and reliable as a hosting and domain company, and with an Office 365 plan, you can work with people. You can collaborate, create a website, have that oh so important branded email. Even better? It's working with a program you've probably already used, using common formats like Power Point for presentations, or Excel for keeping track of the important things.
Office 365 from GoDaddy is a great solution. You can sign up for a monthly plan, and get your domain. With that monthly plan and domain- you get the tools to start a website. It's all worked out so you follow step by step instructions, and everything is well written and documented. You don't need to learn how to code. If you need help, it's always available from expert support.
So while I was going through and using Office 365 from GoDaddy, and setting it up- it became increasingly clear to me, this is going to be good for my micro-business and it's perfect for the one my daughter it starting. Why? Not just because it's simple to use, but also because she can use it with her mobile device. I'm old-fashioned, and all about the hard drive and traditional programs. She's been working in clouds since it was possible. This is a way we can work together, both of us in our preferred environments. She can use a web application, and I can on my desktop and we can sync and collaborate.
This is huge. The 3 best things for my use are the ability to use it with mobile devices like my tablet then sync so the information is on my desktop as well, the 24/7 support and Outlook with branded email. Outlook is so easy to use, and having your own domain email always looks so much more professional.
The set up and support for Office 365 from GoDaddy are designed for small businesses, you don't need to have an IT department, you can do it yourself. The tools are familar and they have support 24/7 so if you get stuck, you can get help fast.


So do you want to get started? Do you want to try it? I have ONE code to give to one lucky reader. 1 full year of Office 365 GoDaddy Business Essentials AND a 1 year .COM, .NET or .ORG name registration.
Because the code expires soon, you have until June 28, 2014 to enter, and entering is easy. Are you a small business owner? Leave a comment letting me know how Office 365 can help you better manage your business. Don't forget to give me some way to contact you if you win.
My favorite feature is the ability to work with my daughter, what feature sounds amazing to you?
Visit Sponsor's Site

Monday, June 23, 2014

Spork Sweater tutorial


Because of all the plastic spoons that restaurants, fro-yo places etc have, and how much I don't want to be using them- my family considered various solutions for a while before settling on SPORKS! So now we all have our sporks. TG and her dad carry small stainless steel multi-tool ones on their key rings, William and I have Snow Peak Titanium Sporks. They got a great reviews because they have deep tines that are polished smooth and nice deep bowls.

But even with polished tines it needed protection so it wouldn't snag things in my purse. The other thing that I needed for a spork holder in my purse was no buttons or ties to snag on other things. So I designed this spork sweater! It's worked from the bottom of the spork up, then has a flap like an old fashioned sandwich bag that flips over to close.

Because sporks come in different sizes, and because I use Boye steel hooks which are sized differently from the other major hook brands- this is a tutorial instead of a pattern. Because it's a tutorial rather than a step by step pattern, just use whatever hook size works for you and the thread you choose.

I used size 5 thread- Bernat Handicrafter Crochet Thread in Iris, it's a very soft, easy care acrylic fashion thread.

sc= single crochet
sl st= slip stitch
st or sts= stitch or stitchs
ch= chain

Start by chaining a length as long as the width of the handle of your spork. Chain 1 extra to turn, and slip stitch down the length to reinforce the chain.

Rnd 1:Ch 1 tightly to turn, and single crochet in each stitch on one side of the slip stitched chain, at the end, 3 sc in that stitch, sc in the other side of each stitch, 2 sc in last st, slip stitch to join.

Rnd 2: Ch 1, sc in each st around, sl st to join to first sc.

Repeat Rnd 2 until it's long enough for the handle of your spork.

The next part is a little trickier, you'll be widening the cosy to fit the bowl of your spork.

Single crochet until you reach the stitch that's on one side of your round, 3 sc in that stitch, put a piece of a contrasting color thread or a small stitch marker in second stitch of the 3 sc, go down the other side, and do the same on the other side. slip stitch to join.

Ch 1, single crochet in each stitch. Slip stitch to join.

Now it's all up to your judgement, for my spork, I did another plain row, then increased on the next row. Each increase will be 3 stitches centered in the side stitches, so marking the middle stitch makes it easy to find where the next increase goes. Mine was mostly 2 or 3 plain rows, then an increase until each side was 12 stitches, with the 1 stitch on each side for 26 stitches around total.

When it's wide enough for the bowl of your spoon, keep crocheting plain rounds until it's long enough to cover the bowl, and one extra round past that.

Break off thread.

Join in thread in the edge stitch on one side, leaving a long tail to sew down the flap. Single crochet to the edge stitch on the other side,
Chain 1 to turn, and single crochet across. I used reverse single crochet every other row to keep it from developing the ridges in single crochet, but single crochet works too.

You want to do 8 or 10 rows of single crochet. Break off thread, leaving a long tail for sewing.

Fold the flap over the top of the cosy, and sew down the flap along the sides using the tails of the thread, Knot off securely and weave in ends.


Friday, June 20, 2014

Heart Window mandala to color

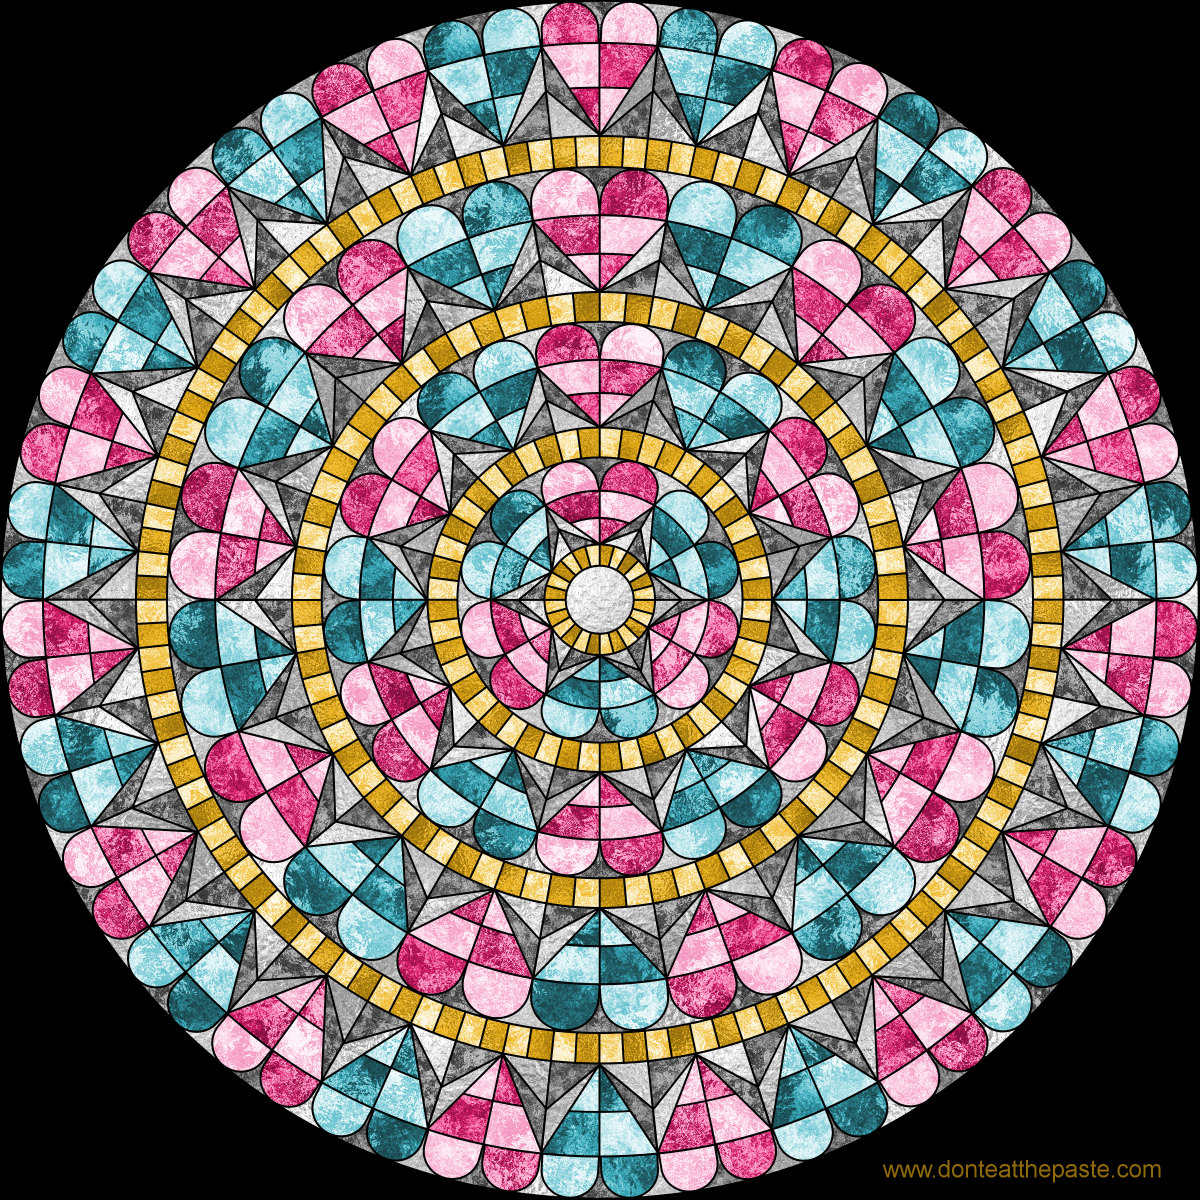
Heart mandala- with a version to color yourself!

So this was not originally going to be a heart design. I was starting a mandala inspired by the geometry of rose windows, and then noticed a heart shaped element appearing. So I emphasized that to create this heart rose window. I hope you enjoy coloring it!

Click the images below for a larger version to print and color.

Small jpg version:
heart window mandala to color

Large transparent PNG version:
heart window mandala to color- transparent png version


Tuesday, June 17, 2014

Cute Strawberries printable gift box

Strawberries taste like sunshine- sweet, sweet sunshine!

I'm gardening Shala lately. Watching my perennials like strawberries getting flowers that will soon be delicious strawberries, picking around the edges of lettuce to add to dinner, and watching my sugar snap peas grow like crazy.

Summer is great! And nothing tastes like summer quite as much as a fresh picked, perfectly ripe strawberry!

I hope you enjoy this little printable gift box. Print on card stock, cut out, score folds, fold, glue!
cute strawberry gift box to print and make