Printing Tips

Check out my printing tips if you're having problems printing to the right size
If you'd like to support this site and all the free things I post- please check out my Don't Eat the Paste Mandala collection coloring book for 9.99 at Amazon.
Showing posts with label scrapbooking. Show all posts

Friday, March 14, 2014

Happy Pi Day! Coloring page

Happy Pi (or Dean Winchester) Day
Happy Pi Day! Or if you're a Supernatural fan- Happy Dean Winchester Day! My whole family are pretty big fans of the show, and making the colored example of today's coloring page this way sent TATG into giggles.

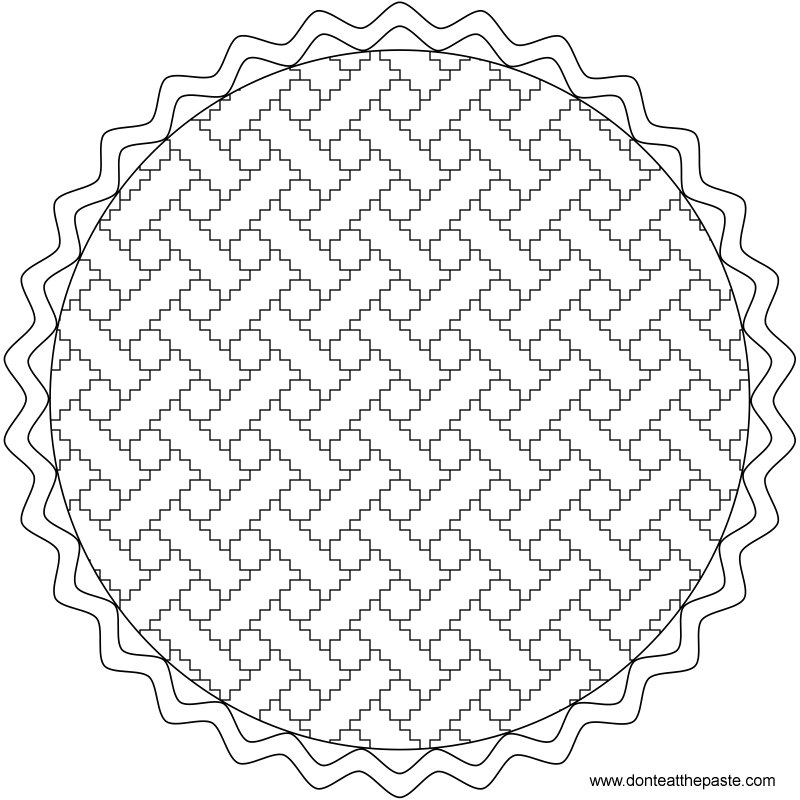
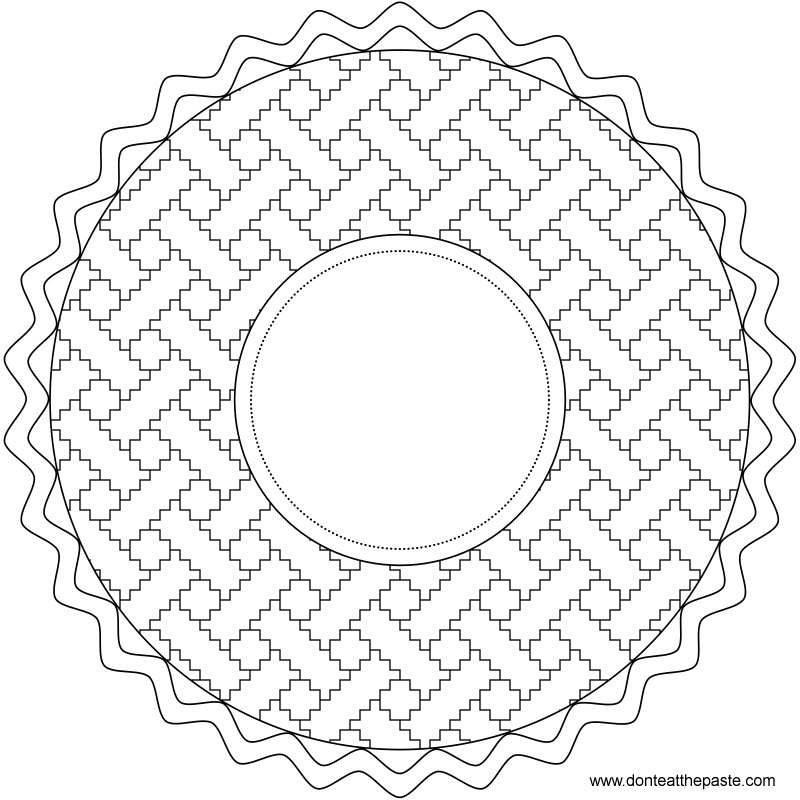
There are 2 versions of this coloring page- one has a nice big blank circle that can be personalized, used as a frame or used with a quote. The other is just a simple lattice topped pie. Either way it's a very simple page to color, but hopefully you enjoy it! Click on the images to get a bigger versions of these pie coloring pages.

Plain Pie- jpg version:
Pie coloring page or embroidery pattern- also available as a transparent PNG #PiDay #coloring

Plain Pie- large transparent PNG version:
Pie coloring page or embroidery pattern- also available in jpg format #PiDay #coloring #digitalstamp

Pie with circle- jpg version:
personalizable pie coloring page or embroidery pattern- also available as a transparent PNG #PiDay #coloring

Pie with circle- large transparent PNG version:
personalizable pie coloring page or embroidery pattern- also available as a jpg #PiDay #coloring #digitalstamp


Friday, November 9, 2012

Printable learning quote and blank chevron page


I liked the chevron box so much that I decided to use the same fill for paper and if there is going to be paper, there will probably be a printable quote.

"Anyone who stops learning is old, whether at twenty or eighty. Anyone who keeps learning stays young. The greatest thing in life is to keep your mind young." - Henry Ford 

Click on the images to download larger versions. Feel free to use the blank page as stationary, in scrapbook layouts (it's 8x10 inches), to add your own quote or in any crafty use. The quote can be printed and framed.
printable paper

printable learning quote

Other stuff- the Duck Tape contest is voting until 11/15. If you haven't voted, you haven't seen the cute mockups they made of how the designs might look on the roll of tape. Here's mine! Isn't that just so cute?

Because my chef skull design has been so popular on Spoonflower, I've decided to do some other design collections in different colors. So sometime in the next week or so, I'll be posting examples. 

Thursday, March 22, 2012

The Hunger Games and Dandelions

Remember the part of The Hunger Games (the book, I haven't seen the movie yet) when Katniss found the dandelions? Since we consider them our first summer harvest, it made me smile. We eat the early shoots in salads, fry the blooms, and blow the seeds for more dandelions. The cheerful yellow dotting the yard is cheerful. I decided to use the 3 photos shown to make some printable pages for journals or writing down recipes. Click on the images for larger versions. All are in JPG format.


Wednesday, March 21, 2012

Decoupaged Mini Comp Books

My family goes through a lot of composition style notebooks. Both my kids prefer them for the games and stories they are working on, and to keep notes in. I use the mini ones to keep notes in and for shopping lists and reminders. They cost a lot less than blank books and have nice smooth lined paper. We also decorate them in different ways which makes less likely we will grab someone else's book.

They are also great blank canvases for personalizing.

The miniature composition books are 4.5 inches tall by 3.5 inches wide and have 80 pages, or 160 if you use the front and back of them. For my purse, I prefer a way to close them, and a bookmark to find the page I'm on quickly.

For this project you will need:

  • Miniature composition notebook
  • Mod Podge- I like Mod Podge Matte for these
  • Pretty paper in 2 colors- heavy enough the black won't show through- I used scrapbook paper
  • scissors- I used both plain and decorative edgers
  • scoring tool- bone folder or even a knitting needle
  • 1/8 inch hole punch
  • 1 brad- also known as brass fasteners
  • 1/4 inch wide elastic
  • embroidery floss
  • a small charm
  • foam brush to apply Mod Podge
  • Plate or scrap of paper to put Mod Podge on to use
Work with small puddles of Mod Podge. Only as much as you'll use for each step.

Start by tracing the notebook on the back of your main color of paper. Then draw a second line a half inch away from it on 3 sides- 1 long and 2 short. Cut it out, then use that piece as a pattern for the second piece. Use the Mod Podge to affix the paper to the outside of each cover. Diagram shows how it looks on the inside.

Trim the corners at a 45 degree angle, then lightly score the paper as close to the edge of the notebook as possible.


Fold in edges, and glue down with Mod Podge.
Let it dry for 20 minutes, then cover one side with Mod Podge. Let that dry for 20 minutes, then cover the other side with Mod Podge. Let it dry for 20 minutes.

Now you'll attach the elastic. Punch a hole in the back cover, centered vertically and about an inch from the outside edge of the notebook.
Cut 6 inches of elastic, seal the ends with just a dab of Mod Podge, other glues will work, but the Mod Podge is right there! Then make a small cut a half in from each end.
Make a loop with the elastic, and slide the brad into both slits, then through the hole in the cover. Open the "legs" to affix it in place. It will slide over the notebook to keep it closed like below. But for the next part you need to be able to open the book, so slide the elastic off the front cover again.
Cut 2 sheets of the contrast paper to fit the inside covers and glue them into place.
Now you'll need to make the book mark. Take a piece of floss about 16 inches long, and thread the charm on it, match up the ends, then tie a small overhand knot above the charm in the middle of the strand.
Cut a piece of contrast paper that's 3 inches wide by 4.5 inches tall. This is a good place for decorative scissors for the long edges.

Put the bookmark in so the charm hangs out just a bit from the bottom, fold the top part of the floss over the spine, and glue it down.
Now glue the contrast paper over the spine.
Let it dry for 20 minutes, then go over the cover with more Mod Podge, let that dry for 20 minutes, and put on another coat of Mod Podge. Work around the brad and elastic on the back cover.
Let it dry completely, slip the elastic over the cover, and it's ready to go!

These make wonderful little gifts too. Other than drying time, they are very quick and simple to make. You can further personalize them using photos, stickers, and paper cutouts on the covers.

Plaid sent me the Mod Podge Starter Pack at no cost to use for projects on Don't Eat the Paste. Be sure to like them on Facebook for lots of links and ideas.

The starter pack has 2 ounces bottles of Mod Podge Sparkle, Mod Podge Matte, Mod Podge Gloss,  Mod Podge Outdoors and Mod Podge Paper.


Thursday, May 12, 2011

Winged Heart art for digital scrapping

Okay, I'm done playing with that heart for now. So here it is for any digital scrappers who want to make tags or other things with it. 300 dpi, transparent PNG format. Click on the images for the full sized versions.


Some matching background tiles. These are 1 inch x 1 inch except for the dotted tile which is a half inch by a half inch. PNG format. The dots are transparent so you can put them over the stripes if you'd like.


Dad update- He's home from the hospital, and feeling a lot better.
Car update- Still not fixed
Birthday plans- I've had a cake from the same bakery every year since I was 12. This year I *will* have my cake, but it will be a week or two late.  My daughter is planning to bake a small cake for the day of, and Mike's planning on grilling one of my favorites for dinner. Best present of course is just that dad's home and that he's going to be okay.  I'm also planning to post the recipe for the cake I made for my mom's 40th birthday here. It's sort of like a Versunkener Apfelkuchen, but with some modifications because I didn't have all the ingredients on hand that first time. Mom loved my variation better than the original recipe that I was working from and it's still a family favorite. 

Sunday, November 7, 2010

Review-Page Maps 2 and a printable Christmas Card

Page Maps 2 by Becky Fleck is a scrapbooking book full of ideas for mapping out scrapbook pages and cards. 
It starts with traditional layouts and shows a couple examples of the layouts done completely differently so you can see how adaptable they are, how easy they are to customize by changing the shapes a bit, changing the colors and the themes. The next chapter is my favorite, cards! I like cards a lot, but I tend to think in terms of one main image, background, frame. The scrapbook inspired card layouts help me think in terms of layers of elements to create a card that more dynamic, has more going on, without being too busy or too much.
Chapter 3 is over the top layouts, busy exciting scrapbook pages with room for journaling.
Chapter 4, Beyond the page, has a bunch of great ideas and layouts for round pages, for art created to hang in your house including a calendar idea that is just wonderful. Clipboards, clocks and other artistic pieces using your scrapbooking skills to create gifts that take a lot less time than making a full album. 
The last chapter, near and dear to my heart, is about digital scrapping. Layouts combined with the credits under the photos telling where the elements come from make it very inspiring for people who would rather have an undo button and the ability to get just the right color element. 
At the end of the book are perforated cards that have a hole in the corner so you can put them on a book ring and have mobility with these ideas. You can keep the sketched layouts on hand for a night of scrapping with friends or just on your work table without it taking up much space at all. The cards are glossy, with the sketch on one side and a full color photo of an example layout on the other side. (Amazon link is an affiliate link)
Using one of the layouts in this book, I created this Christmas card. It's 300 ppi, click on the images for the full sized version. In the book, the original layout was to fit a 3.5 x 8 inch card. Because I wanted to make mine digitally with a matching envelope, I changed the size to 3.5x7 inch. This is a mailable size, within USPS limits for letters. I always recommend sealing printables with an acrylic spray, but if it's going through the mail, it's a really good idea just in case it's anywhere moisture can cause ink bleed.


Monday, October 11, 2010

Book Review- Start Scrapbooking

I have a secret to tell all of you.
I don't scrapbook. I want to, take tons of pictures, plan layouts in my head and occasionally buy scrapbooking magazines. But I don't actually scrapbook.
So that's where the book Start Scrapbooking comes in. It's written for beginners, for people who are just getting interested in preserving memories more artistically and in more detail than just keeping boxes or SD cards full of photographs.
The book starts with an introduction to scrapbooks, what scrapbooking means past just putting pictures into an album, some of the reasons to scrapbook and some of the things you could make a scrapbook for. Important memories, friendship, events.
The next chapter is about the tools to get started. Punches, cutters, papers, embellishments, brads, adhesives and album types and how to use them. Lots of great photographs and explanations.
Chapter 3 is about journaling, which is an important part of modern scrapbooks. Telling the story you want to preserve with your images. A message written with a photo of a child of what you were thinking or feeling, or what they felt. A quote, a quip, a bit more detail. The author shows a bunch of different ways to do it in both style and format.
Chapter 4 covers designing a layout. Showing how balance, color and everything else work together to create the mood or memory you want to preserve.
Chapter 5 is all about bringing together all the elements to work in themes.
The book has resources through it, a lot of ideas, and for me, it was a great introduction. It wasn't overwhelming. Some of the most effective layouts are very simple and seeing how they go together is inspiring.
There isn't a specific chapter on digital scrapbooking, but the same principles apply if you have a graphics program you are comfortable in.
The book is available from the publisher, Memory Makers Magazine, along with a lot of tips and techniques that are on the website, or you can get it from Amazon.com below. The link is an affiliate link and helps pay some of the costs of maintaining this site.

Wednesday, August 11, 2010

Paper punch pins

When I first envisioned this, I was working on an easy way for my daughter to make pins based for her fandoms that didn't involve me pulling out my button machine and trying to figure out where the cutter to go with it is. After testing the idea with a safety pin, a scrap of card stock from an empty cereal box and a piece of a crossword.. I got inspired to make a few using some of my other punches.

Any circle tag design would work as well. Including the name tags I posted a couple days ago.
Just print out the design, use a 2 inch circle punch to cut them out, and glue to a second 2 inch circle cut from card stock. Great use for using cereal boxes! Then tape a safety pin to the back. If you need to write on the front or color them, do that, then cover with Mod Podge. The crossword puzzle pin was made using this method and a 1 inch circle punch with a tiny size 0 safety pin. 
For the punched pins, I got a little fancier. Using regular pin backs and gluing them in place with a strip of paper. 
Cut two circles of decorative card stock, then punch your design on the color you choose for the top circle. For the apple design, I coated the bottom layer with glue then put on some red glitter. The leaf is cut from a separate piece of green card stock and covered with green glitter and glued into place. The top pink piece has the dots and the apple punched out to show the glitter coated card stock under it. Glue everything into place, put on the pin back, then cover with a couple coats of Mod Podge. The other 2 pins have punched appliqués. The blue and pink one has a second circle cut out of the pink with a 1 inch circle punch, then that has a heart and more dots punched. Put the whole thing together, cover with Mod Podge. The witch pin has the black top layer with a 1 inch circle punch to make the full moon, then I punched the witch from the black and put her in flying across the moon. I put a light sprinkle of silver glitter on the first coat of Mod Podge, then sealed over that when it was dry.
 

Super easy!!! Almost anything you'd do as a circle gift tag can also be done as a pin, or you could even make the pin the gift tag and write a note on the back and sign it then attach it to a gift.

Wednesday, March 24, 2010

Butterfly Outlines


In 3 sizes, smaller, small and big. The two small ones are for making cards, embroidery, appliqué,  that sort of thing. The big ones are meant to be printed one half on regular sheet of paper, then you cut it out and use it for a template on 12x12 scrapbook paper to make butterfly decorations for a wall. You can either trace one side and then flip it over to trace the other side (no fold lines) or fold the paper in half and trace the outline on one half. The center body is the where the fold should be or where it should line up if you mirror it.
My example is origami paper and glitter on black cardstock. I just rushed it so the gluing isn't super neat, but hopefully you get lots of ideas to do much better things with it. I used Martha Stewart glitter which I love for the shades in comes in.
Click on the images for the full sized versions.
Not all butterflies. There is also a luna moth because I have a friend who much prefers moths!


Friday, March 5, 2010

Book Review- Delight in the Details

Lisa M. Pace wrote this lovely book Delight in the Details for card makers, scrapbookers and paper crafters.
Her style is towards the very ornate and elegant. The projects and ideas in this book are just gorgeous and impressive while being very simple to make, do and adapt.
It's a lovely book printed in full color throughout, and it's very inspiring.
The first chapter is about making a nice place to create in. Her studio is gorgeous and her ideas for organizing supplies is inspiring and lovely. From crystal dishes and spoons filled with glitter to old cupcake tins with natural weathering to keep beads in, there are some wonderful ideas for making your work space beautiful and functional.
The first few projects deal with sparkle and shine, detailing several ways to add sparkle to projects. Detailing how add glitter edging, completely covering things in glitter, adding subtle touches to patterned paper, using mica, wire and other embellishments. My favorite projects in that chapter are the shiny alphas which put me in mind of holiday decorator accents and the wire spray of flowers made with beads and wire.
The next chapter is paint and ink, with instructions for using chalks, waxes, and alcohol based permanent inks. This chapter is full of ideas that I'd never thought of. I've used waxes to refinish vintage frames for hanging in my house but never thought of them for smaller frames for paper crafts. The crackle paint distressed letters are lovely. My favorite in this chapter though hands down is the texture paste design which creates an embossed image that's accented with glitter and crystals.
Pattern and Texture come next, also full of wonderful ideas. My favorite in that chapter are the crepe paper rosettes and the miniature banner which I really plan on using very soon. The ruffle edging project would be amazing in a bridal card or a baby shower project.
The last chapter, Vintage Finds is full of ideas for little trinkets, old buttons and things of that nature. The button bouquet would be a lovely dimensional accent to a scrapbook cover or a box using buttons from favorite clothes. The vintage paper leaves are a nice idea for old books.
The whole book is amazing, cover to cover, with ample examples of what can be done with the basic techniques. The Amazon link is an affiliate link and helps pay some of the costs of maintaining this site. U.S.A. U.K.

Thursday, October 22, 2009

Halloween Scrapbook Kit


This is my very first digital scrapbook kit. It has in it
5 12x12 papers in jpg format
In png format
3 5x7 polka dotted frames
1 4x6 spiderweb frame
1 12x12 spiderweb frame
3 12x12 scalloped dotted frames
5 journal circles
3 paper effect journal blocks
1 decorated journal block
3 small bat brads - gold, silver black
3 larger bat brads- same colors
3 grosgrain ribbons
1 striped ribbon
3 spiderweb embellishments
3 bat embellishments
All in 300 ppi.


To find out a lot more about digital scrapbooking, check out The Daily Digi

You can download the kit here. Right click and choose save target as. It's in zip format and it's a 28 mb download.