

I love recycled sari yarn. It has all the things my little hippie heart adores. It's recycled from saris, it's silk!, it's got all sorts of colors and fun texture things going on. A lot of people like it but then don't know what to do with it. It's almost too much goodness. I didn't have that problem with this skein because I ordered it knowing it was going to be bracelets and accessories.
The company that sells it is Darn Good Yarn- and if you use my link, you'll get a coupon for a good savings and I'll get a credit on my next order. Win win right? Then you can refer your friends and they can get a coupon and you can get credit. Awesome loyalty program.
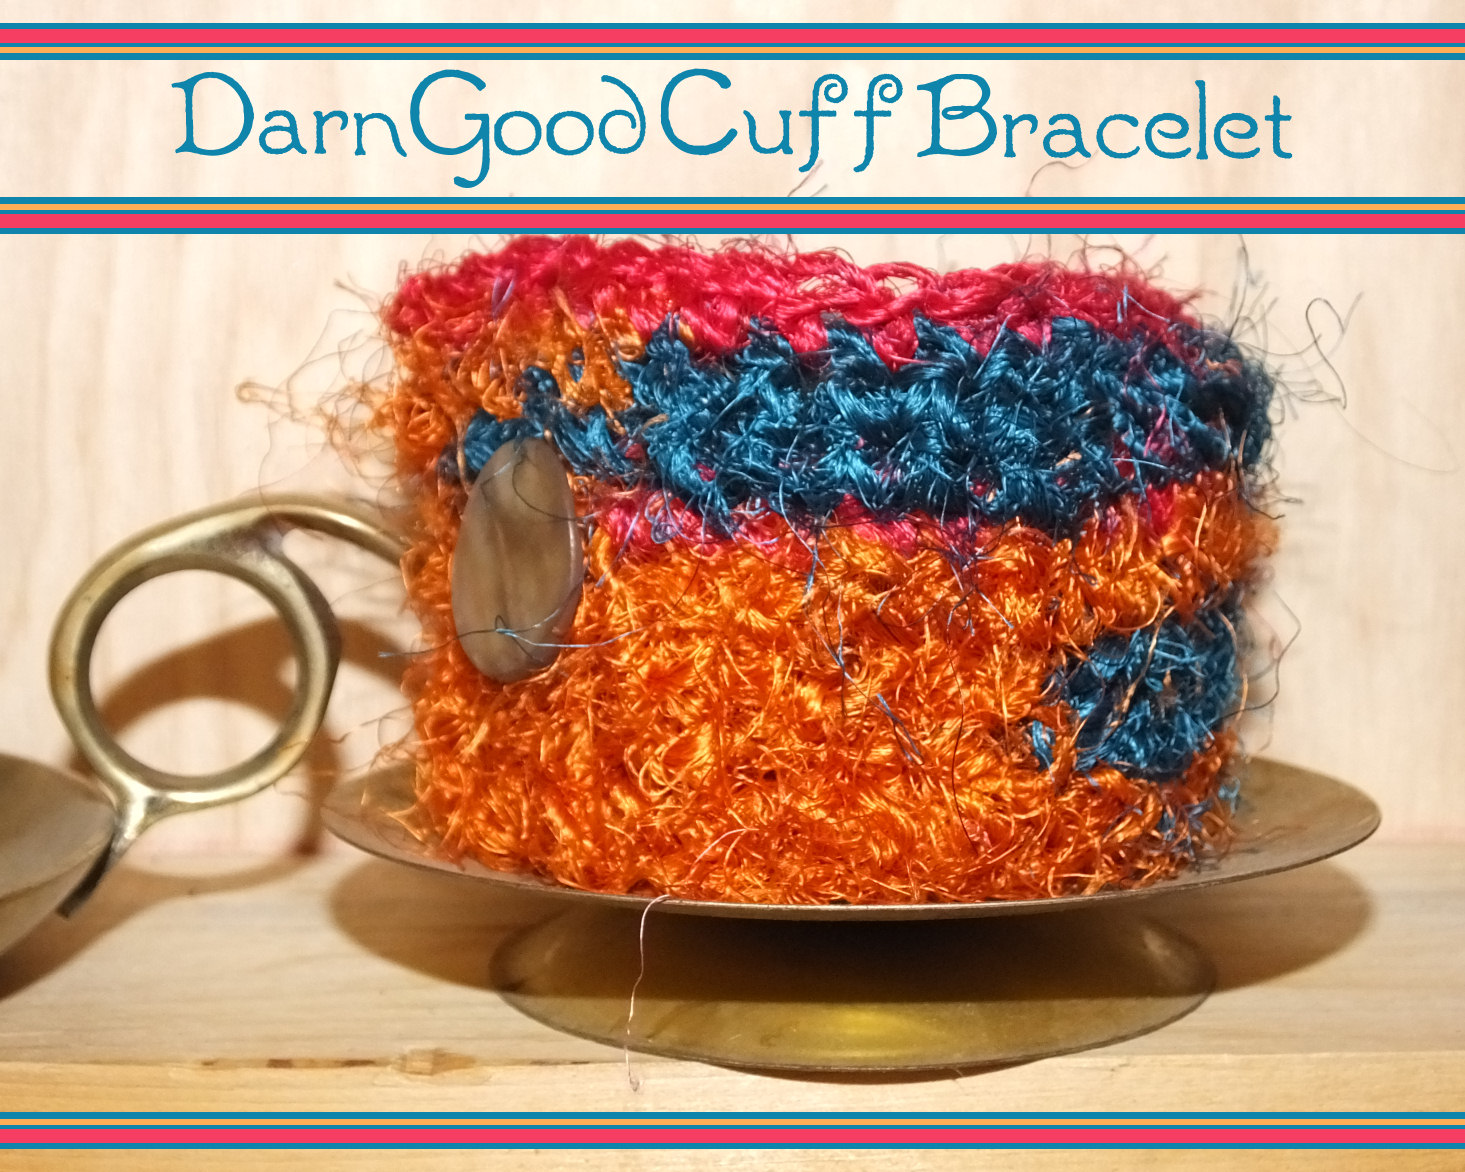
This is the yarn I bought from them in my first order and what I plan to do with it. The 4 skeins on the right hand side are a chiffon ribbon yarn that I'll be using to make a purse. The one in the forefront is the Recycled Photon Rainbow Sport Weight Recycled Silk Yarn that I used to make the bracelet above.

So the bracelet is simple enough to make. It's single crochets, chains and a pretty button. The yarn has so much going on that I wanted to simply show off the yarn. The problem is, because of the length of color changes, simply crocheting back and forth didn't work. It just made stripes instead of the sort of organic shape color changes I wanted. You can see my bracelet on top in this picture- and what it looks like working back and forth in the bottom picture.

Darn Good Cuff Pattern:
You'll need a size D or E hook
- 1 skein of sport weight recycled sari silk yarn
- Large needle for weaving in ends
- attractive/8ths to 7/8th inch button
Chain 4
Row 1: sc in second chain from hook, sc in next 2 chains
Row 2-32: Ch 1 to turn, sc in each st (3 sts)
(adjust rows as needed for size. You want it to fit with an inch of overlap for the button)
Switch direction!
Row 34: Ch 1, working down the long side, sc in next 2 sts, ch 3, skip 3 sts, sc in the rest of the sts
Row 35-37: ch 1, sc in each st down the length
Round 1: ch 1, sc in st, sc down length, 3 sc in corner, sc across end, 3 sc in corner, sc down length, 3 sc in corn, sc across end, 2 sc in last st, sl st to first sc of round to join. Break off
Weave in all ends. Stitch button on opposite side of button hole. I just used some of the yarn.
The yarn is very strong, and very crisp feeling. It looks kind of like jute twine, but it's very soft to the touch with a nice amount of structure. You can gently handwash finished pieces, lay flat to dry. If you want your finished item softer, putting it in a dryer on delicate/low heat for a few minutes will soften the yarn. One skein will make a lot of small projects like this with 147 yards per skein.

No comments:
Post a Comment
Thank you for leaving a comment! Because of the high spam levels and still wanting the site to be friendly, I switched to moderating comments instead of a captcha. As long as you aren't a spammer or spambot this comment will show soon!