

Bobby pins go by a few names, but by any name, they are pretty awesome for crafters because it doesn't take much to decorate one. This project uses standard bobby pins- the inexpensive ones that are on cards at the drug store.
To make the pom pom bobby pin-
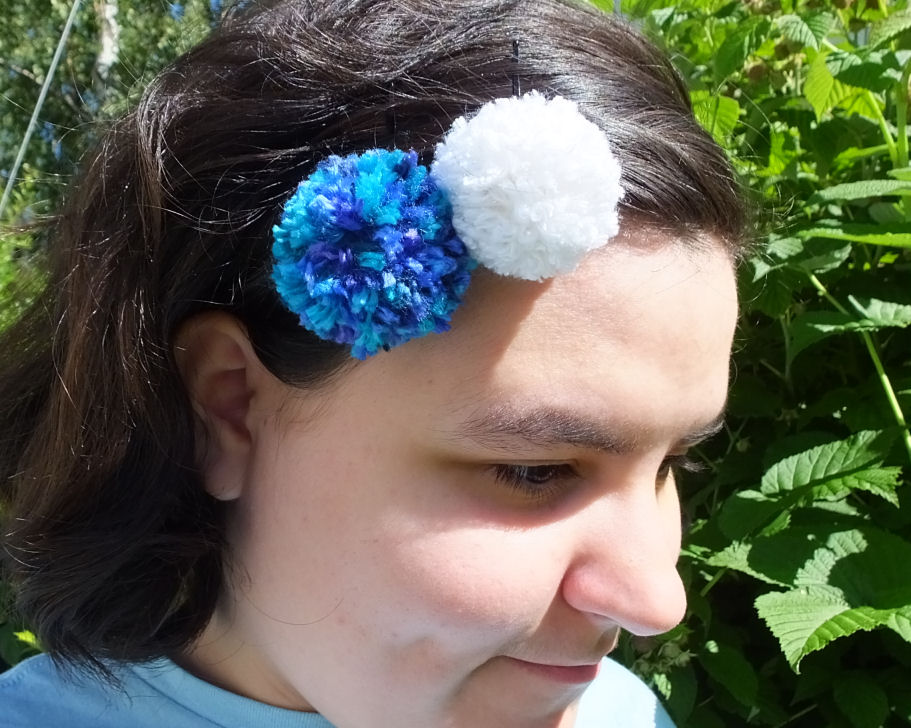
Make pom poms, slide the pin into the piece of yarn that ties all the strands together. It's that easy. Make them in school colors for your kids, make them in sport team colors to support your favorite team, or just make them in fashion colors because pom poms are fun.
To make the pom pom:
There are a lot of methods for making pom poms. Using forms and pom pom makers, using forks, using your fingers. For small ones, I like using my fingers. This is my method for making them, and includes how to get the tying strand through without trying to poke it through fingers that are tied together with yarn.
You will need:
yarn- of course!
fingers
crochet hook- I like a size H for this, but just grab what's convenient.
scissors

Cut a strand of yarn about 8 inches long to use for the tie in the middle.
Then put the hook between the index and middle fingers on your non-dominant hand. I'm lefthanded, so it's in my right hand. The hook have the open side facing your finger tips.

Start wrapping. For a small, very full pom pom, I like 50-70 wraps with worsted weight yarn.


Pull the hook through with the yarn.


Flatten, then cut into a disk shape.

It still won't be perfect, but it's a lot closer at this point!


The reason you start with a larger size is both because you're going to trim it to size, but also because it makes it easier to knot the center and work a fuller pom pom.
This also works just fine to make larger pom poms, putting the hook between the index and ring fingers, and then wrapping around all 4 fingers. You'll have to do a lot more wraps, and if you want a matched pair, count your wraps. Large pom poms can be put on bigger bobby pins and used to accent a ponytail.

No comments:
Post a Comment
Thank you for leaving a comment! Because of the high spam levels and still wanting the site to be friendly, I switched to moderating comments instead of a captcha. As long as you aren't a spammer or spambot this comment will show soon!