Printing Tips

Check out my printing tips if you're having problems printing to the right size
If you'd like to support this site and all the free things I post- please check out my Don't Eat the Paste Mandala collection coloring book for 9.99 at Amazon.
Showing posts with label kawaii. Show all posts

Thursday, September 18, 2014

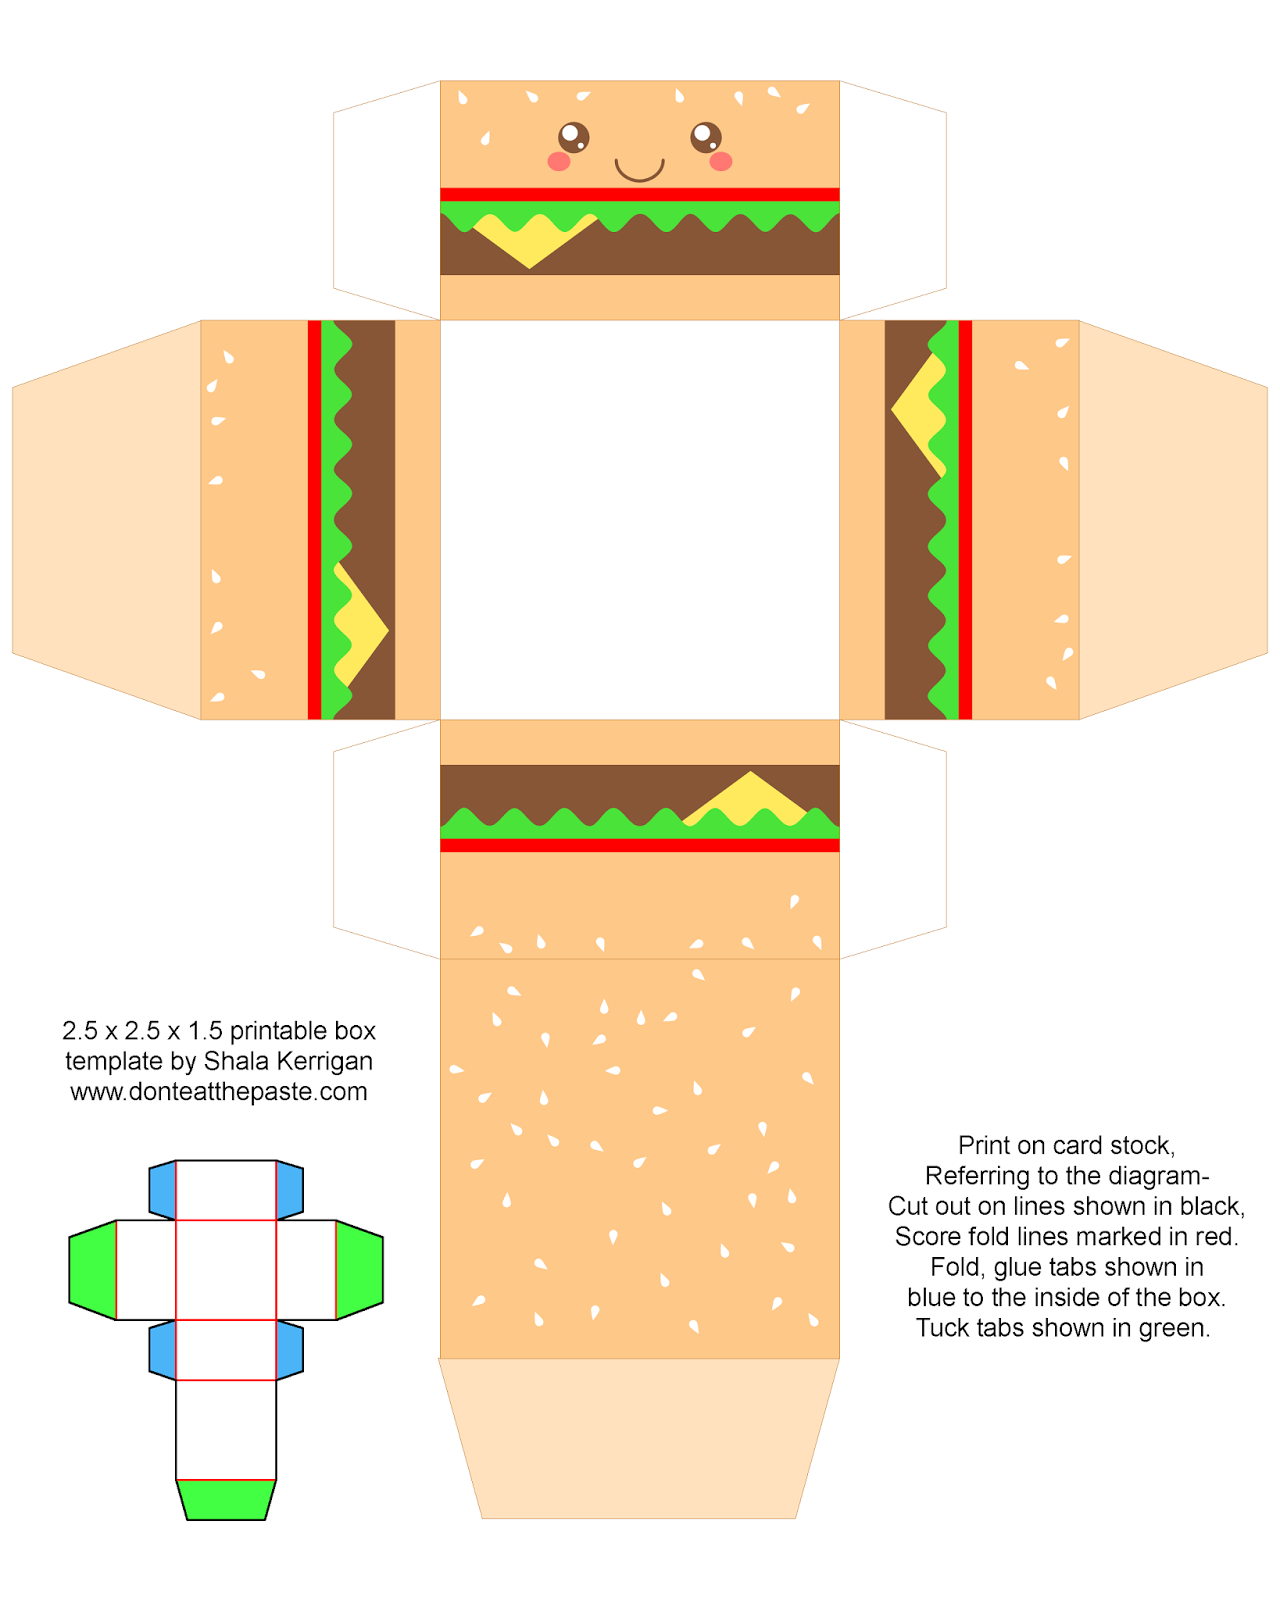
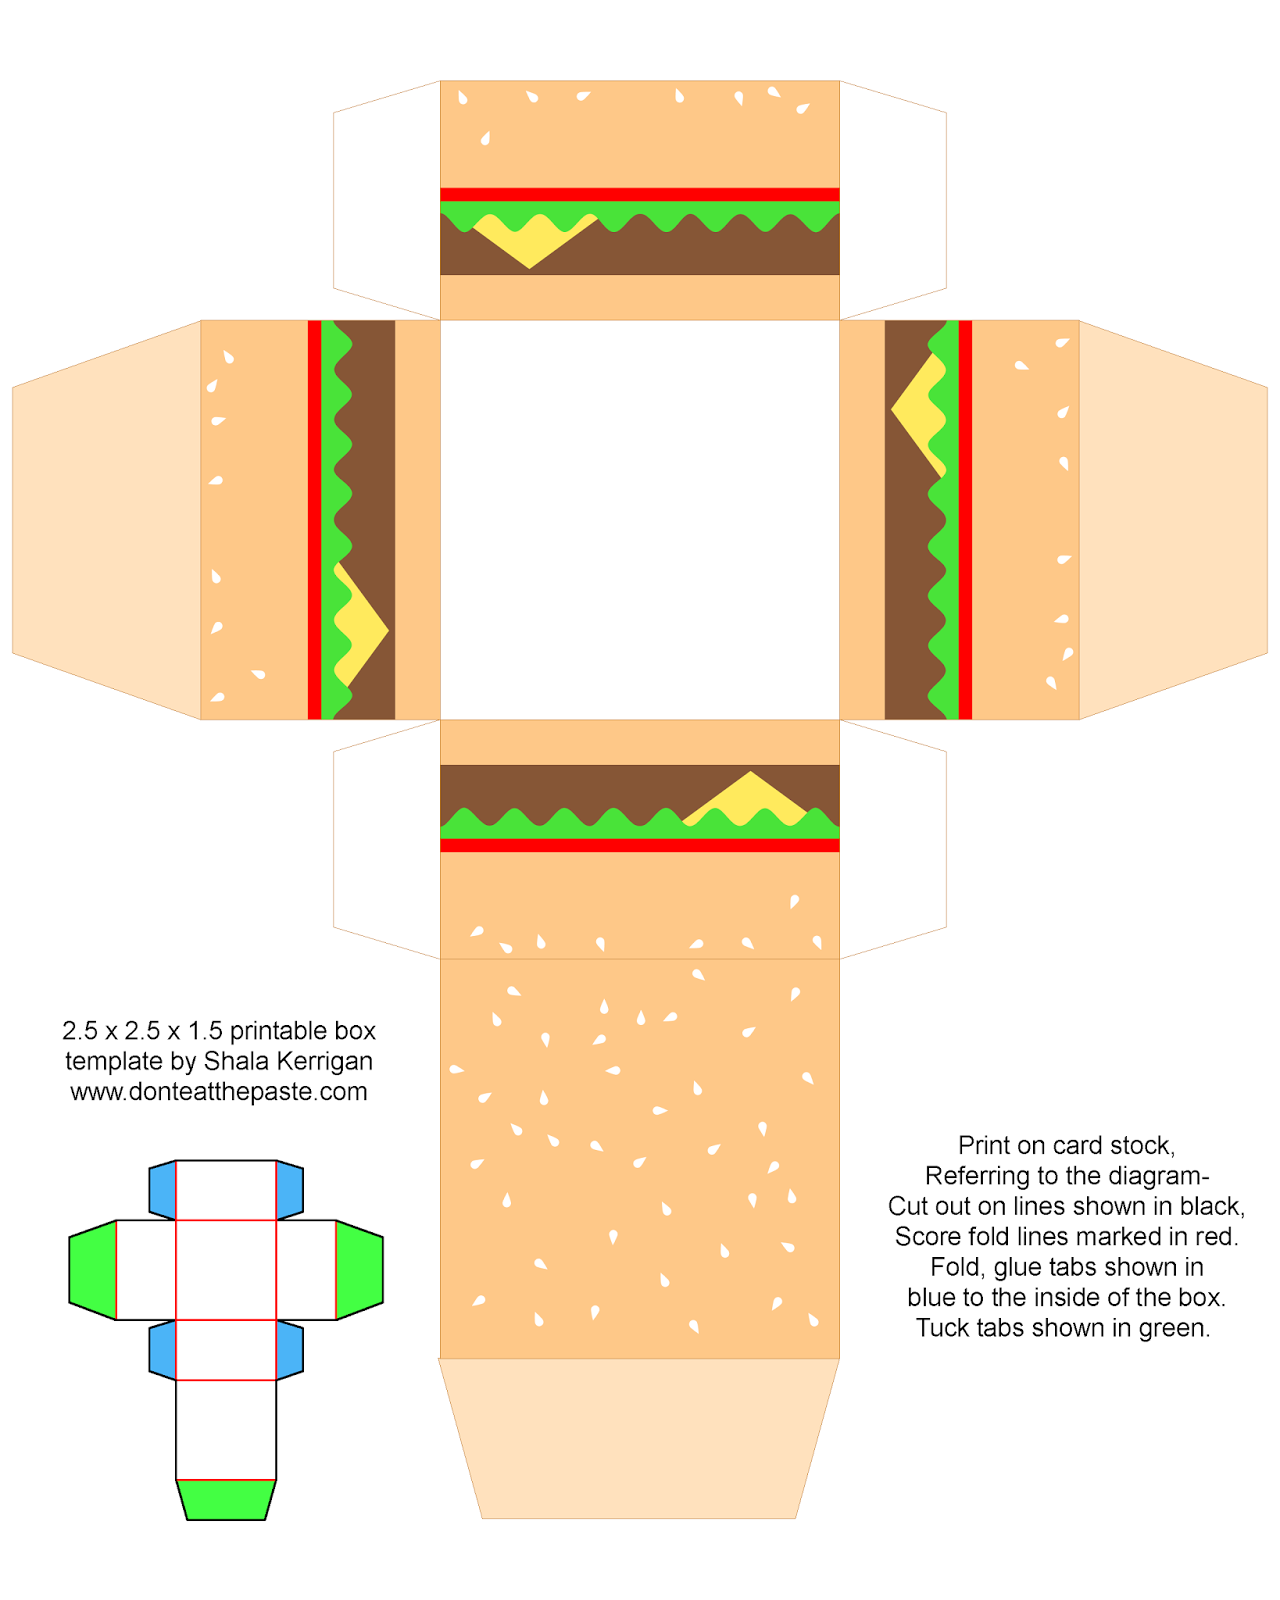
Printable cheeseburger gift boxes

Print and make this cute cheeseburger gift box! #printables #papercrafts

Cheeseburgers! Can you believe there is a National Cheeseburger Day?

This printable cheeseburger box comes with or without a cute face. The sesame seeds are because TG has a strong preference for sesame seed buns.

Click the images for larger versions, print on card stock, cut out, score folds, fold and glue!
Printable cheeseburger box- also available without the cute face.

Printable cheeseburger box- also available with a cute face.

Saturday, December 1, 2012

2012 Angel Box

If you've been reading this blog a few years, or for the people who started with me with my first webpage of printables, you know that yearly I do an angel box of some sort. This year's angel uses the same body template as some of the Halloween boxes, but turned into a curly haired angel. I'll probably post the same box with other colors of hair and skin soon. This angel is inspired by my daughter and she gave me lots of tips while I was working on her. She also was the one who decided the gown length. When I said "She'll be standing in snow, won't her feet get cold?" TG replied "She's an ANGEL mom."

Click on the printable box for a larger version, print on card stock, cut out, score, fold, glue.

Cute Chibi Angel Box

I'm going to be posting a few money cards like this one over the next few weeks, and I'd love some suggestions for what kinds of designs you'd like to see on the cards.

Monday, February 6, 2012

Easy to Sew Flower Project

If you follow me on Pinterest, you've noticed that I've been posting a lot of Japanese and Chinese links, including a bunch for sewn flower projects. This hair comb is inspired by those projects. I first saw the technique on a sunflower.
Since I couldn't get to my large fabric stash, I had to work with what I had on hand, which was some jelly roll strip that were on my desk, so that limited the size. This is a largish flower sewn to a side comb.

You will need:

  • 3 colors of woven fabric
  • a scrap of felt
  • stuffing
  • needle
  • thread
  • scissors
  • hair comb or pin back
  • chopstick or knitting needle to turn
Because it takes only a small amount of fabric, charms and jelly roll strips work great,  or scraps from sewing projects or salvaged scraps from old clothes.

All the pieces are built off of circles. Because the width of the jelly roll is 2.5 inches, that was the radius of my semi-circle for the petals and leaves. If you're using wider fabric, you'll cut 3 5 inch circles, and cut them each in half for the petals. For the leaves, you only need 1 half circle. The center is 2 inch diameter circle. The piece of felt to sew all the pieces to is 1 inch diameter.

Fold the petals in half, right sides facing each other, and stitch the straight edge. Knot off. Turn right side out using the chopstick to get the corner out completely. Do a running stitch along the rounded open edge, and pull tightly to gather. Repeat with the other 4 petal pieces.

Now stitch the 5 petals together into a circle, pull tight! Tie a knot.

Next you'll do the leaves. Cut the half circle for the leaves in half to make a quarter circle, fold right sides together, and stitch down the straight edge. Knot off, turn right side out, and stitch and gather the round bottom edge.
Now to do the center. It's just a little puff in the middle. Do a running stitch around the center circle, pull to gather just a bit, put in a small amount of stuffing, then pull it tighter. Knot off and stitch the center on top of the flower petals. Try to enclose the raw edges of the flower center, and cover the raw edges of the petals.
Flip it over, and stitch on the leaves.

Then you'll sew on the felt circle on the back to cover all the raw edges. Attach to a hair comb, pin back or barrette!

Looks like spring if you're as a eager as I am to start seedlings for summer gardens. We've been getting so much snow that my husband doesn't understand why I'm looking at seed catalogs and sighing happily!

Monday, November 21, 2011

Angel printables 2011


Every year, I draw a new angel. This year I decided to go with something cute. I hope you like it as much as I do! This one is on a 3x3x1 inch printable box, as well as being a coloring page. As usual you can use all my coloring pages for embroidery patterns.
Printable cute angel box- click on image for a larger version. Cut, score, fold, glue.
Printable cute angel coloring page- click on image for larger version.


Thursday, June 16, 2011

Rhubarb labels and coloring sheet


After posting the strawberry labels, a friend said " Now if only you had an adorable rhubarb printable for my rhubarb compotes ;D" - long, skinny things are harder to make cute than strawberries. Strawberries have a natural amount of cute going for them! But I told her I would try.
Same thing as the strawberry labels. These are 300 dpi, the circles will fit a 2 inch punch. I like using Avery Sticker Project Paper (Amazon.com affiliate link) for labels because I can do custom layouts. For people who prefer other methods, you can download the labels individually and use them in your word processing or graphics software to make your own label sets. Each label is 300 dpi, the rectangles should work in 3.33 inch tall x 4 inch wide 6 labels per sheet templates. They are 3 inches tall by 3.66 inches wide at 300 dpi. Click on the images for the full sized versions.


Here's my layout. Also 300 dpi, click on the image for the full sized version.

And a coloring page/embroidery pattern for people who really like rhubarb. My daughter loves the stuff, and recommends using it in lemonade.  100 dpi, click on the image for the full sized version.

Check out #canvolution on Twitter.


Tuesday, June 14, 2011

Strawberry Printables


I'm planning to make strawberry jam soon, so I made up some labels. I like using Avery Sticker Project Paper (Amazon.com affiliate link) for labels because I can do custom layouts. For people who prefer other methods, you can download the labels individually and use them in your word processing or graphics software to make your own label sets. Each label is 300 dpi, the rectangles should work in 3.33 inch tall x 4 inch wide 6 labels per sheet templates. They are 3 inches tall by 3.66 inches wide at 300 dpi. Click on the images for the full sized versions.
Here's the layout I'm using with the sticker paper.

Quick note about the Avery project sticker paper, back in January, I posted this template and Pokemon themed printable Nintendo DS Lite "skin", it's been on my son's DS lite since then. Yes, it is repositionable and easy to remove, but if you don't pick at the label, it lasts where you apply it. With his DS lite, I spray coated the paper with clear acrylic spray and let dry before peeling and applying. It's still in fairly good shape. However, if you don't want to buy the paper, you could also use a spray adhesive on the back of plain paper then apply labels that way. I've had better luck with repositionable spray adhesives than any other kind of glue on slick surfaces.
While I was drawing the strawberry, I decided it needed a peanut for the start of one of the world's great love affairs.

Coloring page 100 dpi